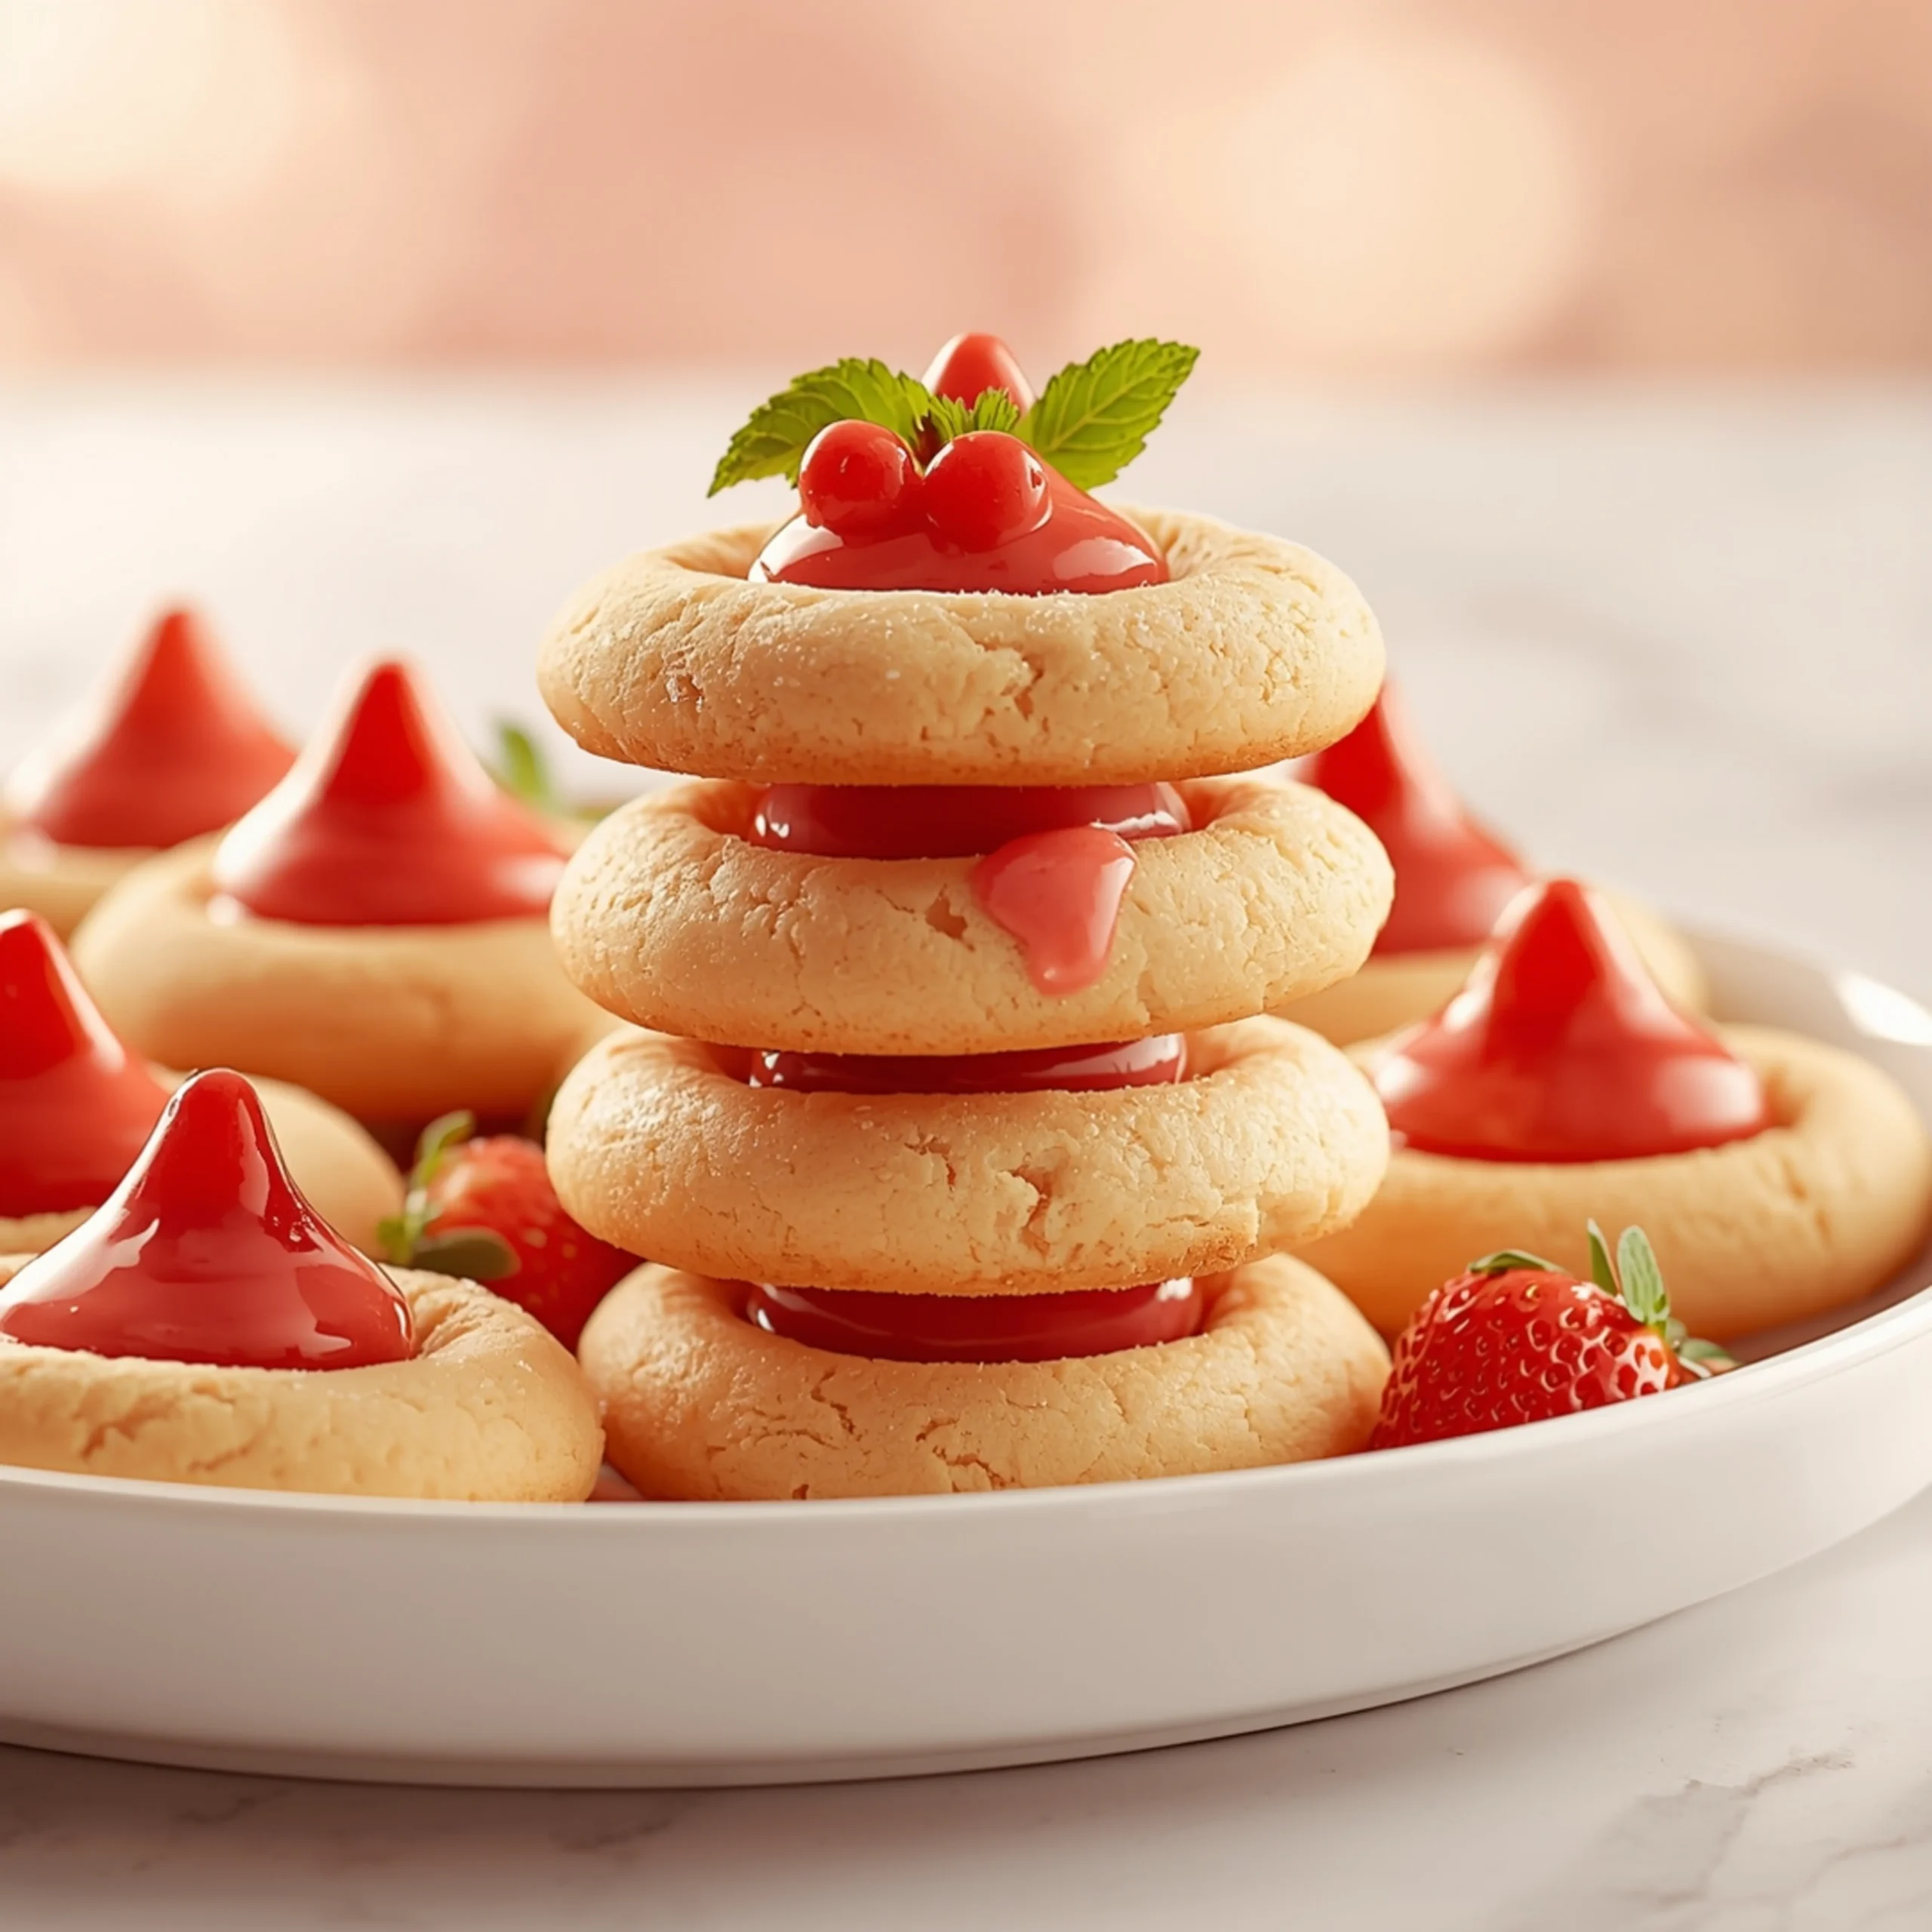
Soft-Baked Strawberry Kiss Cookies
These Strawberry Kiss Cookies deliver a perfect trifecta of flavor: a soft, chewy cookie base, bright strawberry notes, and a rich, melting chocolate center. They are remarkably simple to assemble and a standout in our collection of delicious desserts. This recipe is engineered for consistency and flavor with every batch.
Anatomy of the Perfect Kiss Cookie
Success with this cookie comes down to three core components working in harmony. Understanding each one ensures a perfect result.
- The Cookie Base: The foundation is a soft, buttery sugar cookie. We use creamed butter and sugar to create tiny air pockets, which results in a tender, cake-like crumb rather than a crisp, snappy cookie. A touch of cornstarch keeps it extra soft.
- The Strawberry Flavor: We use strawberry emulsion or a high-quality extract for a concentrated, vibrant flavor that doesn’t add excess moisture. This prevents the dough from becoming sticky and ensures the strawberry taste is present in every bite without being artificial.
- The Chocolate Kiss: The iconic center. Pressing the chocolate into the warm cookie allows it to melt just enough to adhere, creating a soft, fudgy center that contrasts beautifully with the chewy cookie.
Key Ingredients
- Unsalted Butter: Must be at room temperature for proper creaming.
- Granulated Sugar: Provides sweetness and contributes to the tender texture.
- Egg: Binds the dough and adds richness. Room temperature is crucial.
- All-Purpose Flour: The structural backbone of the cookie.
- Cornstarch: The secret to an exceptionally soft, tender cookie.
- Baking Powder: The primary leavening agent.
- Salt: Balances the sweetness and enhances all flavors.
- Strawberry Emulsion or Extract: For that signature berry flavor. Emulsion provides better flavor and color.
- Pink/Red Food Coloring: Optional, but a few drops give the cookies their classic strawberry look.
- Chocolate Kisses: The centerpiece. Unwrap them while the cookies bake.
Step-by-Step Instructions
- Pre-Step: Preheat your oven to 350°F (175°C). Line two baking sheets with parchment paper. Unwrap your chocolate kisses and set them aside.
- Cream Butter & Sugar: In a large bowl with a stand mixer or hand mixer, beat the room-temperature butter and granulated sugar on medium-high speed until light and fluffy, about 2-3 minutes.
- Add Wet Ingredients: Beat in the egg, strawberry emulsion/extract, and food coloring (if using) until just combined. Scrape down the sides of the bowl.
- Combine Dry Ingredients: In a separate medium bowl, whisk together the all-purpose flour, cornstarch, baking powder, and salt.
- Mix Dough: Gradually add the dry ingredients to the wet ingredients, mixing on low speed until just combined. Do not overmix. The dough will be soft.
- Chill (Optional but Recommended): For best results and less spread, cover the dough and chill for at least 30 minutes.
- Shape Cookies: Scoop and roll the dough into 1-inch balls. For a sparkling finish, roll each ball in additional granulated sugar.
- Arrange & Bake: Place the dough balls about 2 inches apart on the prepared baking sheets.
- Bake: Bake for 9-11 minutes. The cookies should be set and the bottoms just lightly golden. They will look slightly puffy and underdone in the center.
- Press the Kiss: Immediately after removing the cookies from the oven, gently press one unwrapped chocolate kiss into the center of each warm cookie. The cookie will crackle slightly around the edges.
- Cool: Let the cookies cool on the baking sheet for 5-10 minutes before transferring them to a wire rack to cool completely. The chocolate will be soft, so handle with care.
Pro-Tips for Flawless Cookies
Get bakery-quality results by following these engineering principles for cookie success.
- Room Temperature is Non-Negotiable: Your butter and egg must be at room temperature. This allows them to emulsify properly, creating a uniform, airy dough that bakes evenly.
- Measure Flour Correctly: Spoon the flour into your measuring cup and level it off with a straight edge. Scooping directly from the bag compacts the flour, leading to dry, dense cookies.
- Don’t Overmix: Once you add the flour, mix only until the last streaks disappear. Overmixing develops gluten, resulting in tough, hard cookies instead of soft, tender ones.
- The Immediate Press: Press the chocolate kiss into the cookie the second it comes out of the oven. The residual heat is what softens the chocolate and fuses it to the cookie. Waiting too long means the kiss will just sit on top.
Flavor Variations & Customization
This base recipe is a fantastic canvas for experimentation. If you love discovering new combinations, you’ll find inspiration in our other easy recipes.
- Chocolate Swap: Use Hugs (white and milk chocolate), dark chocolate kisses, or even caramel-filled kisses for a different flavor profile.
- Add-Ins: Gently fold in 1/2 cup of white chocolate chips or finely chopped macadamia nuts for extra texture.
- Flavor Extract: Swap the strawberry extract for raspberry or cherry for a different berry-forward cookie.
- Finishing Touch: Drizzle the cooled cookies with melted white chocolate for a professional look.
Storage & Make-Ahead Guide
Proper storage maintains the soft texture of these cookies.
- At Room Temperature: Store baked cookies in an airtight container for up to 5 days. Placing a slice of bread in the container can help keep them soft.
- Freezing Baked Cookies: Let cookies cool completely, then freeze them in a single layer on a baking sheet. Once solid, transfer to a zip-top bag or airtight container. They will keep for up to 3 months.
- Freezing Dough: Roll the dough into balls, place them on a parchment-lined baking sheet, and freeze until solid. Transfer the frozen dough balls to a freezer bag. You can bake them directly from frozen; just add 2-3 minutes to the baking time.
For another excellent make-ahead treat, especially if you’re looking for a lighter option that requires no baking, consider a chia seed pudding with berries.
COMMON MISTAKES TO AVOID
- Mistake: Cookies spreading too thin.
Fix: Your butter was likely too soft, or you skipped chilling the dough. Ensure butter is at room temperature (around 65°F/18°C), not melted. Chilling the dough for 30-60 minutes before baking solidifies the fat, preventing rapid spread in the oven. - Mistake: Dry, crumbly cookies.
Fix: This is almost always due to over-measuring flour or over-mixing the dough. Use the “spoon and level” method for measuring flour. Mix only until the flour is just incorporated. - Mistake: Chocolate Kisses melting into a puddle.
Fix: You put the cookies back in the oven after pressing the kiss in. The residual heat of the freshly baked cookie is all that’s needed. Press the kiss in firmly but gently after the cookies are fully baked and out of the oven.
FAQ
Q: Can I use fresh or freeze-dried strawberries?
A: It’s not recommended for this recipe. Fresh strawberries add too much moisture, making the dough wet and altering the texture. Freeze-dried strawberries, if powdered, can work but will create a denser cookie. Strawberry emulsion or extract provides the best flavor and consistency.
Q: Why didn’t my cookies crackle on top?
A: The “crackle” happens when the hot, puffy cookie is pressed down by the chocolate kiss. If your cookies didn’t crackle, they may have been slightly over-baked and were already too firm. Aim to pull them from the oven when they look just set and slightly underdone in the very center.
Q: Can I make this dough ahead of time?
A: Yes. You can prepare the dough and refrigerate it in an airtight container for up to 3 days. Let it sit at room temperature for about 15-20 minutes to soften slightly before scooping and baking.
After perfecting this dessert, if you’re already planning your next savory main course, this honey garlic pork chops recipe offers a fantastic and flavorful option to try.
NUTRITIONAL SNAPSHOT
| Nutrient | Amount per Serving |
|---|---|
| Calories | 115 kcal |
| Protein | 1.2g |
| Fat | 6g |
| Net Carbs | 14g |
| Fiber | 0.3g |
| Sugar | 9g |
*Estimates are for one cookie and will vary based on exact ingredients and size.*
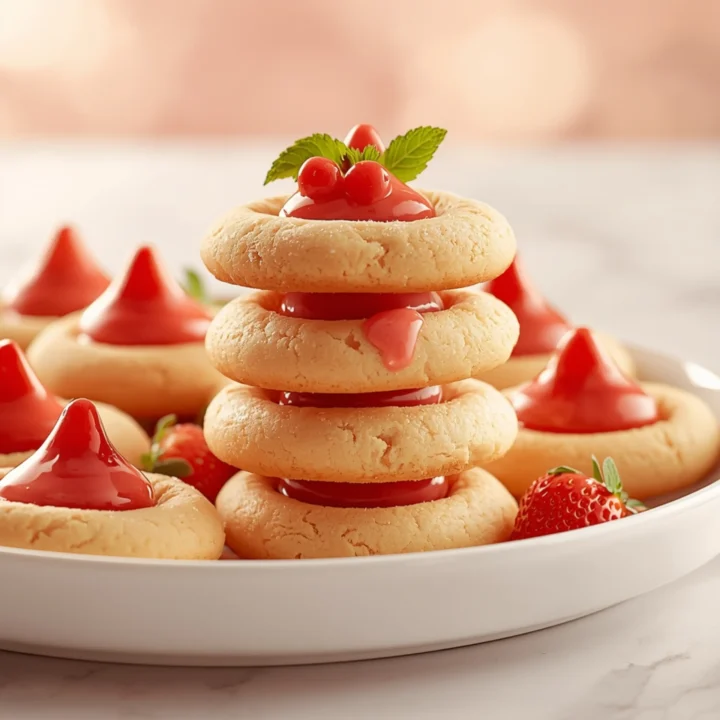
Soft-Baked Strawberry Kiss Cookies
These Strawberry Kiss Cookies deliver a perfect trifecta of flavor: a soft, chewy cookie base, bright strawberry notes, and a rich, melting chocolate center. They are remarkably simple to assemble and a standout in our collection of delicious desserts.
Ingredients
- 1 cup (226g) unsalted butter, softened
- 1 cup (200g) granulated sugar, plus more for rolling
- 1 large egg, room temperature
- 1.5 teaspoons strawberry emulsion (or 2 tsp extract)
- 1/2 teaspoon pink or red food coloring (optional)
- 2 1/4 cups (270g) all-purpose flour
- 2 tablespoons cornstarch
- 1/2 teaspoon baking powder
- 1/4 teaspoon salt
- 36-40 milk chocolate kisses, unwrapped
Instructions
- Preheat your oven to 350°F (175°C). Line two baking sheets with parchment paper. Unwrap your chocolate kisses and set them aside.
- In a large bowl with a stand mixer or hand mixer, beat the room-temperature butter and granulated sugar on medium-high speed until light and fluffy, about 2-3 minutes.
- Beat in the egg, strawberry emulsion/extract, and food coloring (if using) until just combined. Scrape down the sides of the bowl.
- In a separate medium bowl, whisk together the all-purpose flour, cornstarch, baking powder, and salt.
- Gradually add the dry ingredients to the wet ingredients, mixing on low speed until just combined. Do not overmix. The dough will be soft.
- For best results and less spread, cover the dough and chill for at least 30 minutes.
- Scoop and roll the dough into 1-inch balls. For a sparkling finish, roll each ball in additional granulated sugar.
- Place the dough balls about 2 inches apart on the prepared baking sheets.
- Bake for 9-11 minutes. The cookies should be set and the bottoms just lightly golden. They will look slightly puffy and underdone in the center.
- Immediately after removing the cookies from the oven, gently press one unwrapped chocolate kiss into the center of each warm cookie. The cookie will crackle slightly around the edges.
- Let the cookies cool on the baking sheet for 5-10 minutes before transferring them to a wire rack to cool completely. The chocolate will be soft, so handle with care.