
The Viral Dubai Chocolate Cheesecake: A Step-by-Step Guide
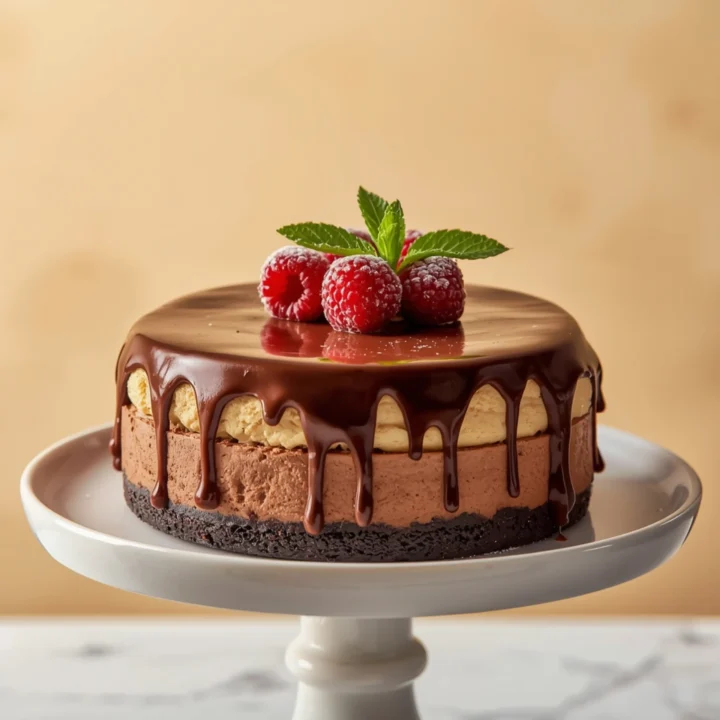
This Dubai Chocolate Cheesecake is a masterclass in texture. It combines an ultra-creamy pistachio cheesecake base with a shatteringly crisp layer of toasted kataifi pastry, all encased in a rich, dark chocolate shell. This guide breaks down the viral trend into a simple, no-bake system, proving you don’t need to be a pastry chef to create stunning, decadent dessert recipes.
Component Breakdown: Engineering the Layers
This cheesecake’s magic lies in its three distinct, complementary layers. Understanding each component is key to a perfect result.
- The No-Bake Pistachio Cheesecake: We use a no-bake method for a dense, creamy, and foolproof filling. It sets up firm in the fridge without the risk of cracking in an oven. The pistachio paste provides a nutty, savory balance to the sweetness.
- The Kataifi Crunch: This is the viral star. Kataifi (shredded phyllo dough) is toasted in butter until golden and crisp. It’s then mixed with pistachio cream and tahini to create a crunchy, nutty, slightly savory layer that provides an incredible textural contrast.
- The Chocolate Shell: A simple mixture of good-quality melting chocolate and a neutral oil (like coconut or vegetable) creates a shell that sets with a satisfying “snap” but is easy to slice. The oil lowers the chocolate’s melting point slightly, preventing it from becoming brittle and shattering messily.
The No-Bake Advantage: Speed and Simplicity
A traditional baked cheesecake requires a water bath, careful temperature control, and a long cooling period to prevent cracks. This no-bake version bypasses all that.
- Efficiency: The active prep time is significantly shorter. Most of the time is hands-off chilling.
- Consistency: The texture is consistently creamy and dense, more like a rich mousse than a baked custard.
- Foolproof: It’s nearly impossible to “overcook” or “undercook.” If it’s not firm enough, it just needs more time in the fridge. For more easy and reliable ideas, you can always explore other recipes on our site.
Step-by-Step Instructions
Prep Time: 35 minutes
Chill Time: 6 hours (or overnight)
Yields: 10-12 servings
Phase 1: The Crust & Filling
- Prep Pan: Lightly grease a 9-inch springform pan and line the bottom with parchment paper.
- Make Crust: In a food processor, pulse the digestive biscuits into fine crumbs. Add the melted butter and pulse until the mixture resembles wet sand. Press firmly and evenly into the bottom of the prepared pan. Chill in the freezer for 15 minutes.
- Whip Cream: In a large bowl, use an electric mixer to beat the heavy cream until stiff peaks form. Set aside.
- Mix Filling: In a separate large bowl, beat the room-temperature cream cheese, powdered sugar, pistachio paste, and vanilla extract until completely smooth and free of lumps.
- Combine: Gently fold the whipped cream into the cream cheese mixture in two additions until just combined. Do not overmix.
- Assemble & Chill: Pour the filling over the chilled crust and smooth the top with an offset spatula. Cover with plastic wrap and refrigerate for at least 4-6 hours, or until firm.
Phase 2: The Crunch Layer & Chocolate Shell
- Toast Kataifi: Preheat your oven to 350°F (175°C). Spread the kataifi pastry on a baking sheet, drizzle with melted butter, and toss to coat. Bake for 10-15 minutes, tossing halfway through, until golden brown and crisp. Let cool completely.
- Create Crunch Mixture: In a bowl, combine the cooled, toasted kataifi with the pistachio cream and tahini. Gently mix until the kataifi is evenly coated.
- Add Crunch Layer: Carefully spread the kataifi mixture over the top of the chilled cheesecake in an even layer. Place the cheesecake in the freezer for 30 minutes to firm up this layer. This step is crucial for a clean chocolate pour.
- Melt Chocolate: In a microwave-safe bowl, combine the chopped dark chocolate and coconut oil. Microwave in 30-second intervals, stirring in between, until smooth. Let it cool for 5-10 minutes—it should be fluid but not hot.
- Final Assembly: Pour the cooled chocolate over the frozen kataifi layer. Quickly tilt the pan to ensure the chocolate covers the entire surface evenly.
- Final Chill: Return the cheesecake to the refrigerator for at least 30 minutes, or until the chocolate shell is completely set.
Pro-Tips for Assembly & Serving
- Room Temperature is Key: For the filling, ensure your cream cheese is fully at room temperature to avoid a lumpy texture.
- Don’t Rush the Chill: The cheesecake needs its full chilling time to set properly. A firm base is essential for supporting the top layers. Letting the layers properly meld is as important as the slow-cooking process in a rich dish like a Slow Cooker Cajun Chicken Alfredo.
- Warm Knife for Slicing: To get clean, perfect slices, run a large, sharp knife under hot water and wipe it dry before each cut. The warm blade will melt through the chocolate shell without cracking it.
COMMON MISTAKES TO AVOID
-
Mistake: A lumpy cheesecake filling.
Fix: Ensure your cream cheese is completely softened to room temperature before mixing. Scrape the bowl down frequently. If lumps persist, you can press the mixture through a fine-mesh sieve before folding in the whipped cream. -
Mistake: The kataifi crunch layer gets soggy.
Fix: Toast the kataifi until it is deeply golden and very dry. Let it cool completely before mixing it with the pistachio cream. Apply it to a fully chilled and set cheesecake base. -
Mistake: The chocolate shell cracks into shards when slicing.
Fix: Do not skip the coconut or neutral oil in the chocolate. This makes it slightly softer and less brittle. Additionally, use a hot, dry knife for slicing as described in the pro-tips.
FAQ
Q: What is kataifi and where can I find it?
A: Kataifi is shredded phyllo dough, common in Middle Eastern and Mediterranean desserts. You can find it in the freezer section of most international or specialty grocery stores, often near the phyllo dough sheets.
Q: Can I make this ahead of time?
A: Yes, this is an excellent make-ahead dessert. You can prepare it fully up to 2 days in advance and store it covered in the refrigerator. The kataifi layer will stay crisp.
Q: Can I use a different nut butter?
A: Absolutely. While pistachio is classic for the “Dubai” flavor, a high-quality almond butter or even a seed butter like tahini (used on its own) would create a delicious alternative. Adjust sugar to taste.
For Your Next Culinary Project
Once you’ve mastered this decadent dessert, why not explore a savory project? You could try a quick and flavorful Honey Garlic Glazed Salmon for a weeknight dinner or dive into a hearty, crowd-pleasing dish like Beer Braised Sausages with Peppers and Onions.
NUTRITIONAL SNAPSHOT
| Nutrient | Amount per Serving |
|---|---|
| Calories | 680 kcal |
| Protein | 9g |
| Fat | 55g |
| Net Carbs | 38g |
| Fiber | 4g |
| Sugar | 32g |
The Viral Dubai Chocolate Cheesecake: A Step-by-Step Guide
This Dubai Chocolate Cheesecake is a masterclass in texture. It combines an ultra-creamy pistachio cheesecake base with a shatteringly crisp layer of toasted kataifi pastry, all encased in a rich, dark chocolate shell. This guide breaks down the viral trend into a simple, no-bake system, proving you don't need to be a pastry chef to create stunning, decadent dessert recipes.
Ingredients
- 200g digestive biscuits (or graham crackers)
- 100g unsalted butter, melted
- 500g full-fat cream cheese, room temperature
- 400ml heavy whipping cream, cold
- 150g powdered sugar
- 120g smooth pistachio paste or cream
- 1 tsp vanilla extract
- 100g kataifi pastry, thawed
- 50g unsalted butter, melted
- 150g pistachio cream
- 2 tbsp tahini
- 250g good-quality dark chocolate (60-70% cacao), chopped
- 2 tbsp coconut oil or other neutral oil
Instructions
- Lightly grease a 9-inch springform pan and line the bottom with parchment paper.
- In a food processor, pulse the digestive biscuits into fine crumbs. Add the melted butter and pulse until the mixture resembles wet sand. Press firmly and evenly into the bottom of the prepared pan. Chill in the freezer for 15 minutes.
- In a large bowl, use an electric mixer to beat the heavy cream until stiff peaks form. Set aside.
- In a separate large bowl, beat the room-temperature cream cheese, powdered sugar, pistachio paste, and vanilla extract until completely smooth and free of lumps.
- Gently fold the whipped cream into the cream cheese mixture in two additions until just combined. Do not overmix.
- Pour the filling over the chilled crust and smooth the top with an offset spatula. Cover with plastic wrap and refrigerate for at least 4-6 hours, or until firm.
- Preheat your oven to 350°F (175°C). Spread the kataifi pastry on a baking sheet, drizzle with melted butter, and toss to coat. Bake for 10-15 minutes, tossing halfway through, until golden brown and crisp. Let cool completely.
- In a bowl, combine the cooled, toasted kataifi with the pistachio cream and tahini. Gently mix until the kataifi is evenly coated.
- Carefully spread the kataifi mixture over the top of the chilled cheesecake in an even layer. Place the cheesecake in the freezer for 30 minutes to firm up this layer. This step is crucial for a clean chocolate pour.
- In a microwave-safe bowl, combine the chopped dark chocolate and coconut oil. Microwave in 30-second intervals, stirring in between, until smooth. Let it cool for 5-10 minutes—it should be fluid but not hot.
- Pour the cooled chocolate over the frozen kataifi layer. Quickly tilt the pan to ensure the chocolate covers the entire surface evenly.
- Return the cheesecake to the refrigerator for at least 30 minutes, or until the chocolate shell is completely set.