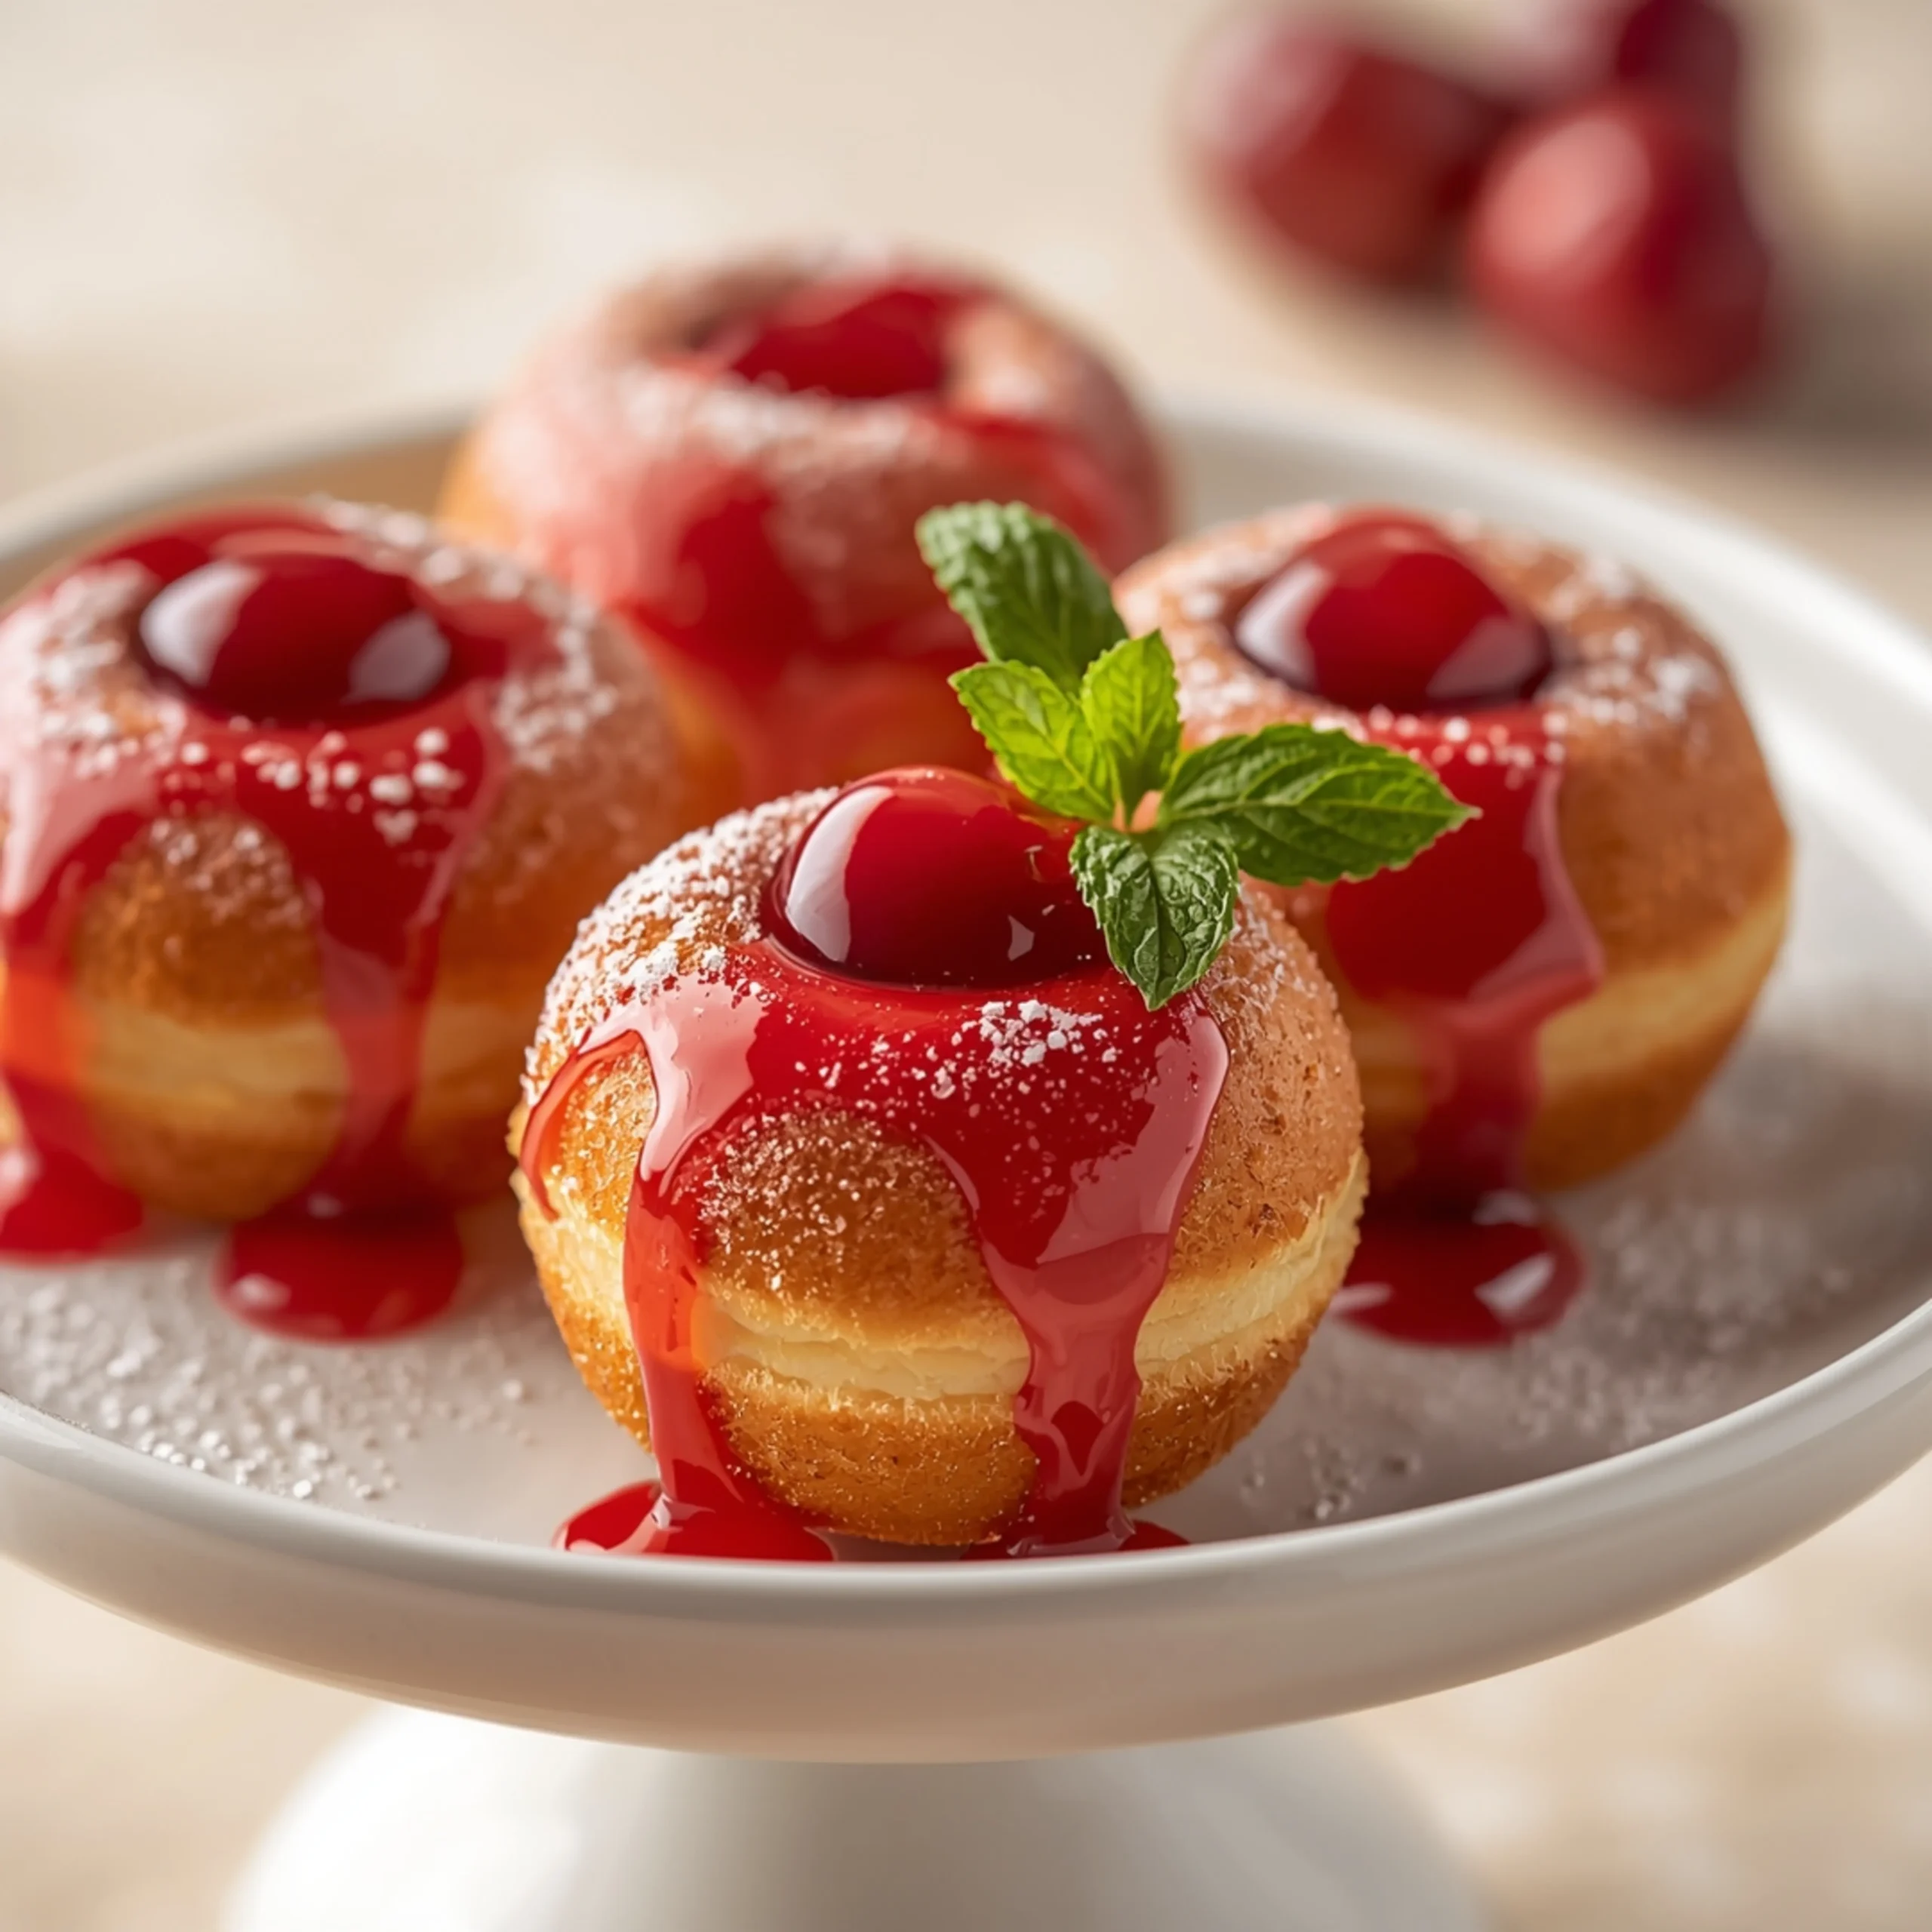
Quick & Fluffy Cherry Doughnut Holes
These tender, cakey doughnut holes are bursting with sweet cherry and coated in a simple vanilla glaze. They come together in under 30 minutes, making them one of the most rewarding and easy desserts you can whip up for a spontaneous treat. This recipe skips the yeast and proofing time, relying on simple pantry staples for a fast, delicious result.
Key Component Breakdown
Understanding the “why” behind key ingredients is the first step to mastering a recipe.
- All-Purpose Flour: Provides the core structure. We use it because it has a moderate protein content, creating a tender crumb that’s not overly tough or chewy.
- Buttermilk: This is our secret weapon for a soft, moist texture. The acid in buttermilk reacts with the baking powder for extra lift and tenderizes the gluten in the flour.
- Baking Powder: This is a double-acting leavener. It creates small bubbles when it hits the wet ingredients and another burst of lift when it hits the hot oil, resulting in a light, airy doughnut hole.
- Chopped Cherries: The star of the show. Using finely chopped cherries ensures they are distributed evenly and don’t weigh down the batter or create pockets of moisture that prevent even cooking.
The Frying Zone: Oil Temperature is Everything
Frying can feel intimidating, but success hinges on one thing: correct oil temperature.
- The Target: Aim for 360-375°F (182-190°C). A deep-fry or candy thermometer is the most accurate tool for this.
- Too Hot: If the oil is too hot, the outside will burn before the inside is cooked, leaving you with a raw, doughy center.
- Too Cold: If the oil isn’t hot enough, the doughnut holes will absorb too much oil as they cook slowly, resulting in a heavy, greasy final product.
No Thermometer? No Problem.
Drop a tiny bit of batter (about 1/4 teaspoon) into the hot oil.
- It’s ready if: The batter sizzles immediately, floats to the surface, and turns golden brown in about 60-90 seconds.
- It’s too hot if: It turns dark brown almost instantly. Remove the pot from the heat for a minute to cool down.
- It’s too cold if: It sinks to the bottom and doesn’t sizzle vigorously. Give the oil more time to heat up.
Step-by-Step Instructions
- Prep Your Station: Pour about 2-3 inches of neutral oil (canola, vegetable, or peanut) into a heavy-bottomed pot or Dutch oven. Begin heating over medium heat. Line a baking sheet or large plate with paper towels for draining the finished doughnut holes.
- Mix Dry Ingredients: In a large bowl, whisk together 2 cups of all-purpose flour, 1/2 cup of granulated sugar, 2 teaspoons of baking powder, and 1/2 teaspoon of salt.
- Mix Wet Ingredients: In a separate medium bowl, whisk 1 large egg, 3/4 cup of buttermilk, and 2 tablespoons of melted unsalted butter.
- Combine Batter: Pour the wet ingredients into the dry ingredients. Mix with a spatula until just combined. Do not overmix. A few lumps are perfectly fine. Gently fold in 3/4 cup of finely chopped, pitted cherries (fresh or thawed from frozen and patted dry).
- Fry the Doughnut Holes: Once your oil is at temperature, use two small spoons or a small cookie scoop to carefully drop rounded tablespoons of batter into the hot oil. Don’t overcrowd the pot; fry in batches of 5-6 at a time.
- Cook to Perfection: Fry for about 2-3 minutes per side, turning them halfway through, until they are deep golden brown and cooked through.
- Drain: Use a slotted spoon to transfer the cooked doughnut holes to your prepared paper towel-lined plate to drain excess oil.
- Prepare the Glaze: While the doughnut holes are still warm, whisk together 1 1/2 cups of powdered sugar, 2-3 tablespoons of milk, and 1/2 teaspoon of vanilla extract in a shallow bowl until smooth. Add more milk, one teaspoon at a time, if needed to reach a dippable consistency.
- Glaze and Serve: Dip each warm doughnut hole into the glaze, turning to coat. Place on a wire rack to let the excess glaze drip off and set. Serve immediately for the best texture.
Glaze & Topping Variations
The simple vanilla glaze is classic, but customization is easy. These make a fantastic addition to any weekend spread, rivaling some of our other favorite breakfast treats.
- Almond Cherry Glaze: Swap the vanilla extract for 1/4 teaspoon of almond extract for a classic cherry-almond flavor profile.
- Lemon Glaze: Replace the milk with fresh lemon juice and add 1/2 teaspoon of lemon zest for a bright, tangy contrast.
- Chocolate Drizzle: Melt 1/2 cup of chocolate chips with 1 teaspoon of coconut oil and drizzle over the unglazed or glazed doughnut holes.
- Topping Ideas: Before the glaze sets, sprinkle on chopped nuts (pistachios, almonds), toasted coconut flakes, or festive sprinkles.
Make-Ahead & Storage Strategy
These are best enjoyed fresh, but here’s how to manage your time.
- Batter: The batter can be made up to 2 hours ahead of time. Cover and refrigerate. The baking powder may lose a little potency, but they will still be delicious.
- Storage: Store cooled, glazed doughnut holes in an airtight container at room temperature for up to 2 days. The glaze will soften and they will lose their initial crispness, but the flavor remains.
- Reheating: Briefly microwave for 10-15 seconds to soften and warm them, which helps revive their texture.
While these doughnut holes are a quick project, if you’re planning a full spread and need something that holds up even better over a day or two, consider these incredible gooey butter cake bars that are perfect for making in advance.
For Your Next Baking Project
Once you’ve mastered these doughnut holes, you might be looking for your next culinary adventure. For those who love combining fruit and nuts in their desserts, these chocolate chip pecan pie bars are a guaranteed crowd-pleaser. And if your palate is leaning savory, this California BLT Chopped Bagel is a creative and satisfying option for lunch.
COMMON MISTAKES TO AVOID
- Mistake: Overmixing the batter.
- Fix: Mix only until the flour streaks disappear. A lumpy batter is a good thing here; it leads to a tender, cake-like doughnut hole, not a tough, chewy one.
- Mistake: Guessing the oil temperature.
- Fix: Use a thermometer for accuracy. If you don’t have one, use the small batter test mentioned above. Consistent temperature is the key to a perfectly cooked, non-greasy result.
- Mistake: Overcrowding the pot.
- Fix: Fry in small batches. Adding too much batter at once drops the oil temperature significantly, leading to uneven cooking and oily doughnuts. Give them space to float and cook evenly.
FAQ
Q: Can I use frozen cherries?
A: Yes. Thaw them completely, drain any excess liquid, and pat them very dry with a paper towel before chopping and adding them to the batter. Excess moisture can make the doughnuts soggy.
Q: Can I bake these instead of frying them?
A: You can, but the texture will be different. They will be more like a mini muffin or cake bite. To try it, spoon the batter into a greased mini muffin tin and bake at 375°F (190°C) for 10-12 minutes, or until a toothpick comes out clean.
Q: How do I know when the doughnut holes are cooked through?
A: The most reliable sign is a deep, uniform golden-brown color on all sides. You can also sacrifice one from the first batch and break it open to check for a cooked, cakey interior.
NUTRITIONAL SNAPSHOT
| Nutrient | Amount per Serving |
|---|---|
| Calories | 380 |
| Protein | 4g |
| Fat | 18g |
| Net Carbs | 49g |
| Fiber | 1g |
| Sugar | 28g |
*Estimates are for 4-5 doughnut holes and will vary based on size and oil absorption.*

Quick & Fluffy Cherry Doughnut Holes
These tender, cakey doughnut holes are bursting with sweet cherry and coated in a simple vanilla glaze. They come together in under 30 minutes, making them one of the most rewarding and easy desserts you can whip up for a spontaneous treat. This recipe skips the yeast and proofing time, relying on simple pantry staples for a fast, delicious result.
Ingredients
- 2 cups all-purpose flour
- 1/2 cup granulated sugar
- 2 teaspoons baking powder
- 1/2 teaspoon salt
- 1 large egg
- 3/4 cup buttermilk
- 2 tablespoons melted unsalted butter
- 3/4 cup finely chopped pitted cherries
- 1 1/2 cups powdered sugar
- 2-3 tablespoons milk
- 1/2 teaspoon vanilla extract
- 2-3 inches neutral oil (canola, vegetable)
Instructions
- Prep Your Station: Pour about 2-3 inches of neutral oil (canola, vegetable, or peanut) into a heavy-bottomed pot or Dutch oven. Begin heating over medium heat. Line a baking sheet or large plate with paper towels for draining the finished doughnut holes.
- Mix Dry Ingredients: In a large bowl, whisk together 2 cups of all-purpose flour, 1/2 cup of granulated sugar, 2 teaspoons of baking powder, and 1/2 teaspoon of salt.
- Mix Wet Ingredients: In a separate medium bowl, whisk 1 large egg, 3/4 cup of buttermilk, and 2 tablespoons of melted unsalted butter.
- Combine Batter: Pour the wet ingredients into the dry ingredients. Mix with a spatula until just combined. Do not overmix. A few lumps are perfectly fine. Gently fold in 3/4 cup of finely chopped, pitted cherries (fresh or thawed from frozen and patted dry).
- Fry the Doughnut Holes: Once your oil is at temperature, use two small spoons or a small cookie scoop to carefully drop rounded tablespoons of batter into the hot oil. Don't overcrowd the pot; fry in batches of 5-6 at a time.
- Cook to Perfection: Fry for about 2-3 minutes per side, turning them halfway through, until they are deep golden brown and cooked through.
- Drain: Use a slotted spoon to transfer the cooked doughnut holes to your prepared paper towel-lined plate to drain excess oil.
- Prepare the Glaze: While the doughnut holes are still warm, whisk together 1 1/2 cups of powdered sugar, 2-3 tablespoons of milk, and 1/2 teaspoon of vanilla extract in a shallow bowl until smooth. Add more milk, one teaspoon at a time, if needed to reach a dippable consistency.
- Glaze and Serve: Dip each warm doughnut hole into the glaze, turning to coat. Place on a wire rack to let the excess glaze drip off and set. Serve immediately for the best texture.