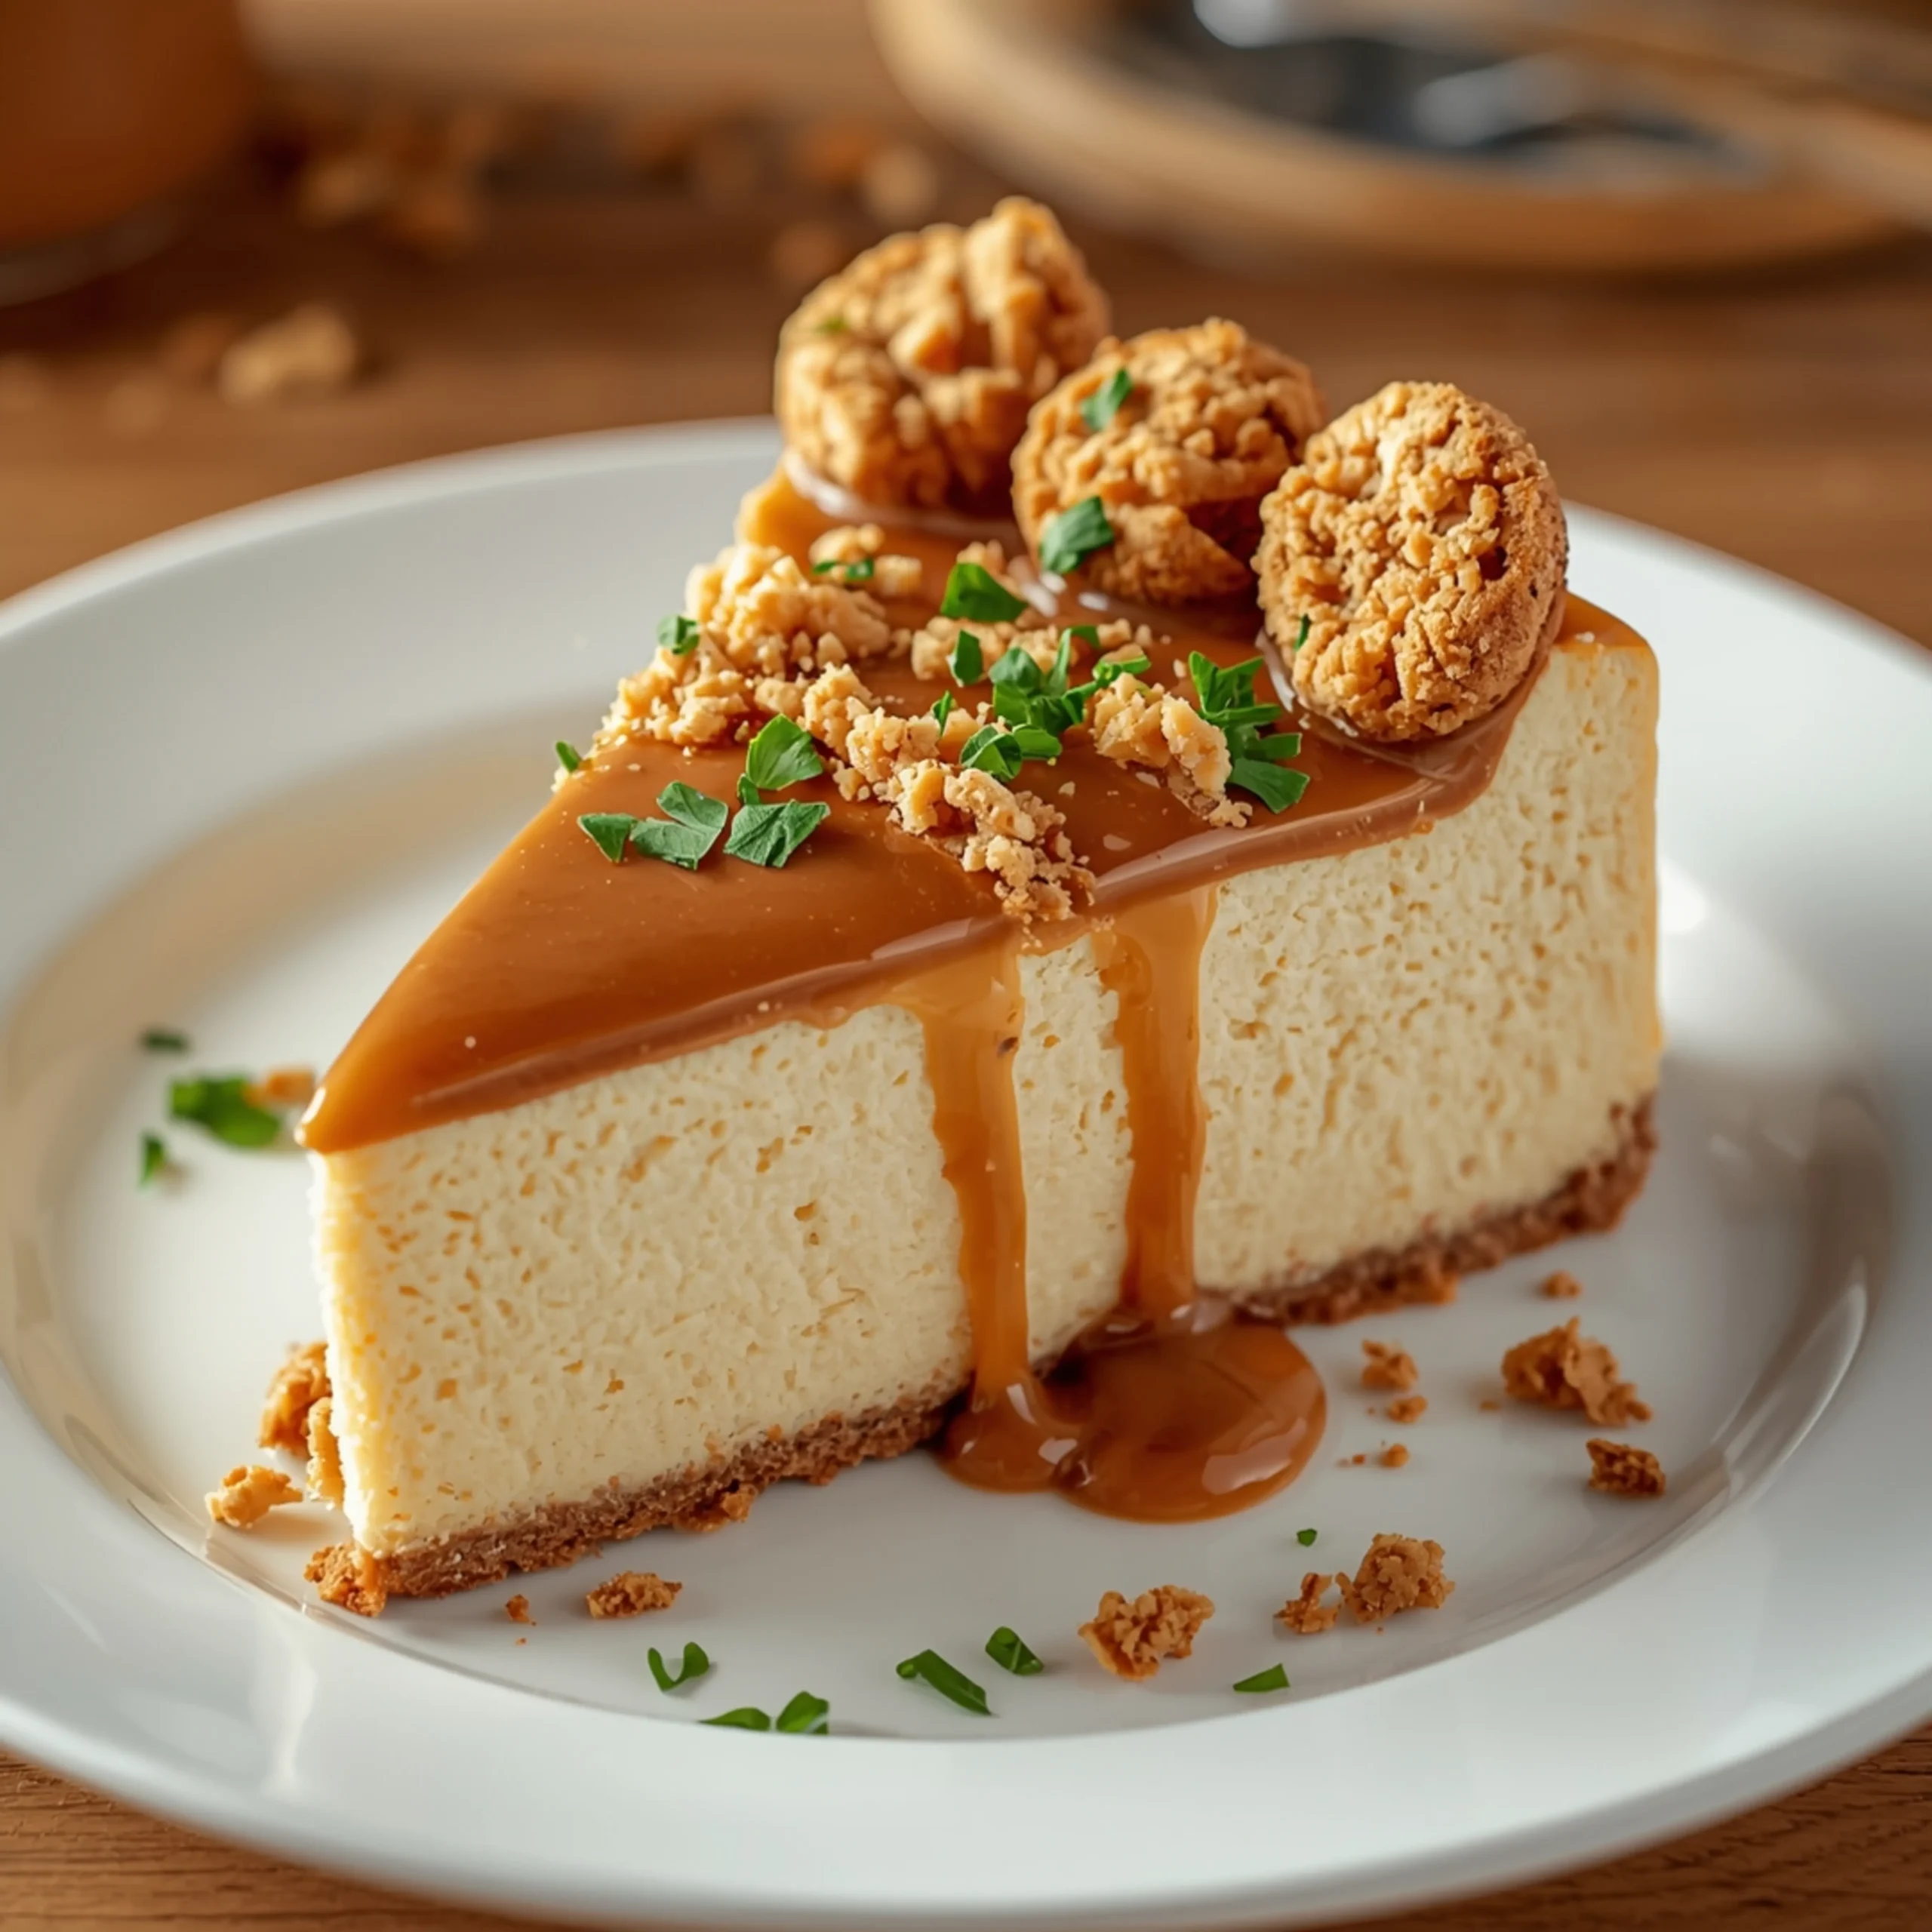
Rich & Creamy Biscoff Cheesecake (A No-Fail Recipe)
This Cookie Butter Cheesecake delivers a dense, creamy texture and an intense, caramelized spice flavor that’s absolutely unforgettable. This is one of the most requested Desserts I make because the method is straightforward, reliable, and skips the need for a fussy water bath. Get ready for a showstopper.
The Anatomy of a Perfect Biscoff Cheesecake
A flawless cheesecake is a sum of its parts. Here’s the engineering behind each layer.
- The Crust: We use Biscoff cookies exclusively. Their crisp texture and deep molasses flavor create a base that’s far more interesting than standard graham crackers. A little sugar adds structure and butter binds it all together.
- The Filling: The core of the recipe. We use full-fat, block-style cream cheese for its low water content and superior structure. Creamy Biscoff spread is melted directly into the batter for a seamless flavor infusion. Sour cream adds a slight tang to balance the sweetness and contributes to a velvety smooth texture.
- The Topping: Simplicity is key. A gentle layer of melted cookie butter, drizzled over the chilled cheesecake, adds a final, decadent punch. Crushed cookies around the edge provide a beautiful finish and textural contrast.
Key Equipment for Cheesecake Success
You don’t need a professional kitchen, but the right tools are critical for a smooth process and perfect results.
- 9-inch Springform Pan: Non-negotiable. This two-piece pan allows you to release the cheesecake walls without inverting or damaging the final product.
- Stand Mixer or Electric Hand Mixer: Essential for creating a lump-free filling without incorporating too much air. Doing this by hand is not recommended.
- Rubber Spatula: For scraping the bowl thoroughly. Every bit of that cream cheese mixture is gold.
- Food Processor (or a Ziploc Bag & Rolling Pin): To create fine, even crumbs for the crust.
No-Crack Cheesecake: Pro Tips & Techniques
The dreaded cheesecake crack is almost always avoidable. Like all the best recipes on our site, this one relies on technique, not luck. Follow these engineering principles for a perfect, smooth top every time.
- Room Temperature is Law: Your cream cheese, sour cream, and eggs must be at true room temperature (around 70°F / 21°C). Cold ingredients don’t emulsify properly, leading to a lumpy batter and a higher risk of cracking.
- Mix Low and Slow: Over-beating, especially after adding eggs, whips air into the batter. As the cheesecake bakes, these air bubbles rise and burst, causing cracks. Mix on low-medium speed just until ingredients are combined.
- Don’t Open The Oven Door: Every time you open the door, the temperature plummets, causing the cheesecake to contract and expand rapidly, which can lead to cracks. Use the oven light to check on it.
- The Gradual Cool-Down: The most critical step. Drastic temperature changes are the #1 enemy of a perfect cheesecake.
- Turn off the oven.
- Crack the oven door open slightly.
- Let the cheesecake cool in the turned-off oven for 1 full hour.
- Then, move it to the counter to cool completely before chilling.
Step-by-Step Instructions
Prep Time: 20 minutes
Cook Time: 60-70 minutes
Chill Time: 6 hours (minimum)
- Preheat & Prep: Adjust your oven rack to the middle position and preheat to 350°F (175°C). Lightly grease the bottom and sides of a 9-inch springform pan.
- Make the Crust: In a food processor, pulse the Biscoff cookies into fine crumbs. Add the brown sugar and melted butter, pulsing until the mixture resembles wet sand.
- Press & Pre-Bake: Firmly press the crumb mixture into the bottom and slightly up the sides of the prepared pan. Use the flat bottom of a measuring cup to get an even layer. Bake for 10 minutes. Set aside to cool while you make the filling.
- Start the Filling: In the bowl of a stand mixer fitted with the paddle attachment, beat the room temperature cream cheese and granulated sugar on medium-low speed until smooth and creamy. Scrape down the sides of the bowl.
- Add Flavor: Add the sour cream, melted cookie butter, and vanilla extract. Mix on low speed until just combined. Scrape the bowl again.
- Incorporate Eggs: Add the eggs one at a time, mixing on low speed after each addition just until the yellow yolk disappears. Do not over-mix here.
- Assemble & Bake: Pour the filling over the cooled crust and smooth the top with a spatula. Bake for 60-70 minutes. The edges should be set, but the center should still have a slight “jiggle” (not liquid).
- Cool Down: Turn the oven off, crack the door open, and let the cheesecake cool inside the oven for 1 hour.
- Chill Completely: Remove the cheesecake from the oven and let it cool completely on a wire rack. Once at room temperature, cover loosely with plastic wrap and refrigerate for at least 6 hours, or preferably overnight.
- Garnish & Serve: Before serving, gently run a thin knife around the edge and release the springform collar. Microwave the remaining ¼ cup of cookie butter in 15-second intervals until pourable. Drizzle it over the top and garnish with extra crushed cookies.
Serving Suggestions & Pairings
This cheesecake is a powerhouse of flavor on its own, but you can enhance the experience further.
- Coffee & Tea: A hot cup of black coffee or a spiced chai tea perfectly cuts through the richness.
- Whipped Cream: A dollop of unsweetened or lightly sweetened whipped cream adds a light, airy contrast.
- Fresh Fruit: A side of fresh raspberries or sliced strawberries provides a tart, acidic balance to the sweet, spiced filling.
- Menu Planning: This dessert is a decadent end to any meal. If you need a savory appetizer to start, something with a contrasting flavor profile like these Crab Rangoon Nachos would be an excellent choice.
COMMON MISTAKES TO AVOID
- Mistake: Using cold cream cheese.
Fix: Your batter will be lumpy and prone to cracking. Let all dairy and eggs sit on the counter for at least 1-2 hours before starting. - Mistake: Over-mixing the batter after adding eggs.
Fix: This incorporates too much air. Mix on the lowest speed and stop as soon as each egg is combined. Scrape the bowl instead of over-mixing. - Mistake: Chilling the cheesecake while it’s still warm.
Fix: This creates condensation and can ruin the texture. The cheesecake must cool completely at room temperature after the 1-hour oven cool-down before it goes into the fridge.
FAQ
Q: Can I make this a no-bake cheesecake?
A: This specific recipe is designed for baking, which sets the eggs and creates its signature dense texture. To adapt it to no-bake, you would need to omit the eggs and add a stabilizer like gelatin or more whipped cream, fundamentally changing the recipe.
Q: How do I store leftovers?
A: Store the cheesecake tightly covered in the refrigerator for up to 5 days. It also freezes exceptionally well. To freeze, place slices on a baking sheet until firm, then wrap each slice individually in plastic wrap and foil. It will last for up to 3 months.
Q: Can I use a different crust?
A: Absolutely. While Biscoff cookies are ideal, you can substitute them with graham crackers, digestive biscuits, or even a crust made from speculoos-style cookies from other brands. The process remains the same. For other creative baking ideas, this Hawaiian Roll French Toast recipe is a fun one.
NUTRITIONAL SNAPSHOT
| Nutient | Amount per Serving |
|---|---|
| Calories | 680 kcal |
| Protein | 9g |
| Fat | 48g |
| Net Carbs | 52g |
| Fiber | 1g |
| Sugar | 40g |
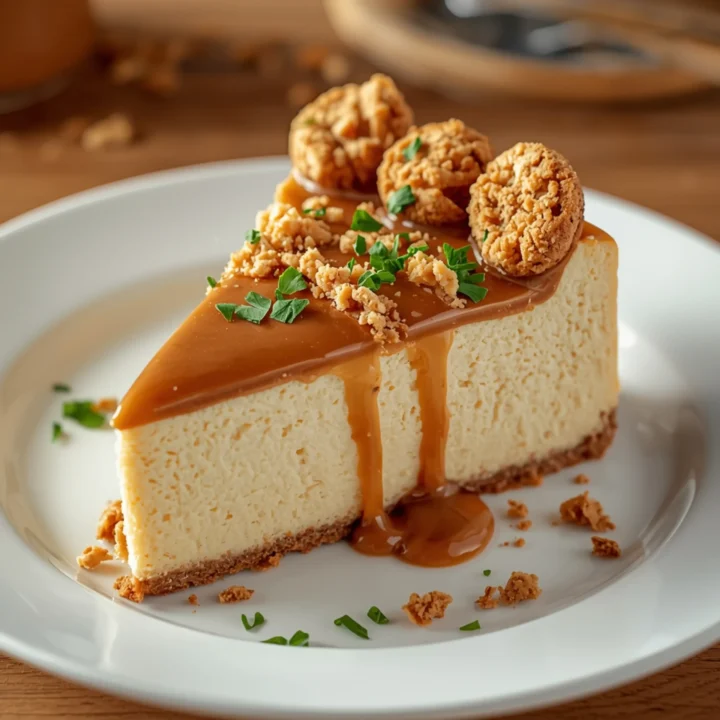
Rich & Creamy Biscoff Cheesecake (A No-Fail Recipe)
This Cookie Butter Cheesecake delivers a dense, creamy texture and an intense, caramelized spice flavor that’s absolutely unforgettable. This is one of the most requested Desserts I make because the method is straightforward, reliable, and skips the need for a fussy water bath. Get ready for a showstopper.
Ingredients
- 25 Biscoff cookies (about 8.8 oz or 250g)
- 2 tablespoons brown sugar, packed
- 6 tablespoons unsalted butter, melted
- 32 oz (four 8-oz blocks) full-fat cream cheese, at room temperature
- 1 ½ cups granulated sugar
- 1 cup full-fat sour cream, at room temperature
- 1 cup creamy Biscoff cookie butter, melted slightly
- 1 ½ teaspoons vanilla extract
- 4 large eggs, at room temperature
- ¼ cup creamy Biscoff cookie butter
- 4-5 Biscoff cookies, crushed for garnish
Instructions
- Adjust your oven rack to the middle position and preheat to 350°F (175°C). Lightly grease the bottom and sides of a 9-inch springform pan.
- In a food processor, pulse the Biscoff cookies into fine crumbs. Add the brown sugar and melted butter, pulsing until the mixture resembles wet sand.
- Firmly press the crumb mixture into the bottom and slightly up the sides of the prepared pan. Use the flat bottom of a measuring cup to get an even layer. Bake for 10 minutes. Set aside to cool while you make the filling.
- In the bowl of a stand mixer fitted with the paddle attachment, beat the room temperature cream cheese and granulated sugar on medium-low speed until smooth and creamy. Scrape down the sides of the bowl.
- Add the sour cream, melted cookie butter, and vanilla extract. Mix on low speed until just combined. Scrape the bowl again.
- Add the eggs one at a time, mixing on low speed after each addition just until the yellow yolk disappears. Do not over-mix here.
- Pour the filling over the cooled crust and smooth the top with a spatula. Bake for 60-70 minutes. The edges should be set, but the center should still have a slight "jiggle" (not liquid).
- Turn the oven off, crack the door open, and let the cheesecake cool inside the oven for 1 hour.
- Remove the cheesecake from the oven and let it cool completely on a wire rack. Once at room temperature, cover loosely with plastic wrap and refrigerate for at least 6 hours, or preferably overnight.
- Before serving, gently run a thin knife around the edge and release the springform collar. Microwave the remaining ¼ cup of cookie butter in 15-second intervals until pourable. Drizzle it over the top and garnish with extra crushed cookies.