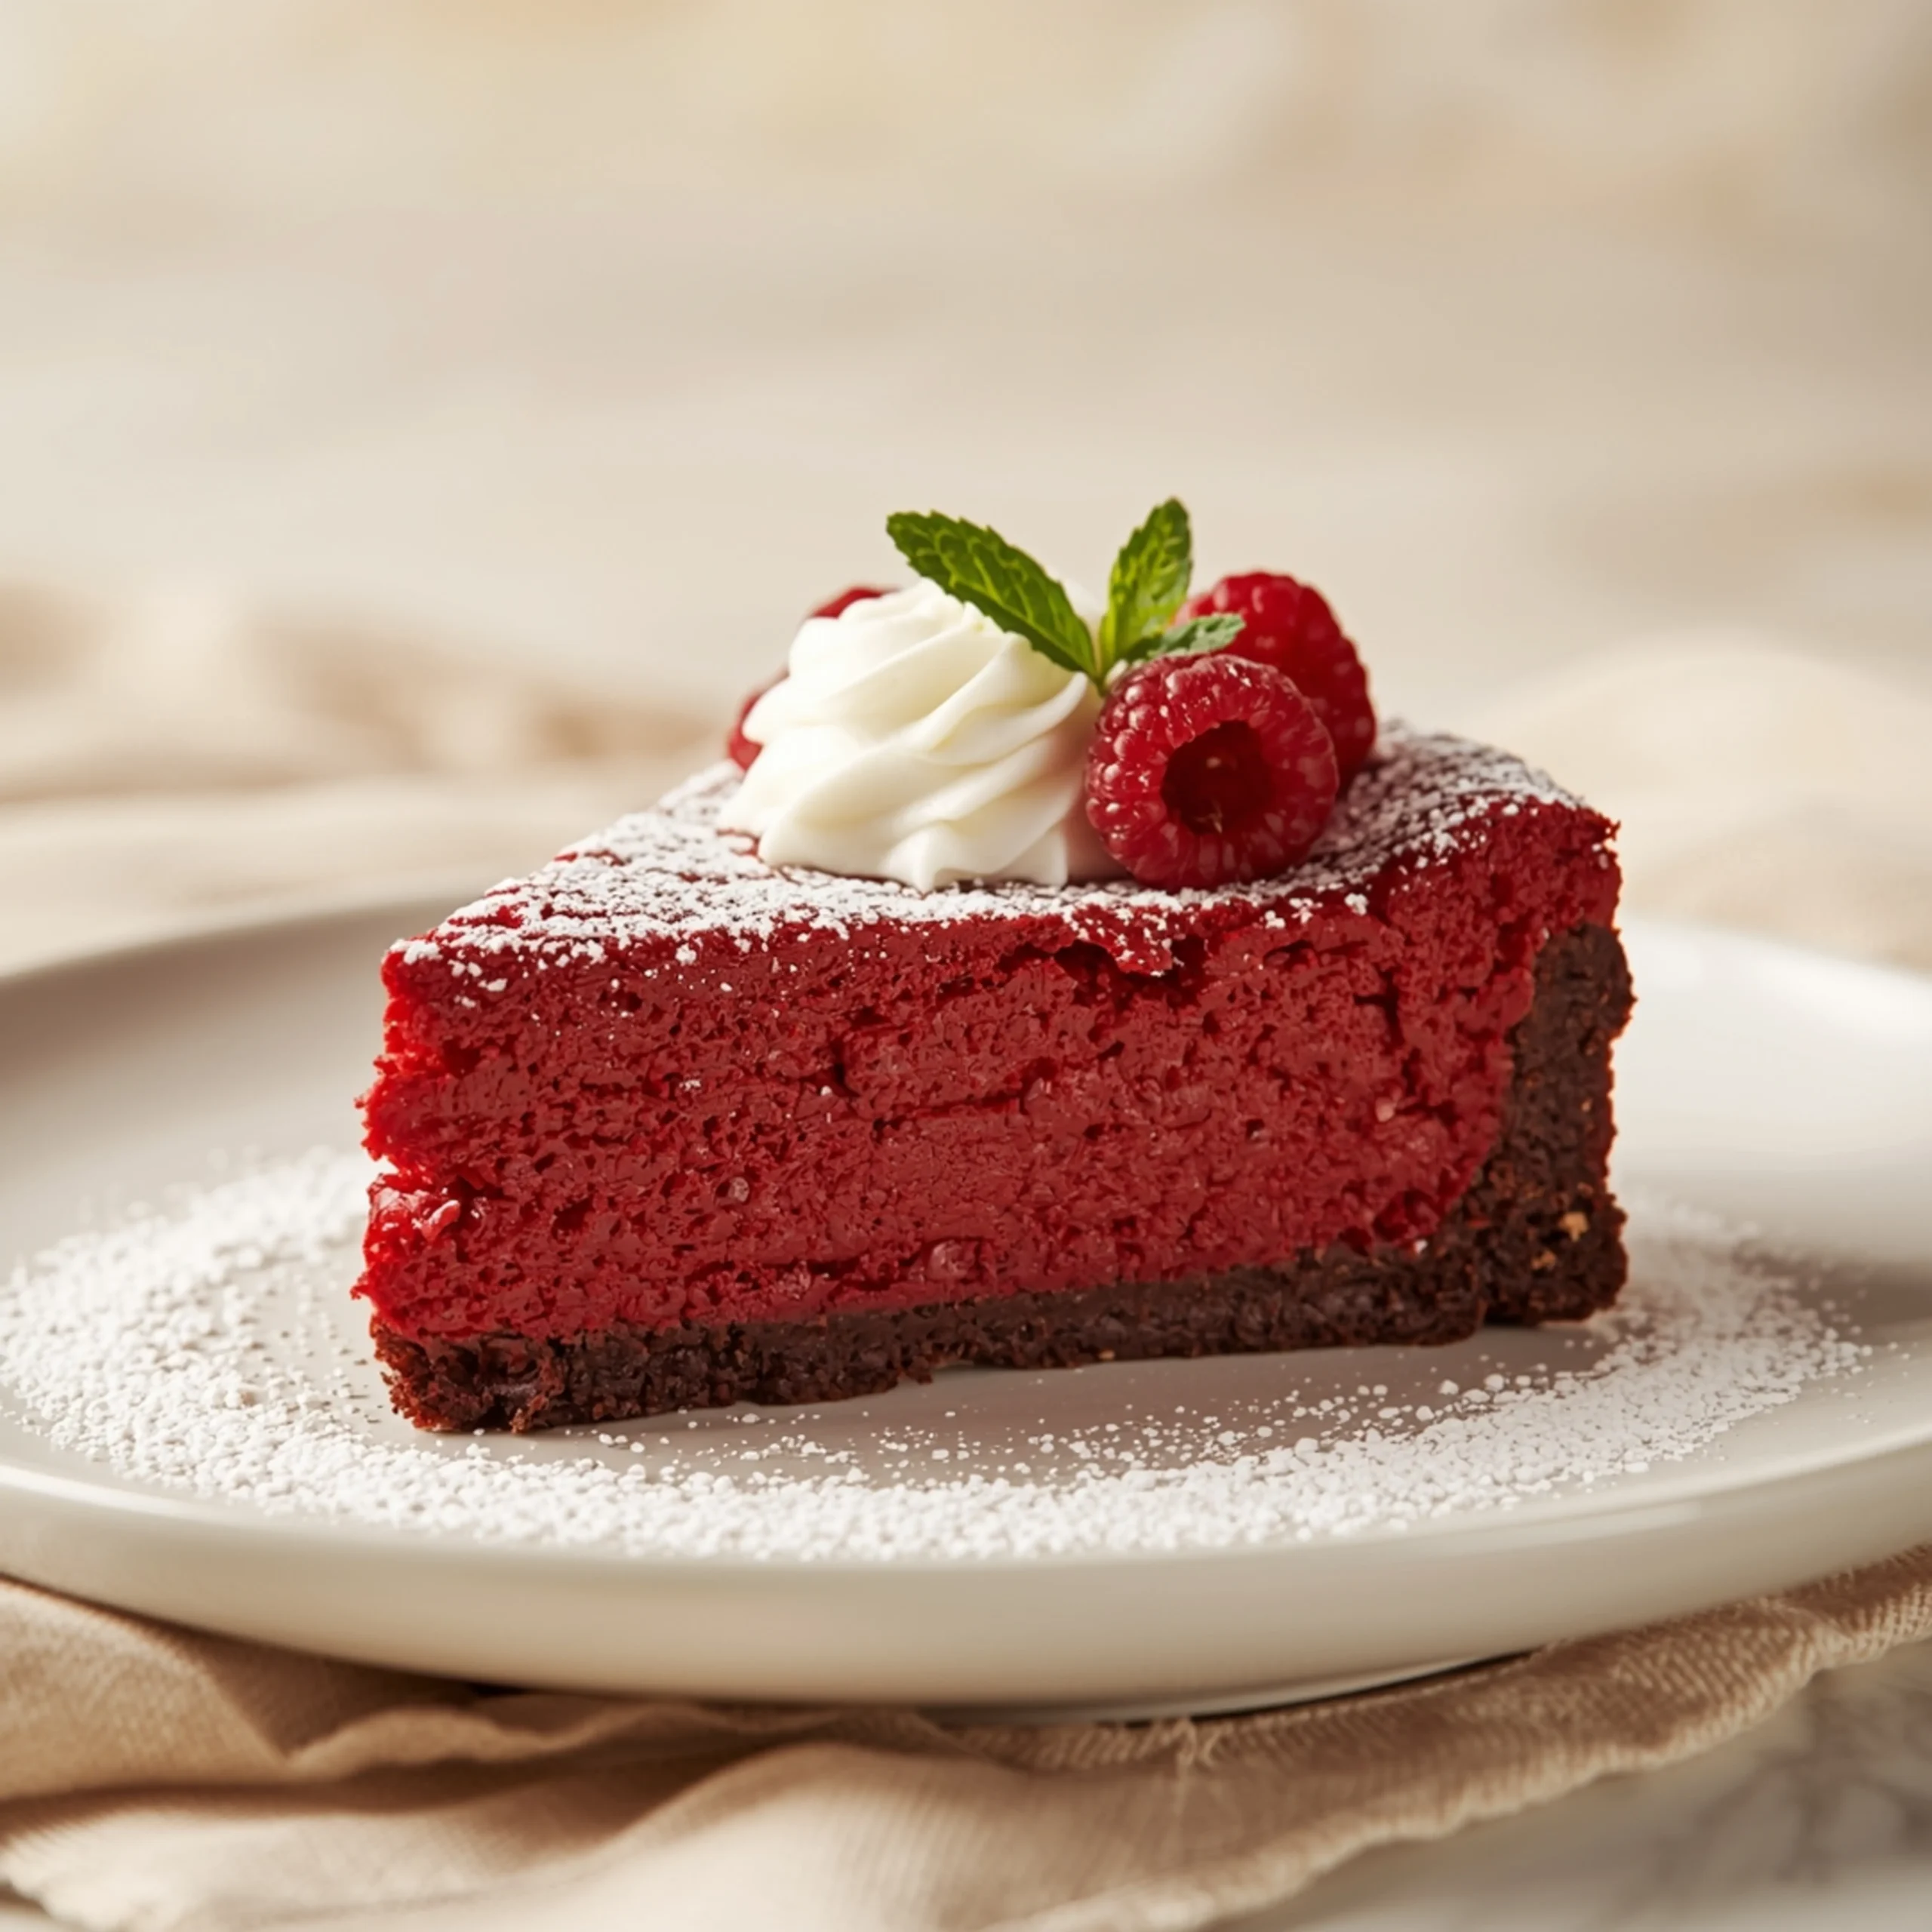
The Perfect Red Velvet Burnt Basque Cheesecake
This Red Velvet Burnt Basque Cheesecake defies all traditional cheesecake rules. It boasts a deeply caramelized, almost-burnt crust that gives way to an impossibly creamy, tangy, and rich red velvet center. If you’re looking for more show-stopping desserts, this crustless wonder is your new go-to.
The Engineering of the ‘Burnt’ Top
The magic of a Basque cheesecake happens at high heat. This isn’t a delicate, low-and-slow bake. We use a hot oven (400°F / 200°C) to achieve two key reactions simultaneously.
- Maillard Reaction: The high heat causes the proteins and sugars in the batter to react, creating the deep brown color and complex, toasted, nutty flavors on the surface.
- Caramelization: The sugars on the surface literally caramelize, adding a layer of bittersweet complexity that cuts through the richness of the cream cheese.
This intense heat cooks the outside quickly, forming a natural crust while leaving the inside tender, custardy, and slightly underdone in the very center. That contrast is the entire point.
Ingredient Breakdown: The Red Velvet Trio
Precision with your ingredients is key. This isn’t the time for substitutions if you want a perfect result.
- Full-Fat, Block Cream Cheese: This is non-negotiable. Do not use whipped, low-fat, or tub-style cream cheese. It lacks the structure and fat content needed for the classic dense, creamy texture.
- Dutch-Processed Cocoa Powder: While natural cocoa works, Dutch-processed cocoa has been alkalized. This results in a darker, less acidic powder, which produces that classic deep, reddish-brown “red velvet” hue and a smoother chocolate flavor.
- Gel Food Coloring: Gel coloring is far more concentrated than liquid. You’ll need significantly less to achieve a vibrant red, preventing you from adding excess liquid that could alter the cheesecake’s texture.
Mastering the Texture: Room Temperature is Law
The single most critical step for a smooth, lump-free Basque cheesecake is ensuring your “cold” ingredients are at room temperature.
- Cream Cheese: Must be soft to the touch. Cold cream cheese will not blend smoothly and will leave you with a lumpy batter, no matter how much you mix it. Take it out of the fridge at least 2-3 hours before you begin.
- Eggs: Cold eggs can cause the softened cream cheese to seize up and curdle. Place them in a bowl of warm water for 10-15 minutes for a quick warm-up.
This step guarantees a homogenous, velvety batter that bakes into a flawless, uniform custard.
Step-by-Step Instructions
Prep Time: 15 minutes
Cook Time: 55-65 minutes
Yields: 10-12 servings
Equipment:
- 10-inch springform pan
- 2 large sheets of parchment paper
- Stand mixer with paddle attachment or hand mixer
Ingredients:
- 32 oz (900g) full-fat block cream cheese, very soft
- 1 ¾ cups (350g) granulated sugar
- 6 large eggs, room temperature
- 2 cups (480ml) heavy cream, room temperature
- 1 tsp vanilla extract
- ½ tsp salt
- ¼ cup (30g) all-purpose flour
- 3 tbsp (20g) Dutch-processed cocoa powder
- 1-2 tbsp red gel food coloring
Method:
- Preheat & Prep Pan: Place a rack in the middle of your oven and preheat to 400°F (200°C). Generously butter a 10-inch springform pan. Criss-cross two large sheets of parchment paper inside the pan, pressing them into the bottom and up the sides. The parchment should extend at least 2 inches above the rim of the pan—this is crucial as the cheesecake will rise significantly.
- Cream the Cheese & Sugar: In the bowl of a stand mixer with the paddle attachment (or using a hand mixer), beat the softened cream cheese on medium speed until completely smooth and free of lumps, about 2-3 minutes. Scrape down the bowl. Add the granulated sugar and salt, and beat for another 2 minutes until fully combined and creamy.
- Incorporate Eggs: Add the room temperature eggs one at a time, beating on low speed until just combined after each addition. Do not overmix here; we want to avoid incorporating too much air.
- Add Liquids & Color: Scrape down the bowl. With the mixer on low, slowly stream in the heavy cream and vanilla extract. Add the red gel food coloring and mix until the batter is a uniform, vibrant red.
- Sift in Dry Ingredients: In a small bowl, sift together the all-purpose flour and cocoa powder. With the mixer on its lowest setting, add the dry ingredients to the batter, mixing only until no dry streaks remain. Give the bowl one final scrape to ensure everything is incorporated.
- Pour & Bake: Pour the batter into your prepared pan. Bake for 55-65 minutes. The cheesecake will puff up dramatically, the top will be a very dark brown (almost black in spots), and the edges will be set. The center 3-4 inches should still have a significant jiggle when you gently shake the pan. This is what you want.
- Cool Completely: Remove the cheesecake from the oven and let it cool completely on a wire rack. It will deflate and sink in the middle as it cools—this is normal. Once at room temperature (about 2-3 hours), transfer it to the refrigerator to chill, uncovered, for at least 6 hours or preferably overnight.
- Serve: To serve, carefully remove the springform ring. You can either peel back the parchment or leave it on for a rustic look. Slice with a hot, clean knife.
Serving & Storage Blueprint
- Serving Temperature: The flavor and texture shine best when served either slightly chilled or at room temperature. Let it sit out for 20-30 minutes before slicing.
- Flavor Pairings:
- Coffee: A strong espresso or black coffee cuts the richness perfectly.
- Berries: A simple side of fresh raspberries or a tart cherry sauce provides a bright, acidic contrast.
- After a Meal: Its deep flavors make it a stunning conclusion to a savory dinner. Imagine serving this after a rich main course like a classic Garlic Butter Beef Tenderloin.
- Storage: Store leftovers tightly covered in the refrigerator for up to 5 days. The flavor actually deepens by day two. This is one of those versatile recipes that gets better with time.
COMMON MISTAKES TO AVOID
- Mistake: Using cold ingredients.
- Fix: This is the #1 cause of lumpy cheesecake. Ensure cream cheese and eggs are at true room temperature for a silky-smooth batter.
- Mistake: Under-baking out of fear of the “burnt” top.
- Fix: Trust the process. The dark, caramelized top is the goal. If you pull it too early, the center will be liquid instead of custardy. Look for the pronounced jiggle in the very center, not the whole cake.
- Mistake: Over-mixing the batter, especially after adding eggs.
- Fix: Over-mixing incorporates too much air, which can cause the cheesecake to puff up excessively and then crack and fall dramatically. Mix on low speed and only until ingredients are just combined.
FAQ
Q: Can I make this without the red food coloring?
A: Absolutely. It will simply be a Chocolate Burnt Basque Cheesecake. The flavor will be delicious, focusing purely on the tangy cream cheese and rich cocoa.
Q: How do I really know when it’s done baking?
A: The visual cues are key. The top should be a deep, dark brown. The outer 2-3 inches should be set and firm, but the inner 3-4 inches should jiggle like set Jell-O when you gently nudge the pan. Don’t use a knife or skewer to test it.
Q: What savory dish would this follow well?
A: It’s a fantastic finale to a savory meal. Its richness pairs beautifully after something equally comforting but not overpowering, such as a hearty Italian Onion Soup with Fontina.
For those looking to expand their culinary repertoire, a well-made German Potato Salad is another excellent dish to master for a complete, comforting meal.
NUTRITIONAL SNAPSHOT
Estimates per serving (1/12th of cake)
| Nutrient | Amount per Serving |
|---|---|
| Calories | 580 kcal |
| Protein | 10g |
| Fat | 48g |
| Net Carbs | 26g |
| Fiber | 1g |
| Sugar | 25g |

The Perfect Red Velvet Burnt Basque Cheesecake
This Red Velvet Burnt Basque Cheesecake defies all traditional cheesecake rules. It boasts a deeply caramelized, almost-burnt crust that gives way to an impossibly creamy, tangy, and rich red velvet center. If you're looking for more show-stopping desserts, this crustless wonder is your new go-to.
Ingredients
- 32 oz (900g) full-fat block cream cheese, very soft
- 1 ¾ cups (350g) granulated sugar
- 6 large eggs, room temperature
- 2 cups (480ml) heavy cream, room temperature
- 1 tsp vanilla extract
- ½ tsp salt
- ¼ cup (30g) all-purpose flour
- 3 tbsp (20g) Dutch-processed cocoa powder
- 1-2 tbsp red gel food coloring
Instructions
- Place a rack in the middle of your oven and preheat to 400°F (200°C). Generously butter a 10-inch springform pan. Criss-cross two large sheets of parchment paper inside the pan, pressing them into the bottom and up the sides. The parchment should extend at least 2 inches above the rim of the pan—this is crucial as the cheesecake will rise significantly.
- In the bowl of a stand mixer with the paddle attachment (or using a hand mixer), beat the softened cream cheese on medium speed until completely smooth and free of lumps, about 2-3 minutes. Scrape down the bowl. Add the granulated sugar and salt, and beat for another 2 minutes until fully combined and creamy.
- Add the room temperature eggs one at a time, beating on low speed until just combined after each addition. Do not overmix here; we want to avoid incorporating too much air.
- Scrape down the bowl. With the mixer on low, slowly stream in the heavy cream and vanilla extract. Add the red gel food coloring and mix until the batter is a uniform, vibrant red.
- In a small bowl, sift together the all-purpose flour and cocoa powder. With the mixer on its lowest setting, add the dry ingredients to the batter, mixing only until no dry streaks remain. Give the bowl one final scrape to ensure everything is incorporated.
- Pour the batter into your prepared pan. Bake for 55-65 minutes. The cheesecake will puff up dramatically, the top will be a very dark brown (almost black in spots), and the edges will be set. The center 3-4 inches should still have a significant jiggle when you gently shake the pan. This is what you want.
- Remove the cheesecake from the oven and let it cool completely on a wire rack. It will deflate and sink in the middle as it cools—this is normal. Once at room temperature (about 2-3 hours), transfer it to the refrigerator to chill, uncovered, for at least 6 hours or preferably overnight.
- To serve, carefully remove the springform ring. You can either peel back the parchment or leave it on for a rustic look. Slice with a hot, clean knife.