The Perfect 5-Minute Microwave Mug Brownie Recipe
This recipe delivers a rich, fudgy individual microwave mug brownie in under 5 minutes, satisfying intense chocolate cravings instantly. We use basic pantry staples to create a decadent, single-serving dessert that’s perfectly portioned and requires minimal cleanup. For more fast and satisfying sweets, explore my complete collection of dessert recipes.
Step-by-Step Instructions
- Melt Butter: In a standard 12-14 oz microwave-safe mug, melt the 2 tablespoons of unsalted butter. This usually takes 20-30 seconds on high power.
- Combine Wet Ingredients: Add the 3 tablespoons of granulated sugar, 1 tablespoon of milk, and ¼ teaspoon of vanilla extract directly to the melted butter in the mug. Whisk thoroughly with a small fork or whisk until smooth and emulsified.
- Incorporate Dry Ingredients: Add the 3 tablespoons of all-purpose flour, 1 ½ tablespoons of unsweetened cocoa powder, and a pinch of salt to the mug. Stir gently until just combined. Do not overmix; a few small lumps are acceptable.
- Add Chocolate Chips: Fold in the 2 tablespoons of chocolate chips. Reserve a few to sprinkle on top for a professional finish.
- Microwave: Cook on high power for 60 to 75 seconds. The exact time depends on your microwave’s wattage (see Engineer’s Notes below). The brownie is done when the edges are set and the center is still slightly gooey.
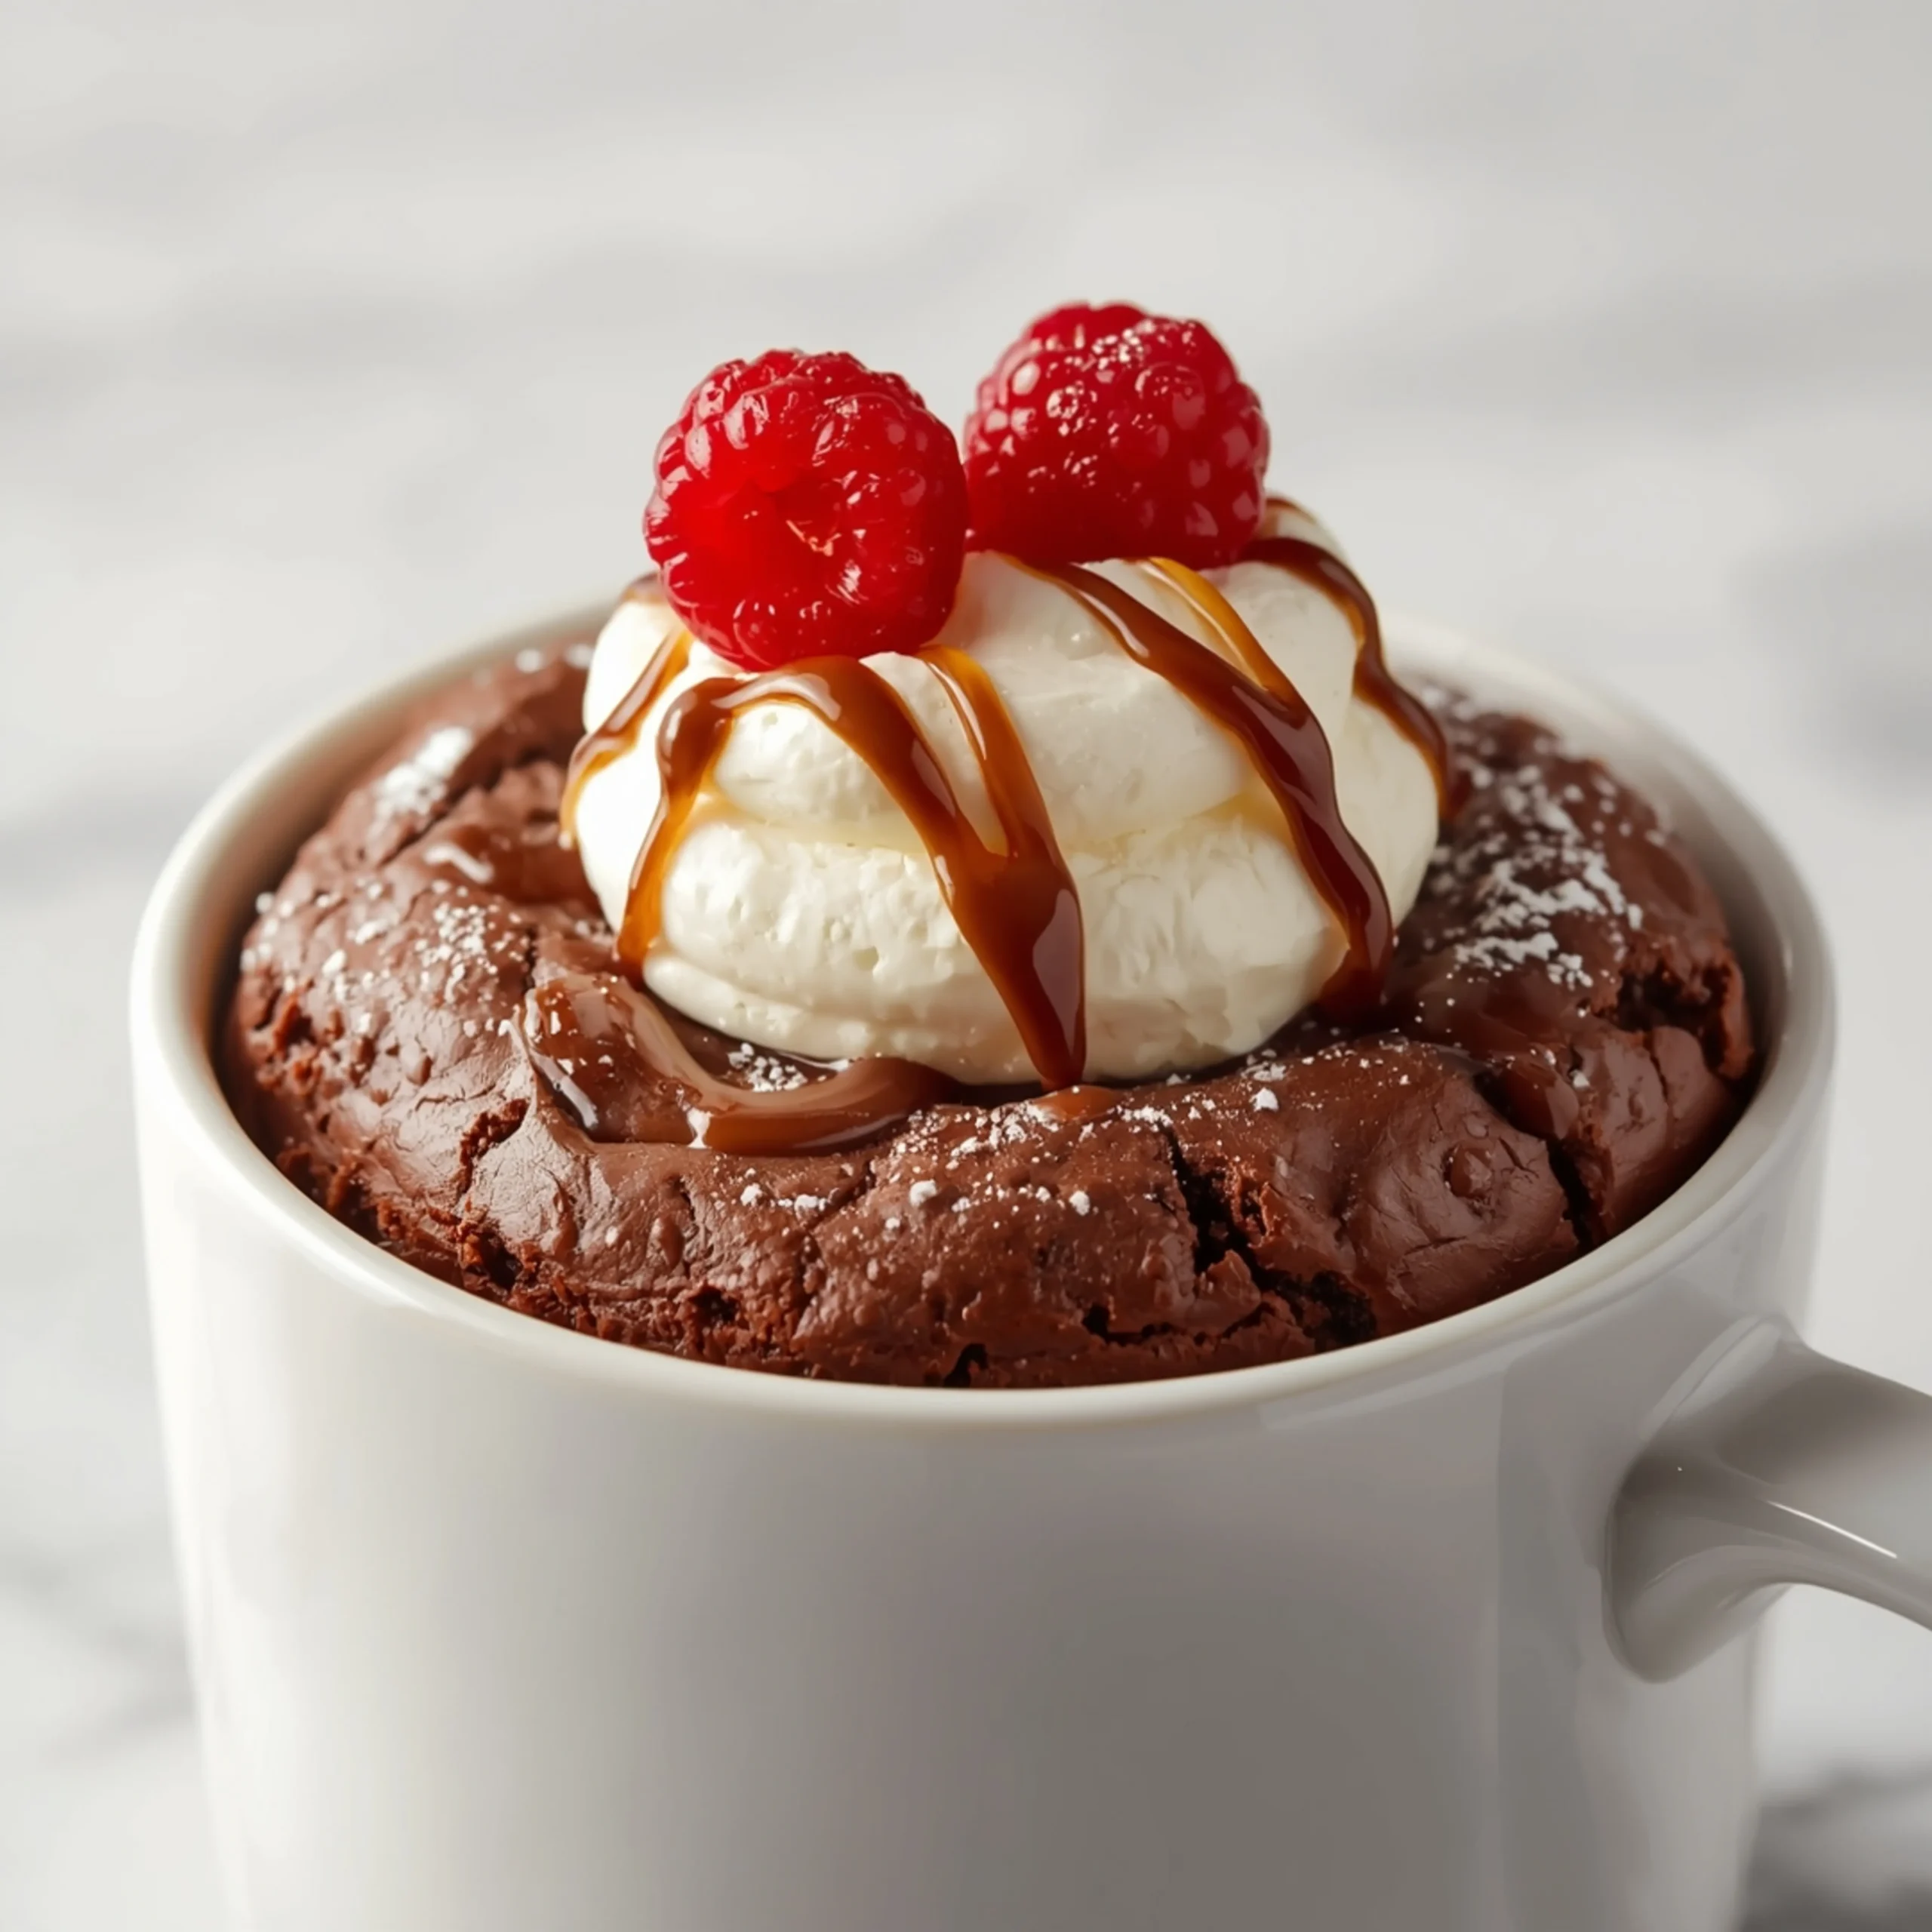
- Rest & Serve: Let the mug brownie rest for 1-2 minutes before eating. The residual heat will continue to cook the center to a perfect fudgy consistency. Serve warm, topped with a scoop of vanilla ice cream or a dollop of whipped cream if desired.
The Mug Brownie Blueprint: Key Ingredients
- Unsalted Butter: Provides fat for a rich, tender crumb and fudgy texture. Oil can be used, but butter offers superior flavor.
- Cocoa Powder: This is the primary source of chocolate flavor. Use unsweetened natural or Dutch-processed cocoa. Dutch-processed will yield a darker, less acidic brownie.
- All-Purpose Flour: Provides the structure. Too little, and it’s a pudding; too much, and it’s a dry cake. The quantity is precise for a reason.
- Granulated Sugar: Sweetens the brownie and contributes to its moist, dense texture.
- Milk: Adds necessary moisture. Any milk (dairy or non-dairy) works well.
- Chocolate Chips: Create pockets of melted chocolate, elevating the texture from a simple cake to a true brownie.
- Pinch of Salt: Crucial for balancing sweetness and enhancing the deep chocolate flavor notes.
Engineer’s Notes: Achieving the Perfect Texture
- Know Your Wattage: Microwave power varies. A 1200-watt microwave might only need 60 seconds, while a 900-watt unit could need 75-80 seconds. Start with the lower time and add 10-second increments if needed.
- The Enemy is Overmixing: When you mix flour with liquid, you develop gluten. Overmixing creates a tough, chewy, and rubbery texture. Stir only until the flour streaks disappear. This principle applies to many of our other simple recipes as well.
- Don’t Overcook: The biggest mistake is treating it like an oven-baked brownie. You want a molten, slightly underdone center when you pull it out. It will set as it cools. An overcooked mug brownie is dry and hard.
- Choose the Right Mug: Use a standard, wide-bottomed mug. A narrow or small mug will cause the batter to overflow or cook unevenly.
Flavor Architecture: Custom Mug Brownie Variations
Use this base recipe as a launchpad for creative flavor combinations. Mix these in along with the chocolate chips.
- Peanut Butter Swirl: Add a tablespoon of creamy peanut butter on top of the batter before microwaving. Use a toothpick to gently swirl it in.
- Nutella-Stuffed: Place a teaspoon of Nutella in the center of the batter. As it cooks, the batter will rise around it, creating a molten hazelnut core.
- Espresso Kick: Add ¼ teaspoon of instant espresso powder with the dry ingredients. Coffee deepens chocolate flavor, a technique also used to great effect in this chocolate-espresso banana bread recipe.
- Salted Caramel: Place 2-3 soft caramel candies in the center of the batter and sprinkle the finished brownie with flaky sea salt.
- Mint Chocolate: Use mint chocolate chips or add a single drop of peppermint extract to the wet ingredients.
The Science of Microwave Baking
Unlike conventional ovens that use hot air to cook from the outside in, microwaves use radiation to excite water molecules within the food, generating heat internally and rapidly.
This process essentially steams the batter, which is why microwave cakes cook so quickly and are incredibly moist. However, this method doesn’t create the dry heat needed for browning or crust formation, which is why a mug brownie’s texture is soft and fudgy rather than chewy with crisp edges.
COMMON MISTAKES TO AVOID
- Mistake: Overcooking until the top looks completely dry.
Fix: Pull the mug out when the center is still visibly wet and glossy. The residual heat will finish the job, ensuring a fudgy core. - Mistake: Using a small or narrow mug.
Fix: Use a standard 12-14 oz mug. This gives the batter room to rise without spilling over and promotes even cooking. - Mistake: Aggressively over-whisking the batter.
Fix: Stir the dry and wet ingredients together with a fork until just combined. A few lumps are fine and will bake out. This prevents a tough, rubbery texture.
FAQ
Q: Can I make this mug brownie vegan?
A: Yes. Use a neutral oil (like canola or melted coconut oil) instead of butter, a plant-based milk (almond or soy work well), and ensure your chocolate chips are dairy-free.
Q: Why did my brownie come out dry and hard?
A: This is almost always due to overcooking. Every microwave is different. Reduce your cooking time by 10-15 seconds on your next attempt to find the sweet spot for your machine.
Q: Can I prepare the mix ahead of time?
A: Absolutely. You can pre-mix the dry ingredients (flour, sugar, cocoa, salt) in a small jar or container. When ready to bake, just add the wet ingredients, stir, and microwave.
NUTRITIONAL SNAPSHOT
| Nutrient | Amount per Serving |
|---|---|
| Calories | 420 kcal |
| Protein | 5g |
| Fat | 22g |
| Net Carbs | 50g |
| Fiber | 4g |
| Sugar | 32g |
This single-serving brownie is a perfect quick indulgence. For those special occasions that call for a more ambitious breakfast treat, consider trying these impressive crème brûlée pancakes with honey drizzle.
The Perfect 5-Minute Microwave Mug Brownie Recipe
This recipe delivers a rich, fudgy individual microwave mug brownie in under 5 minutes, satisfying intense chocolate cravings instantly. We use basic pantry staples to create a decadent, single-serving dessert that’s perfectly portioned and requires minimal cleanup.
Ingredients
- 2 tbsp unsalted butter
- 3 tbsp granulated sugar
- 1 tbsp milk
- ¼ tsp vanilla extract
- 3 tbsp all-purpose flour
- 1 ½ tbsp unsweetened cocoa powder
- 1 pinch salt
- 2 tbsp chocolate chips
Instructions
- In a standard 12-14 oz microwave-safe mug, melt the 2 tablespoons of unsalted butter. This usually takes 20-30 seconds on high power.
- Add the 3 tablespoons of granulated sugar, 1 tablespoon of milk, and ¼ teaspoon of vanilla extract directly to the melted butter in the mug. Whisk thoroughly with a small fork or whisk until smooth and emulsified.
- Add the 3 tablespoons of all-purpose flour, 1 ½ tablespoons of unsweetened cocoa powder, and a pinch of salt to the mug. Stir gently until just combined. Do not overmix; a few small lumps are acceptable.
- Fold in the 2 tablespoons of chocolate chips. Reserve a few to sprinkle on top for a professional finish.
- Cook on high power for 60 to 75 seconds. The exact time depends on your microwave's wattage. The brownie is done when the edges are set and the center is still slightly gooey.
- Let the mug brownie rest for 1-2 minutes before eating. The residual heat will continue to cook the center to a perfect fudgy consistency. Serve warm, topped with a scoop of vanilla ice cream or a dollop of whipped cream if desired.