Soft & Chewy Red Velvet Crinkle Cookies
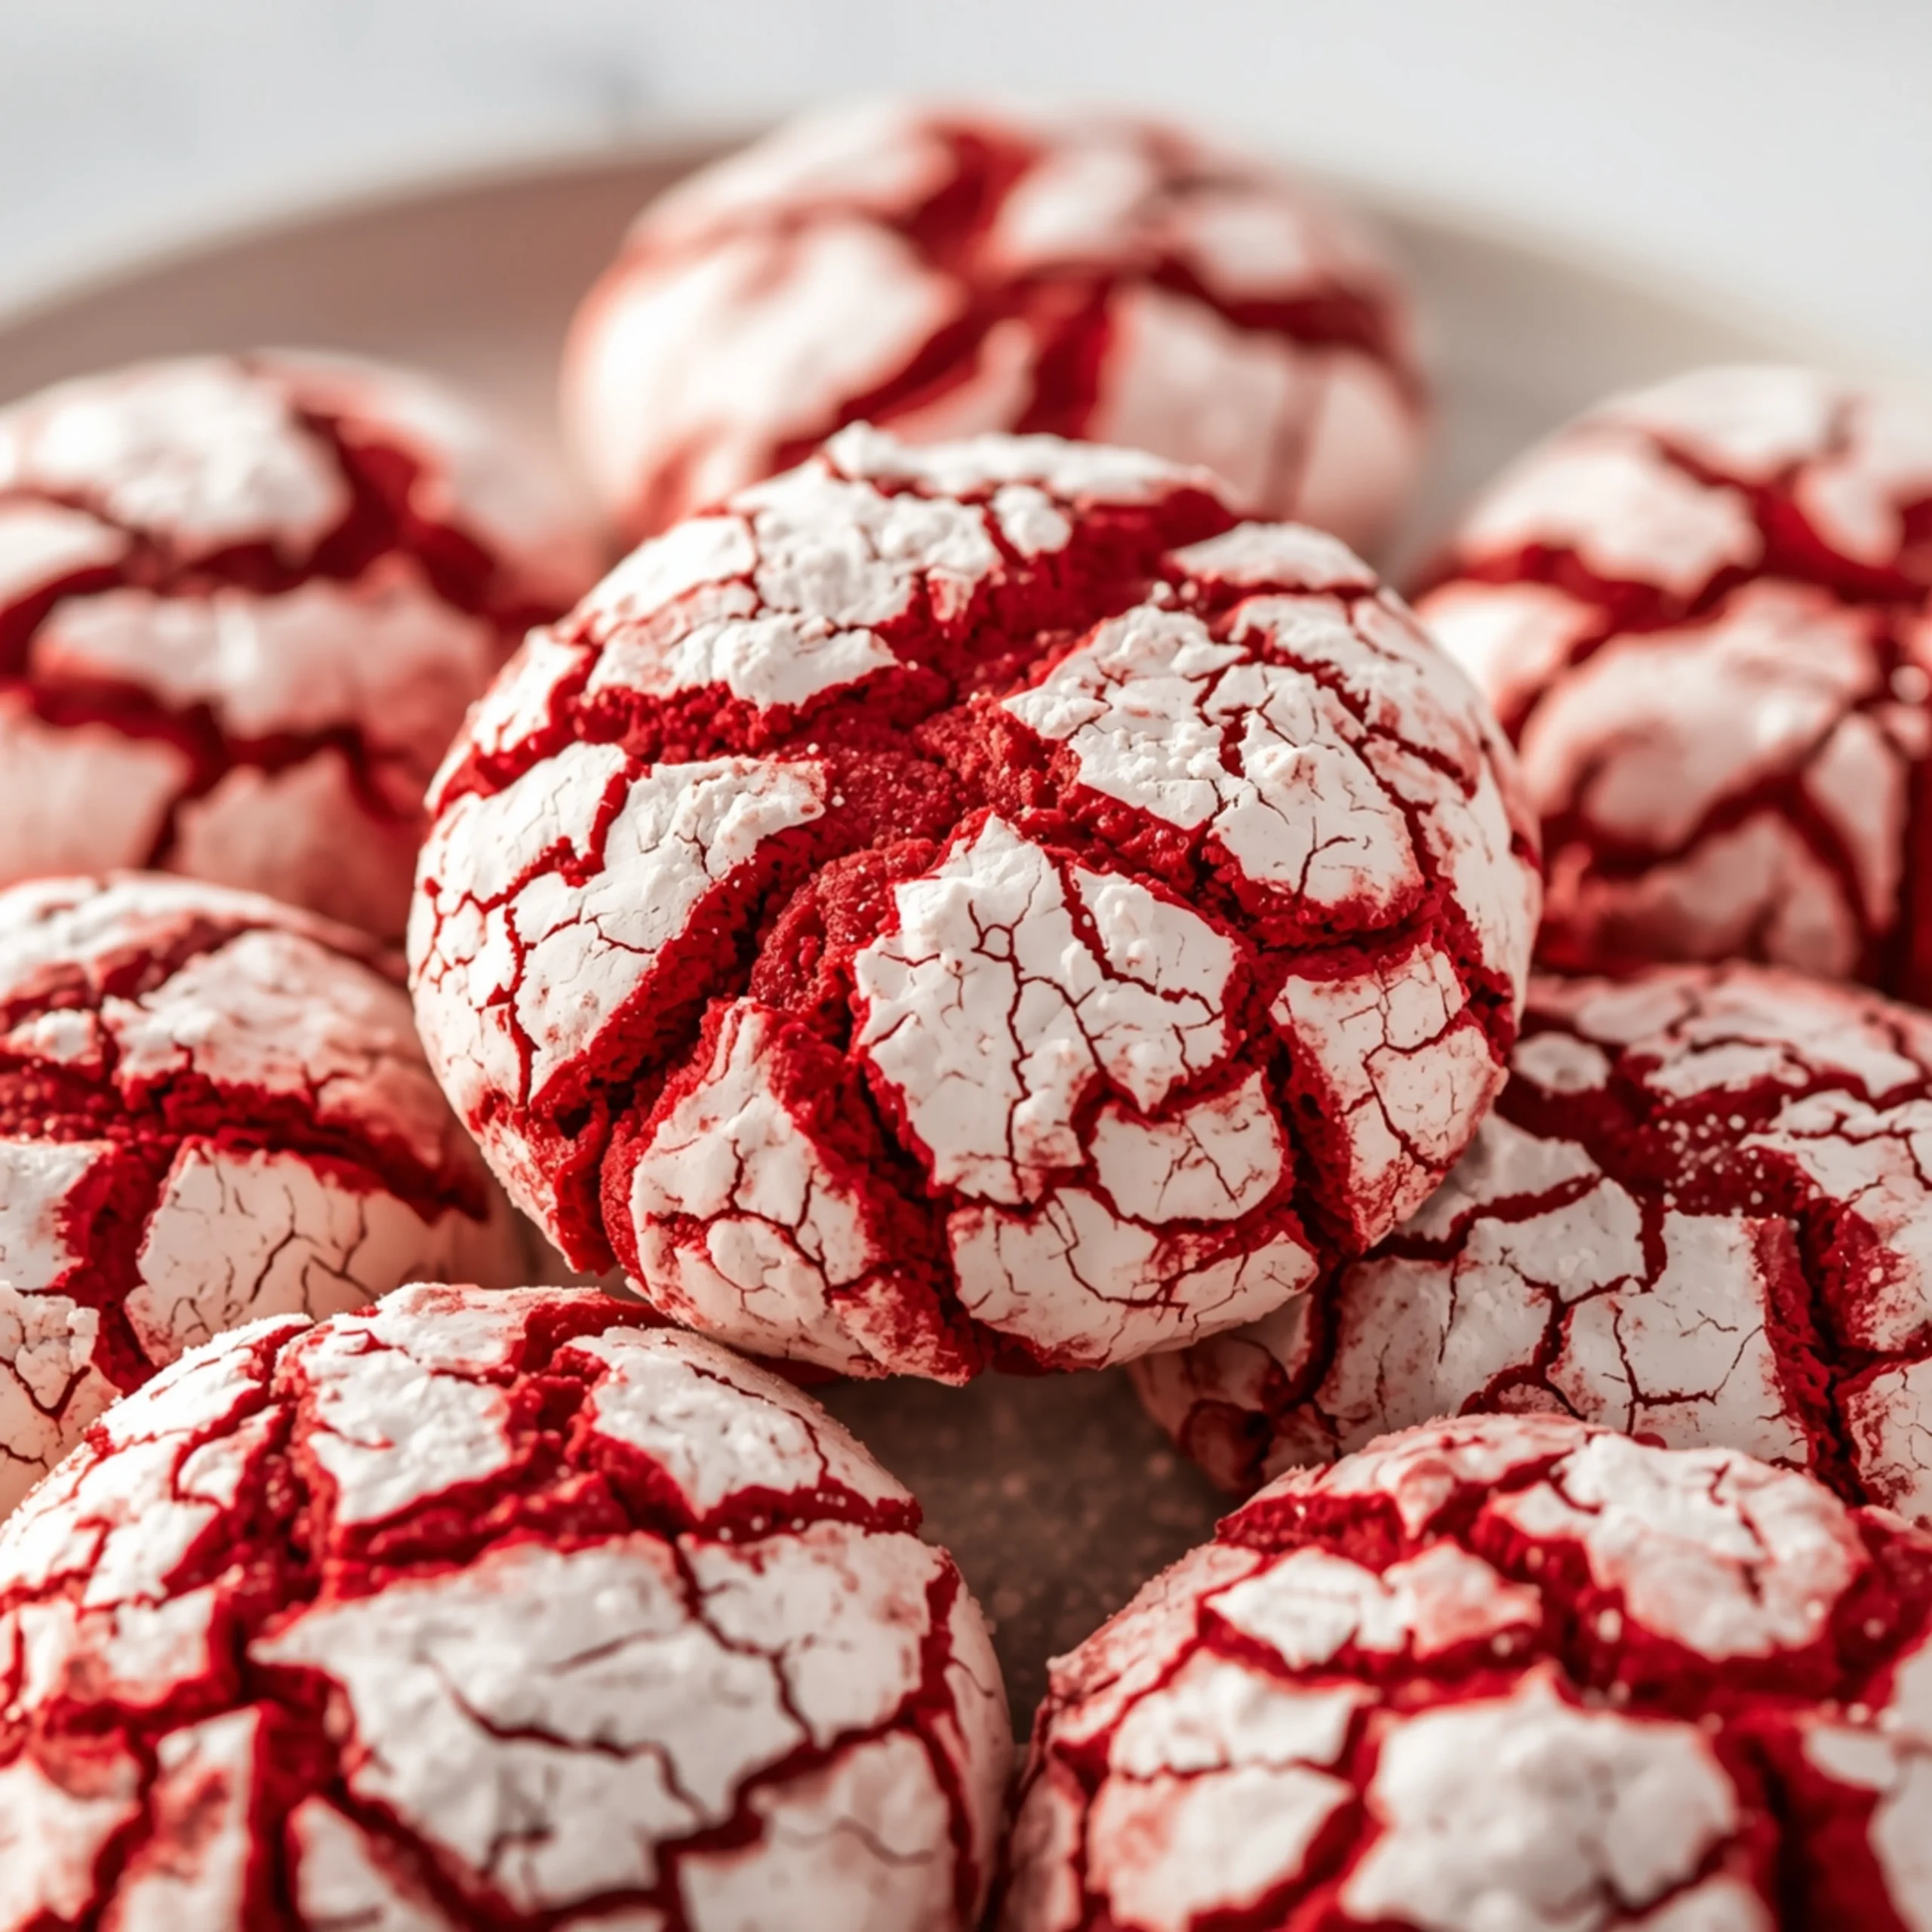
These red velvet crinkle cookies deliver a stunning visual with their vibrant red interior and snowy, cracked surface. This recipe is engineered for a soft, fudgy, brownie-like texture with a subtle chocolate tang. It’s one of the most rewarding desserts you can make, perfect for holidays or any time a craving hits.
The Anatomy of a Perfect Crinkle
The signature crackled surface isn’t magic; it’s food science. Understanding the mechanism guarantees success.
- The Science: When the cookie dough balls go into the hot oven, the exterior surface quickly dries out and sets, thanks to the powdered sugar coating.
- The Expansion: As the inside of the cookie heats up, the leavening agents (baking powder and soda) activate, causing the dough to expand and push outwards.
- The “Crinkle”: This expansion forces the dry, set exterior to crack, creating the beautiful fissures and revealing the deep red cookie underneath. Chilling the dough is critical, as it prevents the cookie from spreading too fast before the crinkle effect can occur.
Key Ingredient Deep Dive
The quality of your ingredients directly impacts the final texture and flavor. Precision matters.
- Unsweetened Cocoa Powder: This provides the foundational chocolate flavor. Use a standard, natural unsweetened cocoa powder. Dutch-processed cocoa is darker and less acidic, which can alter the classic red velvet tang. The deep chocolate flavor in these cookies is a cornerstone, much like in a classic chocolate yule log.
- Red Food Coloring: Gel food coloring is non-negotiable for achieving a vibrant, deep red. Liquid coloring is less concentrated and can add unwanted moisture, potentially making the dough too sticky. Start with 1 tablespoon of gel and add more until you reach a rich, crimson color.
- White Vinegar: This is the secret to authentic red velvet flavor. The small amount of acid enhances the cocoa notes, adds a subtle tang, and reacts with the baking soda to create an exceptionally tender crumb.
Pro-Tips for Fudgy Cookies
Follow these guidelines for bakery-quality results. This framework applies to many of our cookie recipes.
- Chill the Dough (Mandatory): Do not skip this step. Chilling for at least 4 hours (or overnight) solidifies the fat. This prevents the cookies from spreading into thin, crispy discs and is essential for the crinkle effect.
- Use a Cookie Scoop: For uniform size and even baking, a medium (1.5 tablespoon) cookie scoop is your best tool.
- The Double Sugar Roll: For a thick, snowy coating that doesn’t melt away, roll the chilled dough balls in granulated sugar first, then generously in powdered sugar. The granulated sugar acts as a primer, creating a barrier that helps the powdered sugar adhere and stay bright white.
- Don’t Overbake: Pull the cookies from the oven when the edges are set but the centers still look slightly soft. They will continue to cook on the hot baking sheet, resulting in a perfectly fudgy middle.
Step-by-Step Instructions
Yields: 24 cookies
Prep time: 15 minutes
Chill time: 4 hours
Bake time: 10-12 minutes
- Combine Dry Ingredients: In a medium bowl, whisk together the all-purpose flour, unsweetened cocoa powder, baking powder, baking soda, and salt. Set aside.
- Cream Butter & Sugars: In the bowl of a stand mixer fitted with the paddle attachment (or a large bowl with a hand mixer), beat the softened butter, granulated sugar, and brown sugar on medium-high speed until light and fluffy, about 2-3 minutes.
- Add Wet Ingredients: Beat in the eggs one at a time, followed by the vanilla extract, white vinegar, and red gel food coloring. Mix until the color is uniform and vibrant.
- Combine Wet & Dry: Reduce the mixer speed to low and gradually add the dry ingredient mixture to the wet ingredients. Mix just until combined—do not overmix. The dough will be very soft and sticky.
- Chill Dough: Cover the bowl with plastic wrap and refrigerate for at least 4 hours, or preferably overnight. The dough must be firm.
- Preheat & Prep: Preheat your oven to 350°F (175°C). Line two baking sheets with parchment paper. Place the extra granulated sugar and powdered sugar into two separate shallow bowls.
- Scoop & Roll: Using a medium cookie scoop, form the chilled dough into 1.5-inch balls. Roll each ball first in the granulated sugar, then coat it very generously in the powdered sugar.
- Bake: Place the coated dough balls about 2 inches apart on the prepared baking sheets. Bake for 10-12 minutes. The edges will be set, but the centers will appear slightly underdone.
- Cool: Let the cookies cool on the baking sheet for 5 minutes before transferring them to a wire rack to cool completely.
For those planning a full meal before this delightful dessert, a hearty main course like a creamy Italian sausage soup provides a perfect savory balance.
COMMON MISTAKES TO AVOID
- Mistake: Cookies spread too much and are flat.
Fix: The dough was not chilled long enough. The butter was too warm, causing it to melt and spread instantly in the oven. Ensure the dough is firm and cold before scooping. - Mistake: The powdered sugar coating disappeared or looks splotchy.
Fix: You skipped the granulated sugar roll. Rolling in granulated sugar first creates a barrier that prevents the powdered sugar from absorbing moisture from the cookie and melting. - Mistake: The cookies are dry and cakey, not fudgy.
Fix: You overbaked them. Pull the cookies from the oven when the centers still look soft. Carryover cooking on the hot pan will finish the job perfectly.
FAQ
Q: Can I make the dough ahead of time?
A: Absolutely. The dough can be refrigerated for up to 3 days before baking. The longer chill time can even enhance the flavor.
Q: Why do my cookies look more brown than red?
A: You likely need more potent food coloring. Gel coloring provides a much more intense and stable red than liquid. Also, ensure you’re using natural, not Dutch-processed, cocoa powder, which is darker.
Q: How do I store red velvet crinkle cookies?
A: Store them in an airtight container at room temperature for up to 5 days. Their fudgy texture keeps them soft and fresh.
NUTRITIONAL SNAPSHOT
| Nutrient | Amount per Serving |
|---|---|
| Calories | 135 kcal |
| Protein | 1.5g |
| Fat | 6g |
| Net Carbs | 18g |
| Fiber | 0.5g |
| Sugar | 12g |

Soft & Chewy Red Velvet Crinkle Cookies
These red velvet crinkle cookies deliver a stunning visual with their vibrant red interior and snowy, cracked surface. This recipe is engineered for a soft, fudgy, brownie-like texture with a subtle chocolate tang. It's one of the most rewarding desserts you can make, perfect for holidays or any time a craving hits.
Ingredients
- 1 1/2 cups all-purpose flour
- 1/4 cup unsweetened cocoa powder
- 1 1/2 teaspoons baking powder
- 1/4 teaspoon baking soda
- 1/4 teaspoon salt
- 1/2 cup unsalted butter (softened)
- 3/4 cup granulated sugar
- 1/4 cup packed light brown sugar
- 2 large eggs
- 1 tablespoon red gel food coloring
- 1 teaspoon vanilla extract
- 1 teaspoon white vinegar
- 1/3 cup granulated sugar (for rolling)
- 2/3 cup powdered sugar (for rolling)
Instructions
- In a medium bowl, whisk together the all-purpose flour, unsweetened cocoa powder, baking powder, baking soda, and salt. Set aside.
- In the bowl of a stand mixer fitted with the paddle attachment (or a large bowl with a hand mixer), beat the softened butter, granulated sugar, and brown sugar on medium-high speed until light and fluffy, about 2-3 minutes.
- Beat in the eggs one at a time, followed by the vanilla extract, white vinegar, and red gel food coloring. Mix until the color is uniform and vibrant.
- Reduce the mixer speed to low and gradually add the dry ingredient mixture to the wet ingredients. Mix just until combined—do not overmix. The dough will be very soft and sticky.
- Cover the bowl with plastic wrap and refrigerate for at least 4 hours, or preferably overnight. The dough must be firm.
- Preheat your oven to 350°F (175°C). Line two baking sheets with parchment paper. Place the extra granulated sugar and powdered sugar into two separate shallow bowls.
- Using a medium cookie scoop, form the chilled dough into 1.5-inch balls. Roll each ball first in the granulated sugar, then coat it very generously in the powdered sugar.
- Place the coated dough balls about 2 inches apart on the prepared baking sheets. Bake for 10-12 minutes. The edges will be set, but the centers will appear slightly underdone.
- Let the cookies cool on the baking sheet for 5 minutes before transferring them to a wire rack to cool completely.