
Rich Red Velvet Brownie Cheesecakes (Mini Muffin Pan Recipe)
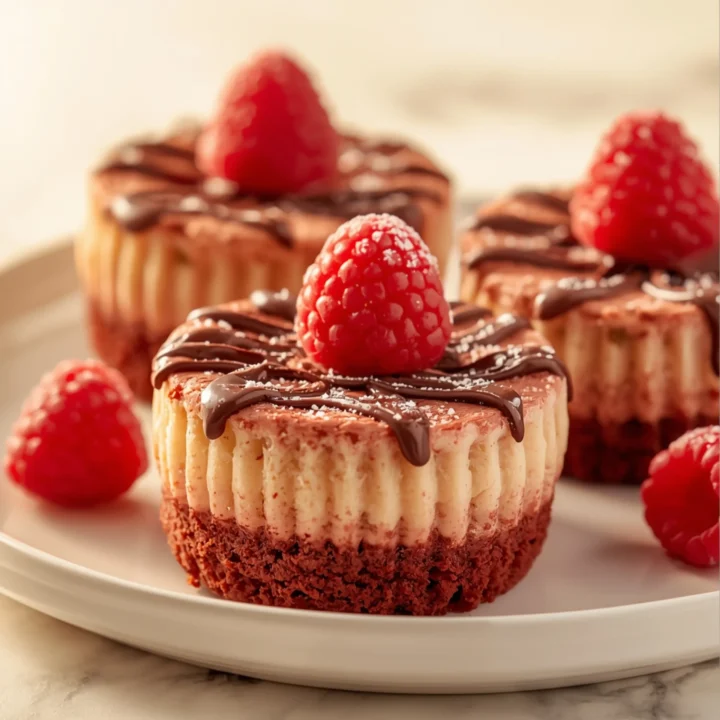
This recipe combines a fudgy, deep red velvet brownie base with a tangy, smooth cream cheese topping. They are the perfect two-bite dessert, delivering complex flavor in a simple package. At Bites by Lila, we specialize in straightforward recipes that impress, and this is a prime example.
The Anatomy of a Perfect Hybrid Dessert
This recipe works because it balances two classic desserts, creating a superior result.
- The Foundation: Fudgy Red Velvet Brownie. Unlike a cakey base, this brownie layer is dense, moist, and intensely chocolatey with that signature red velvet tang. We use melted butter and minimal leavening to ensure a fudgy texture that holds up to the cheesecake.
- The Topping: Classic Tangy Cheesecake. The cheesecake layer is simple and pure. It’s a classic, not–too-sweet mixture that uses full-fat cream cheese and a touch of sour cream for a smooth, tangy contrast to the rich brownie below. The combination is a textural masterpiece.
Key Ingredient Deep Dive
The quality of your mini cheesecakes comes down to a few key players.
- Room Temperature Cream Cheese & Eggs: This is non-negotiable for a silky, lump-free cheesecake layer. Cold ingredients don’t emulsify properly, resulting in a chunky texture. Set them on the counter for at least 1-2 hours before you begin.
- Unsweetened Cocoa Powder: Use a quality natural unsweetened cocoa powder (not Dutch-processed). Its natural acidity reacts subtly with the other ingredients to create the classic red velvet flavor profile.
- Gel Food Coloring: For a vibrant, deep red without a chemical aftertaste, gel food coloring is superior to liquid. It’s highly concentrated, so you use less and don’t add excess moisture to the brownie batter.
Step-by-Step Instructions
Prep Time: 20 mins
Cook Time: 22-25 mins
Yields: 24 mini cheesecakes
Part 1: The Red Velvet Brownie Base
- Preheat & Prep: Preheat your oven to 350°F (175°C). Line a 24-cup mini muffin pan with paper liners. This is critical for easy removal.
- Melt Butter & Sugar: In a medium microwave-safe bowl, melt the butter. Whisk in the granulated sugar until fully combined. The mixture will be slightly grainy.
- Add Wet Ingredients: Whisk in the egg and vanilla extract until smooth. Add the red gel food coloring and vinegar, mixing until you have a uniform, vibrant red color.
- Combine Dry Ingredients: In a separate small bowl, whisk together the all-purpose flour, cocoa powder, and salt.
- Mix Batter: Add the dry ingredients to the wet ingredients. Fold together with a spatula until just combined. Do not overmix. The batter will be thick.
- Fill Liners: Distribute the brownie batter evenly among the 24 prepared mini muffin cups, about 1 tablespoon per liner. Use the back of a small spoon to press it into a flat, even layer.
Part 2: The Cheesecake Topping
- Beat Cream Cheese: In a medium bowl, use an electric hand mixer to beat the room temperature cream cheese on medium speed until completely smooth and creamy, about 2 minutes. Scrape down the sides of the bowl.
- Add Sugar & Vanilla: Add the granulated sugar and vanilla extract. Beat on low speed until combined, then increase to medium and beat until smooth.
- Incorporate Egg & Sour Cream: Add the egg and sour cream. Beat on low speed until just combined. Over-beating at this stage incorporates too much air, which can cause cracking.
- Top the Brownies: Spoon the cheesecake mixture evenly over the brownie base in each liner. The cups should be nearly full.
- Bake: Bake for 22-25 minutes. The cheesecake topping should be set around the edges and only have a very slight wobble in the center. They will look slightly puffed.
- Cool Completely: Let the mini cheesecakes cool in the muffin pan for 1 hour. Then, transfer them to the refrigerator to chill for at least 4 hours, or preferably overnight. This step is crucial for the flavors to meld and the texture to set.
Pro Tips for Flawless Results
- Tap Out Air Bubbles: Before baking, gently tap the muffin pan on the counter a few times to release any large air bubbles in the cheesecake layer. This helps prevent cracks.
- The “Just Set” Wobble: The key to a creamy cheesecake is not over-baking. The very center should still have a slight jiggle when you pull it from the oven. It will firm up completely as it cools.
- Don’t Skip the Chill Time: Chilling is not optional. It allows the cheesecake to set into its final, dense and creamy texture. Rushing this step will result in a soft, pudding-like consistency.
- For Garnish: Top with a dollop of whipped cream, chocolate shavings, or a few mini chocolate chips just before serving.
Customization & Flavor Variations
These mini cheesecakes are a fantastic canvas for creativity. Explore more ideas in our full dessert collection.
- Chocolate Swirl: Before baking, drop a tiny amount of melted chocolate on the cheesecake topping and use a toothpick to create a swirl pattern.
- Oreo Brownie Base: Add 1/4 cup of finely crushed Oreo cookies to the brownie batter for extra texture and flavor.
- Peppermint Twist: During the holidays, add 1/4 teaspoon of peppermint extract to the cheesecake layer for a festive twist.
If you’re planning a party menu, these rich bites are an excellent follow-up to a savory appetizer. For example, the sweetness here would be a great contrast after something like these unique Fried Goat Cheese Balls with Spicy Honey.
COMMON MISTAKES TO AVOID
- Mistake: Lumpy cheesecake filling.
Fix: Ensure your cream cheese, egg, and sour cream are all at true room temperature. Cold cream cheese is the #1 cause of lumps. Beat the cream cheese by itself first until it’s perfectly smooth before adding other ingredients. - Mistake: The brownie and cheesecake layers are separating after cooling.
Fix: You may have over-baked the brownie layer slightly before adding the cheesecake, creating a “skin.” Press the brownie batter firmly into the liner and immediately top with the cheesecake filling before baking together. - Mistake: Cheesecakes are cracked on top.
Fix: This is usually caused by over-mixing the cheesecake batter (incorporating too much air) or over-baking. Mix on low speed once the egg is added, and pull them from the oven when the center is still slightly wobbly.
FAQ
Q: How do I store these mini cheesecakes?
A: Store them in an airtight container in the refrigerator for up to 5 days. Their flavor and texture are best after a full 24 hours of chilling.
Q: Can I freeze them?
A: Yes. Once fully chilled, place them on a baking sheet and freeze until solid. Then, transfer to a freezer-safe bag or container. They can be frozen for up to 2 months. Thaw in the refrigerator overnight.
Q: Can I make this in a regular 8×8 inch pan?
A: Absolutely. Press the brownie batter into a parchment-lined 8×8 inch pan, pour the cheesecake filling over top, and bake for 35-45 minutes, or until the center is just set. Chill completely before cutting into squares.
For those who enjoy individual-serving desserts, these Chocolate Peppermint Mousse Cups offer another elegant and simple-to-prepare option for your next gathering.
NUTRITIONAL SNAPSHOT
| Nutrient | Amount per Serving |
|---|---|
| Calories | 165 kcal |
| Protein | 3g |
| Fat | 11g |
| Net Carbs | 13g |
| Fiber | 1g |
| Sugar | 12g |
Estimates are for one mini cheesecake.
Rich Red Velvet Brownie Cheesecakes (Mini Muffin Pan Recipe)
This recipe combines a fudgy, deep red velvet brownie base with a tangy, smooth cream cheese topping. They are the perfect two-bite dessert, delivering complex flavor in a simple package.
Ingredients
- 1/2 cup (113g) unsalted butter, melted
- 3/4 cup (150g) granulated sugar
- 1 large egg, room temperature
- 1 tsp vanilla extract
- 1 tsp white vinegar
- 1-2 tsp red gel food coloring
- 3/4 cup (90g) all-purpose flour
- 2 tbsp unsweetened cocoa powder
- 1/4 tsp salt
- 8 oz (226g) full-fat cream cheese, room temperature
- 1/3 cup (67g) granulated sugar
- 1 large egg, room temperature
- 1/2 tsp vanilla extract
- 2 tbsp sour cream, room temperature
Instructions
- Preheat your oven to 350°F (175°C). Line a 24-cup mini muffin pan with paper liners. This is critical for easy removal.
- In a medium microwave-safe bowl, melt the butter. Whisk in the granulated sugar until fully combined. The mixture will be slightly grainy.
- Whisk in the egg and vanilla extract until smooth. Add the red gel food coloring and vinegar, mixing until you have a uniform, vibrant red color.
- In a separate small bowl, whisk together the all-purpose flour, cocoa powder, and salt.
- Add the dry ingredients to the wet ingredients. Fold together with a spatula until just combined. Do not overmix. The batter will be thick.
- Distribute the brownie batter evenly among the 24 prepared mini muffin cups, about 1 tablespoon per liner. Use the back of a small spoon to press it into a flat, even layer.
- In a medium bowl, use an electric hand mixer to beat the room temperature cream cheese on medium speed until completely smooth and creamy, about 2 minutes. Scrape down the sides of the bowl.
- Add the granulated sugar and vanilla extract. Beat on low speed until combined, then increase to medium and beat until smooth.
- Add the egg and sour cream. Beat on low speed until just combined. Over-beating at this stage incorporates too much air, which can cause cracking.
- Spoon the cheesecake mixture evenly over the brownie base in each liner. The cups should be nearly full.
- Bake for 22-25 minutes. The cheesecake topping should be set around the edges and only have a very slight wobble in the center. They will look slightly puffed.
- Let the mini cheesecakes cool in the muffin pan for 1 hour. Then, transfer them to the refrigerator to chill for at least 4 hours, or preferably overnight. This step is crucial for the flavors to meld and the texture to set.