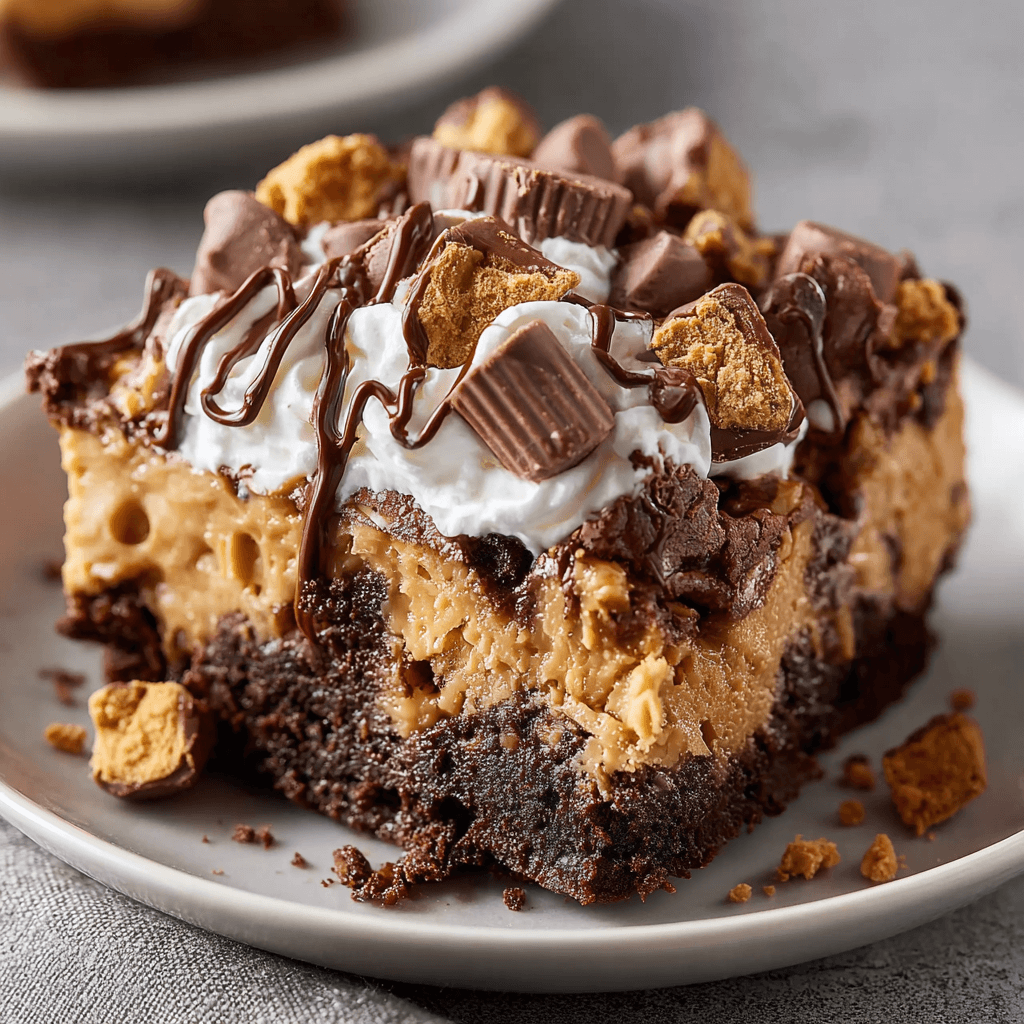
Rich & Easy Reese’s Peanut Butter Earthquake Cake
This Reese’s Peanut Butter Earthquake Cake delivers a tectonic shift of flavor with its rich chocolate base, gooey peanut butter cream cheese tunnels, and molten candy pieces. It’s a one-pan wonder designed for maximum impact with minimal effort, making it one of the most satisfying desserts you can make from a box mix. This recipe is engineered for success.
Prep Time: 15 minutes
Cook Time: 45-55 minutes
Yields: 12 servings
STEP-BY-STEP INSTRUCTIONS
- Preheat & Prepare: Set your oven to 350°F (175°C). Grease and flour a 9×13 inch baking pan. This prevents the sugary filling from sticking.
- Mix the Cake Base: In a large bowl, prepare the chocolate fudge cake mix according to the package directions (typically requires eggs, oil, and water).
- Add Texture: Gently stir the shredded coconut and chopped pecans into the prepared cake batter. Pour the batter evenly into your prepared pan.
- Create the Peanut Butter Filling: In a separate medium bowl, beat the softened cream cheese and softened butter with an electric mixer until smooth and lump-free (about 2 minutes).
- Sweeten the Filling: Gradually beat in the powdered sugar until fully combined. Add the creamy peanut butter and mix until the filling is uniform and smooth.
- Assemble the “Earthquake”: Drop large spoonfuls (dollops) of the peanut butter cream cheese mixture over the top of the cake batter. Do not swirl or mix them in.
- Top It Off: Scatter the chopped Reese’s Peanut Butter Cups, chocolate chips, and peanut butter chips evenly over the entire surface, including the batter and the filling dollops.
- Bake: Place the pan in the preheated oven and bake for 45-55 minutes. The cake is done when the edges are set and a toothpick inserted into the cakey parts comes out with moist crumbs, not wet batter. The center will still be slightly gooey.
- Cool: Let the cake cool on a wire rack for at least 20-30 minutes before serving. This allows the molten center to set slightly. It’s excellent served warm.
The ‘Earthquake’ Effect: What to Expect
The magic of an earthquake cake is its chaotic, cratered appearance, which happens during baking. Here’s the breakdown:
- Dense Filling: The heavy cream cheese and peanut butter filling is denser than the light, airy cake batter.
- Sinking & Rising: As the cake bakes, the batter rises up around the heavier filling. Simultaneously, the filling sinks, creating deep, molten valleys and cracked, cakey peaks.
- The Result: You get a visually stunning cake with a unique texture in every bite—part solid cake, part gooey cheesecake-like river.
Engineer’s Notes: Ingredient Selection
The choice of ingredients is critical for the correct texture and structure. This isn’t the time for substitutions without understanding the impact.
- Boxed Cake Mix: We recommend a standard chocolate fudge or devil’s food cake mix. These mixes are engineered for a consistent, light crumb that provides the perfect contrast to the dense filling. They are a reliable foundation for many of our recipes.
- Full-Fat Block Cream Cheese: Do not use whipped or low-fat cream cheese. Full-fat, block-style cream cheese provides the necessary structure and richness for the filling to sink properly without becoming watery.
- Creamy Peanut Butter: Use a standard commercial creamy peanut butter (like Jif or Skippy). Natural peanut butters that separate can make the filling oily and grainy.
- Room Temperature Ingredients: For the filling, softened butter and cream cheese are non-negotiable. Cold ingredients will result in a lumpy, uneven mixture that doesn’t blend smoothly.
Pro-Tips for Perfect Layers
Achieving the distinct “earthquake” look is about technique, not just ingredients.
- Don’t Swirl: The most common mistake is swirling the filling into the batter. This creates a marbled cake, not an earthquake cake. Dollop the filling on top and leave it alone. The oven does the rest of the work.
- Check for Doneness Correctly: The center of this cake will never be dry. To check if it’s done, focus on the edges. They should be visibly baked and pulling away slightly from the sides of the pan. The center should be set but still have a slight jiggle.
- Even Distribution: When adding the toppings (Reese’s cups, chips), sprinkle them evenly over the entire surface. This ensures every slice gets a share of the molten candy goodness. While this recipe is pure indulgence, a well-executed main course like a garlic butter beef tenderloin recipe deserves an equally impressive dessert to follow.
COMMON MISTAKES TO AVOID
- Mistake: Using cold cream cheese or butter.
Fix: Let ingredients sit at room temperature for at least 1 hour before mixing. This ensures a smooth, creamy filling without lumps. - Mistake: Overbaking the cake until it’s “dry.”
Fix: Pull the cake from the oven when the center is still slightly gooey. It will continue to set as it cools. The goal is a molten, fudgy center, not a dry crumb. - Mistake: Swirling or mixing the layers together.
Fix: Simply drop spoonfuls of the cream cheese mixture onto the batter. Do not spread or swirl. This separation is what creates the signature cracks and tunnels.
FAQ
Q: Can I make this cake ahead of time?
A: Yes. You can bake it up to one day in advance. Store it, covered, in the refrigerator. Serve it cold or let it come to room temperature. You can also gently reheat individual slices in the microwave for 15-20 seconds for that fresh-baked gooeyness.
Q: Can I omit the coconut and pecans?
A: Absolutely. If you’re not a fan of coconut or nuts, or have an allergy, you can leave them out entirely. The cake will be slightly less textured but just as delicious.
Q: What other cake mix flavors work?
A: While chocolate is classic, a yellow cake mix or a devil’s food cake mix are also excellent choices that pair well with the peanut butter filling. For a different flavor profile entirely, exploring something complex like a chocolate coffee cream cupcake recipe can offer new ideas.
NUTRITIONAL SNAPSHOT
| Nutrient | Amount per Serving |
|---|---|
| Calories | 580 kcal |
| Protein | 8g |
| Fat | 34g |
| Net Carbs | 60g |
| Fiber | 3g |
| Sugar | 48g |
Disclaimer: These are estimates and can vary based on specific brands and ingredients used.
For home cooks looking to expand their repertoire beyond sweets, experimenting with savory and unique flavor fusions can be a rewarding next step. Exploring recipes like these crispy cheesy elote egg rolls with avocado sauce can inspire new ways to think about texture and flavor in the kitchen.

Rich & Easy Reese's Peanut Butter Earthquake Cake
This Reese's Peanut Butter Earthquake Cake delivers a tectonic shift of flavor with its rich chocolate base, gooey peanut butter cream cheese tunnels, and molten candy pieces. It's a one-pan wonder designed for maximum impact with minimal effort, making it one of the most satisfying desserts you can make from a box mix. This recipe is engineered for success.
Ingredients
- 1 box (15.25 oz) chocolate fudge cake mix
- Ingredients listed on the cake mix box (usually eggs, oil, water)
- 1 cup sweetened shredded coconut
- 1 cup chopped pecans
- 1 package (8 oz) full-fat block cream cheese, softened
- 1/2 cup (1 stick) unsalted butter, softened
- 1 lb (about 3 3/4 cups) powdered sugar
- 1 cup creamy peanut butter
- 1 cup chopped Reese’s Peanut Butter Cups
- 1/2 cup semi-sweet chocolate chips
- 1/2 cup peanut butter chips
Instructions
- Preheat & Prepare: Set your oven to 350°F (175°C). Grease and flour a 9x13 inch baking pan. This prevents the sugary filling from sticking.
- Mix the Cake Base: In a large bowl, prepare the chocolate fudge cake mix according to the package directions (typically requires eggs, oil, and water).
- Add Texture: Gently stir the shredded coconut and chopped pecans into the prepared cake batter. Pour the batter evenly into your prepared pan.
- Create the Peanut Butter Filling: In a separate medium bowl, beat the softened cream cheese and softened butter with an electric mixer until smooth and lump-free (about 2 minutes).
- Sweeten the Filling: Gradually beat in the powdered sugar until fully combined. Add the creamy peanut butter and mix until the filling is uniform and smooth.
- Assemble the "Earthquake": Drop large spoonfuls (dollops) of the peanut butter cream cheese mixture over the top of the cake batter. Do not swirl or mix them in.
- Top It Off: Scatter the chopped Reese’s Peanut Butter Cups, chocolate chips, and peanut butter chips evenly over the entire surface, including the batter and the filling dollops.
- Bake: Place the pan in the preheated oven and bake for 45-55 minutes. The cake is done when the edges are set and a toothpick inserted into the cakey parts comes out with moist crumbs, not wet batter. The center will still be slightly gooey.
- Cool: Let the cake cool on a wire rack for at least 20-30 minutes before serving. This allows the molten center to set slightly. It's excellent served warm.