Rich Dark Chocolate Mousse Cake: A Simple, Foolproof Recipe
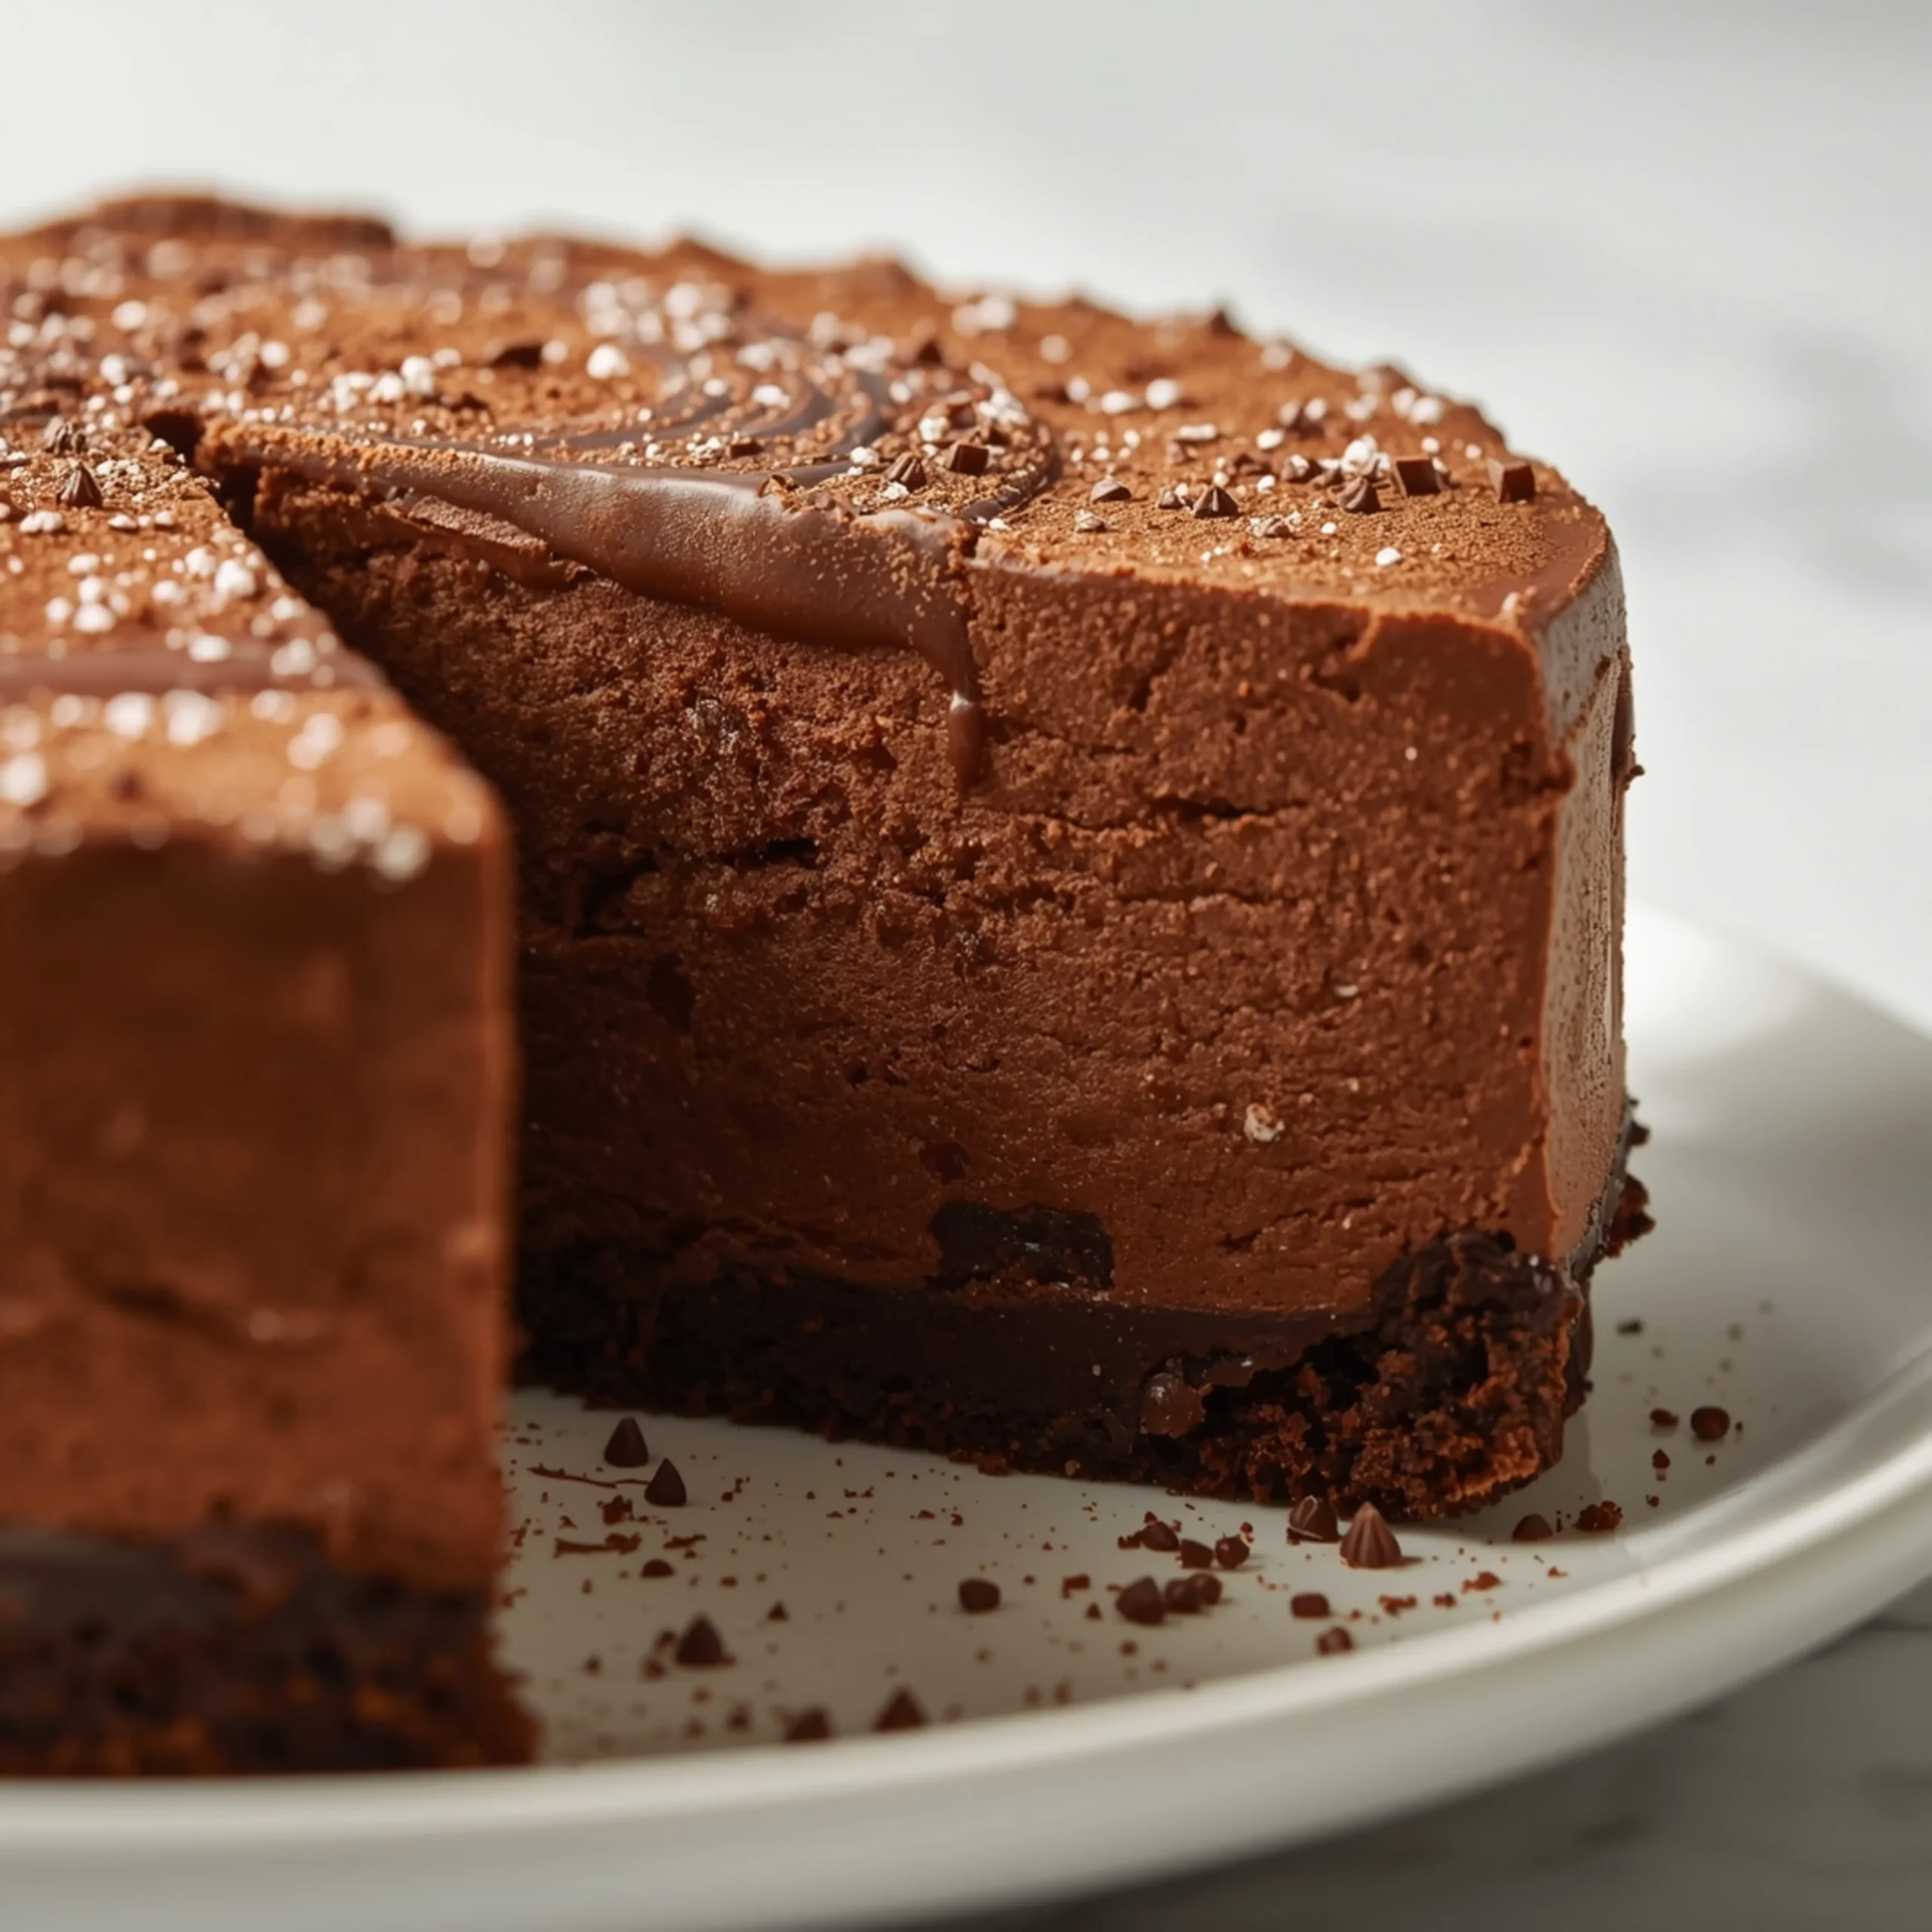
This dark chocolate mousse cake delivers an intensely rich, velvety experience with a crisp chocolate cookie crust. It’s an elegant, no-bake dessert that looks complex but is engineered for simplicity. If you love exploring other decadent dessert recipes, this is the perfect place to start.
Component Breakdown: Engineering the Perfect Bite
A successful mousse cake is a study in texture and flavor contrast. Each layer is designed to complement the others.
- The Foundation (Oreo Crust): We use chocolate sandwich cookies for a reason. Their low moisture content and sturdy structure create a crisp, no-fuss base that doesn’t require baking. The hint of salt in the cookie and filling balances the sweetness.
- The Star (Dark Chocolate Mousse): This is an egg-yolk-based mousse. The yolks, when gently cooked with sugar, create a rich, stable custard (a “pâte à bombe”) that acts as the backbone. This provides a deeper flavor and silkier mouthfeel than eggless versions.
- The Finish (Simple Ganache): A two-ingredient ganache topping adds a glossy, professional finish and an extra layer of pure chocolate flavor. It also protects the mousse underneath.
The Science of Chocolate: Choosing the Right Bar
The quality of your chocolate directly dictates the quality of your cake. This is not the place for chocolate chips, which contain stabilizers that prevent smooth melting.
- Target Cocoa Percentage: Aim for a dark chocolate bar with 60-72% cacao. This range provides a deep, complex flavor without being overly bitter. Anything higher can be too intense for some palates.
- Avoid “Baking Chocolate”: Look for high-quality eating chocolate (e.g., Ghirardelli, Callebaut, Valrhona). The better it tastes on its own, the better your mousse will be.
- Melting Matters: High-quality chocolate has a higher cocoa butter content, which allows it to melt into a fluid, glossy liquid—essential for a silky mousse.
STEP-BY-STEP INSTRUCTIONS
Part 1: The Chocolate Cookie Crust
- Prep the Pan: Lightly grease a 9-inch springform pan and line the bottom with parchment paper. This guarantees a clean release.
- Create Crumbs: Add 25 Oreo cookies (or similar chocolate sandwich cookies) to a food processor. Pulse until they form fine, even crumbs.
- Combine: Pour the crumbs into a medium bowl. Add 6 tablespoons of melted unsalted butter and stir with a fork until the mixture resembles damp sand.
- Press the Crust: Tip the crumb mixture into the prepared pan. Use the flat bottom of a measuring cup or glass to press the crumbs firmly and evenly across the bottom and slightly up the sides.
- Chill: Place the pan in the freezer to set while you prepare the mousse. A cold, firm crust is easier to work with.
Part 2: The Dark Chocolate Mousse
- Melt Chocolate: Finely chop 8 oz of high-quality dark chocolate (60-72% cacao). Place it in a heatproof bowl. Use a double boiler or microwave in 20-second intervals, stirring in between, until just melted and smooth. Set aside to cool slightly—it should be warm, not hot.
- Whip the Cream: In a large, chilled bowl, use an electric mixer to whip 1 ½ cups of cold heavy cream until it forms stiff peaks. Be careful not to over-whip into butter. Place the bowl in the refrigerator.
- Create the Base: In another heatproof bowl set over a pan of simmering water (double boiler), whisk 4 large egg yolks with ½ cup of granulated sugar. Whisk constantly for 3-5 minutes, until the mixture is pale, thick, and warm to the touch (around 160°F on an instant-read thermometer). This cooks the eggs safely.
- Combine Chocolate and Egg Base: Remove the egg yolk mixture from the heat. Pour the slightly cooled melted chocolate into the yolks and whisk until fully combined and glossy. Stir in 1 teaspoon of vanilla extract.
- Fold, Don’t Stir: Retrieve the whipped cream from the fridge. Gently fold one-third of the whipped cream into the chocolate mixture with a rubber spatula to lighten it. Add the remaining whipped cream and continue to fold carefully until just combined, with no white streaks remaining. The goal is to maintain as much air as possible.
Part 3: Assembly & Chilling
- Fill the Crust: Scrape the finished mousse into the chilled crust. Use the back of a spoon or an offset spatula to smooth the top.
- Chill to Set: Cover the pan loosely with plastic wrap and refrigerate for a minimum of 6 hours, or preferably overnight. The cake needs this time to fully set and become sliceable.
Mousse Technique: The Key to a Silky Texture
The difference between a grainy mousse and a velvety one comes down to two things: temperature and technique. Mastering the “fold” is essential across many of our general recipes.
- Temperature Control: Ensure your melted chocolate has cooled slightly before adding it to the egg yolk base. If the chocolate is too hot, it can scramble the eggs or “seize,” turning grainy.
- The Art of Folding: Use a large, flexible spatula. Cut down through the center of the mixture, scrape along the bottom of the bowl, and bring that portion up and over the top. Rotate the bowl a quarter turn and repeat. This motion gently incorporates ingredients without beating out the air you just whipped into the cream.
- Patience is Key: It’s better to under-mix slightly than to over-mix. Stop folding as soon as the last streaks of white disappear. While this dessert is a showstopper after a great meal, like this baked stuffed chicken breasts recipe, you can’t rush the process.
Make-Ahead & Storage Blueprint
This cake is ideal for making ahead, which allows the flavors to meld and deepen.
- Refrigerator: The assembled cake can be made up to 3 days in advance. Keep it covered in the springform pan in the refrigerator. Add any toppings like whipped cream or chocolate shavings just before serving.
- Freezer: For longer storage, this cake freezes beautifully.
- Step 1: Let the cake set fully in the fridge (overnight).
- Step 2: Wrap the entire pan tightly in two layers of plastic wrap, followed by a layer of aluminum foil.
- Step 3: Freeze for up to 2 months. To serve, thaw in the refrigerator overnight.
COMMON MISTAKES TO AVOID
- Mistake: Using chocolate chips instead of a quality bar.
Fix: Chocolate chips contain emulsifiers that resist melting smoothly, leading to a grainy texture. Always use a chopped chocolate bar (60-72% cacao) for the best results. - Mistake: Over-whipping the heavy cream.
Fix: Whip only until stiff peaks form—the peak should hold its shape and not slump over. If you go too far, the fat separates, and the mousse will have a buttery, greasy texture. - Mistake: Stirring the mousse instead of folding.
Fix: Stirring vigorously will deflate the air you worked to incorporate into the whipped cream. Use a large spatula and a gentle “cut-and-lift” folding motion to preserve the light, airy structure.
FAQ
Q: Can I make this cake gluten-free?
A: Yes, easily. Substitute the Oreo cookies in the crust with your favorite gluten-free chocolate sandwich cookies. The mousse filling is naturally gluten-free.
Q: Why did my melted chocolate get hard and clumpy?
A: This is called “seizing.” It happens when chocolate comes into contact with a tiny amount of water. Ensure your bowls and utensils are perfectly dry. If it happens, you can sometimes save it by stirring in a teaspoon of neutral oil or melted shortening, but it’s best to start over.
Q: Can I use milk chocolate or white chocolate?
A: You can, but you’ll need to adjust the recipe. Milk and white chocolates are sweeter and softer, so you should reduce the sugar in the egg yolk base by about half. They also don’t provide the same structural integrity, so the mousse may be softer. For a quick and easy sweet treat, you might find these cheesecake crescent rolls a fun alternative.
NUTRITIONAL SNAPSHOT
| Nutrient | Amount per Serving |
|---|---|
| Calories | 520 kcal |
| Protein | 7g |
| Fat | 38g |
| Net Carbs | 35g |
| Fiber | 4g |
| Sugar | 30g |
*Estimates are for one slice (1/12th of the cake).*

Rich Dark Chocolate Mousse Cake: A Simple, Foolproof Recipe
This dark chocolate mousse cake delivers an intensely rich, velvety experience with a crisp chocolate cookie crust. It’s an elegant, no-bake dessert that looks complex but is engineered for simplicity.
Ingredients
- 25 Oreo cookies (or similar chocolate sandwich cookies)
- 6 tablespoons unsalted butter, melted
- 8 ounces high-quality dark chocolate (60-72% cacao), finely chopped
- 1 ½ cups cold heavy whipping cream
- 4 large egg yolks
- ½ cup granulated sugar
- 1 teaspoon vanilla extract
Instructions
- Lightly grease a 9-inch springform pan and line the bottom with parchment paper. This guarantees a clean release.
- Add 25 Oreo cookies (or similar chocolate sandwich cookies) to a food processor. Pulse until they form fine, even crumbs.
- Pour the crumbs into a medium bowl. Add 6 tablespoons of melted unsalted butter and stir with a fork until the mixture resembles damp sand.
- Tip the crumb mixture into the prepared pan. Use the flat bottom of a measuring cup or glass to press the crumbs firmly and evenly across the bottom and slightly up the sides.
- Place the pan in the freezer to set while you prepare the mousse.
- Finely chop 8 oz of high-quality dark chocolate (60-72% cacao). Place it in a heatproof bowl. Use a double boiler or microwave in 20-second intervals, stirring in between, until just melted and smooth. Set aside to cool slightly—it should be warm, not hot.
- In a large, chilled bowl, use an electric mixer to whip 1 ½ cups of cold heavy cream until it forms stiff peaks. Be careful not to over-whip into butter. Place the bowl in the refrigerator.
- In another heatproof bowl set over a pan of simmering water (double boiler), whisk 4 large egg yolks with ½ cup of granulated sugar. Whisk constantly for 3-5 minutes, until the mixture is pale, thick, and warm to the touch (around 160°F on an instant-read thermometer). This cooks the eggs safely.
- Remove the egg yolk mixture from the heat. Pour the slightly cooled melted chocolate into the yolks and whisk until fully combined and glossy. Stir in 1 teaspoon of vanilla extract.
- Retrieve the whipped cream from the fridge. Gently fold one-third of the whipped cream into the chocolate mixture with a rubber spatula to lighten it. Add the remaining whipped cream and continue to fold carefully until just combined, with no white streaks remaining. The goal is to maintain as much air as possible.
- Scrape the finished mousse into the chilled crust. Use the back of a spoon or an offset spatula to smooth the top.
- Cover the pan loosely with plastic wrap and refrigerate for a minimum of 6 hours, or preferably overnight. The cake needs this time to fully set and become sliceable.