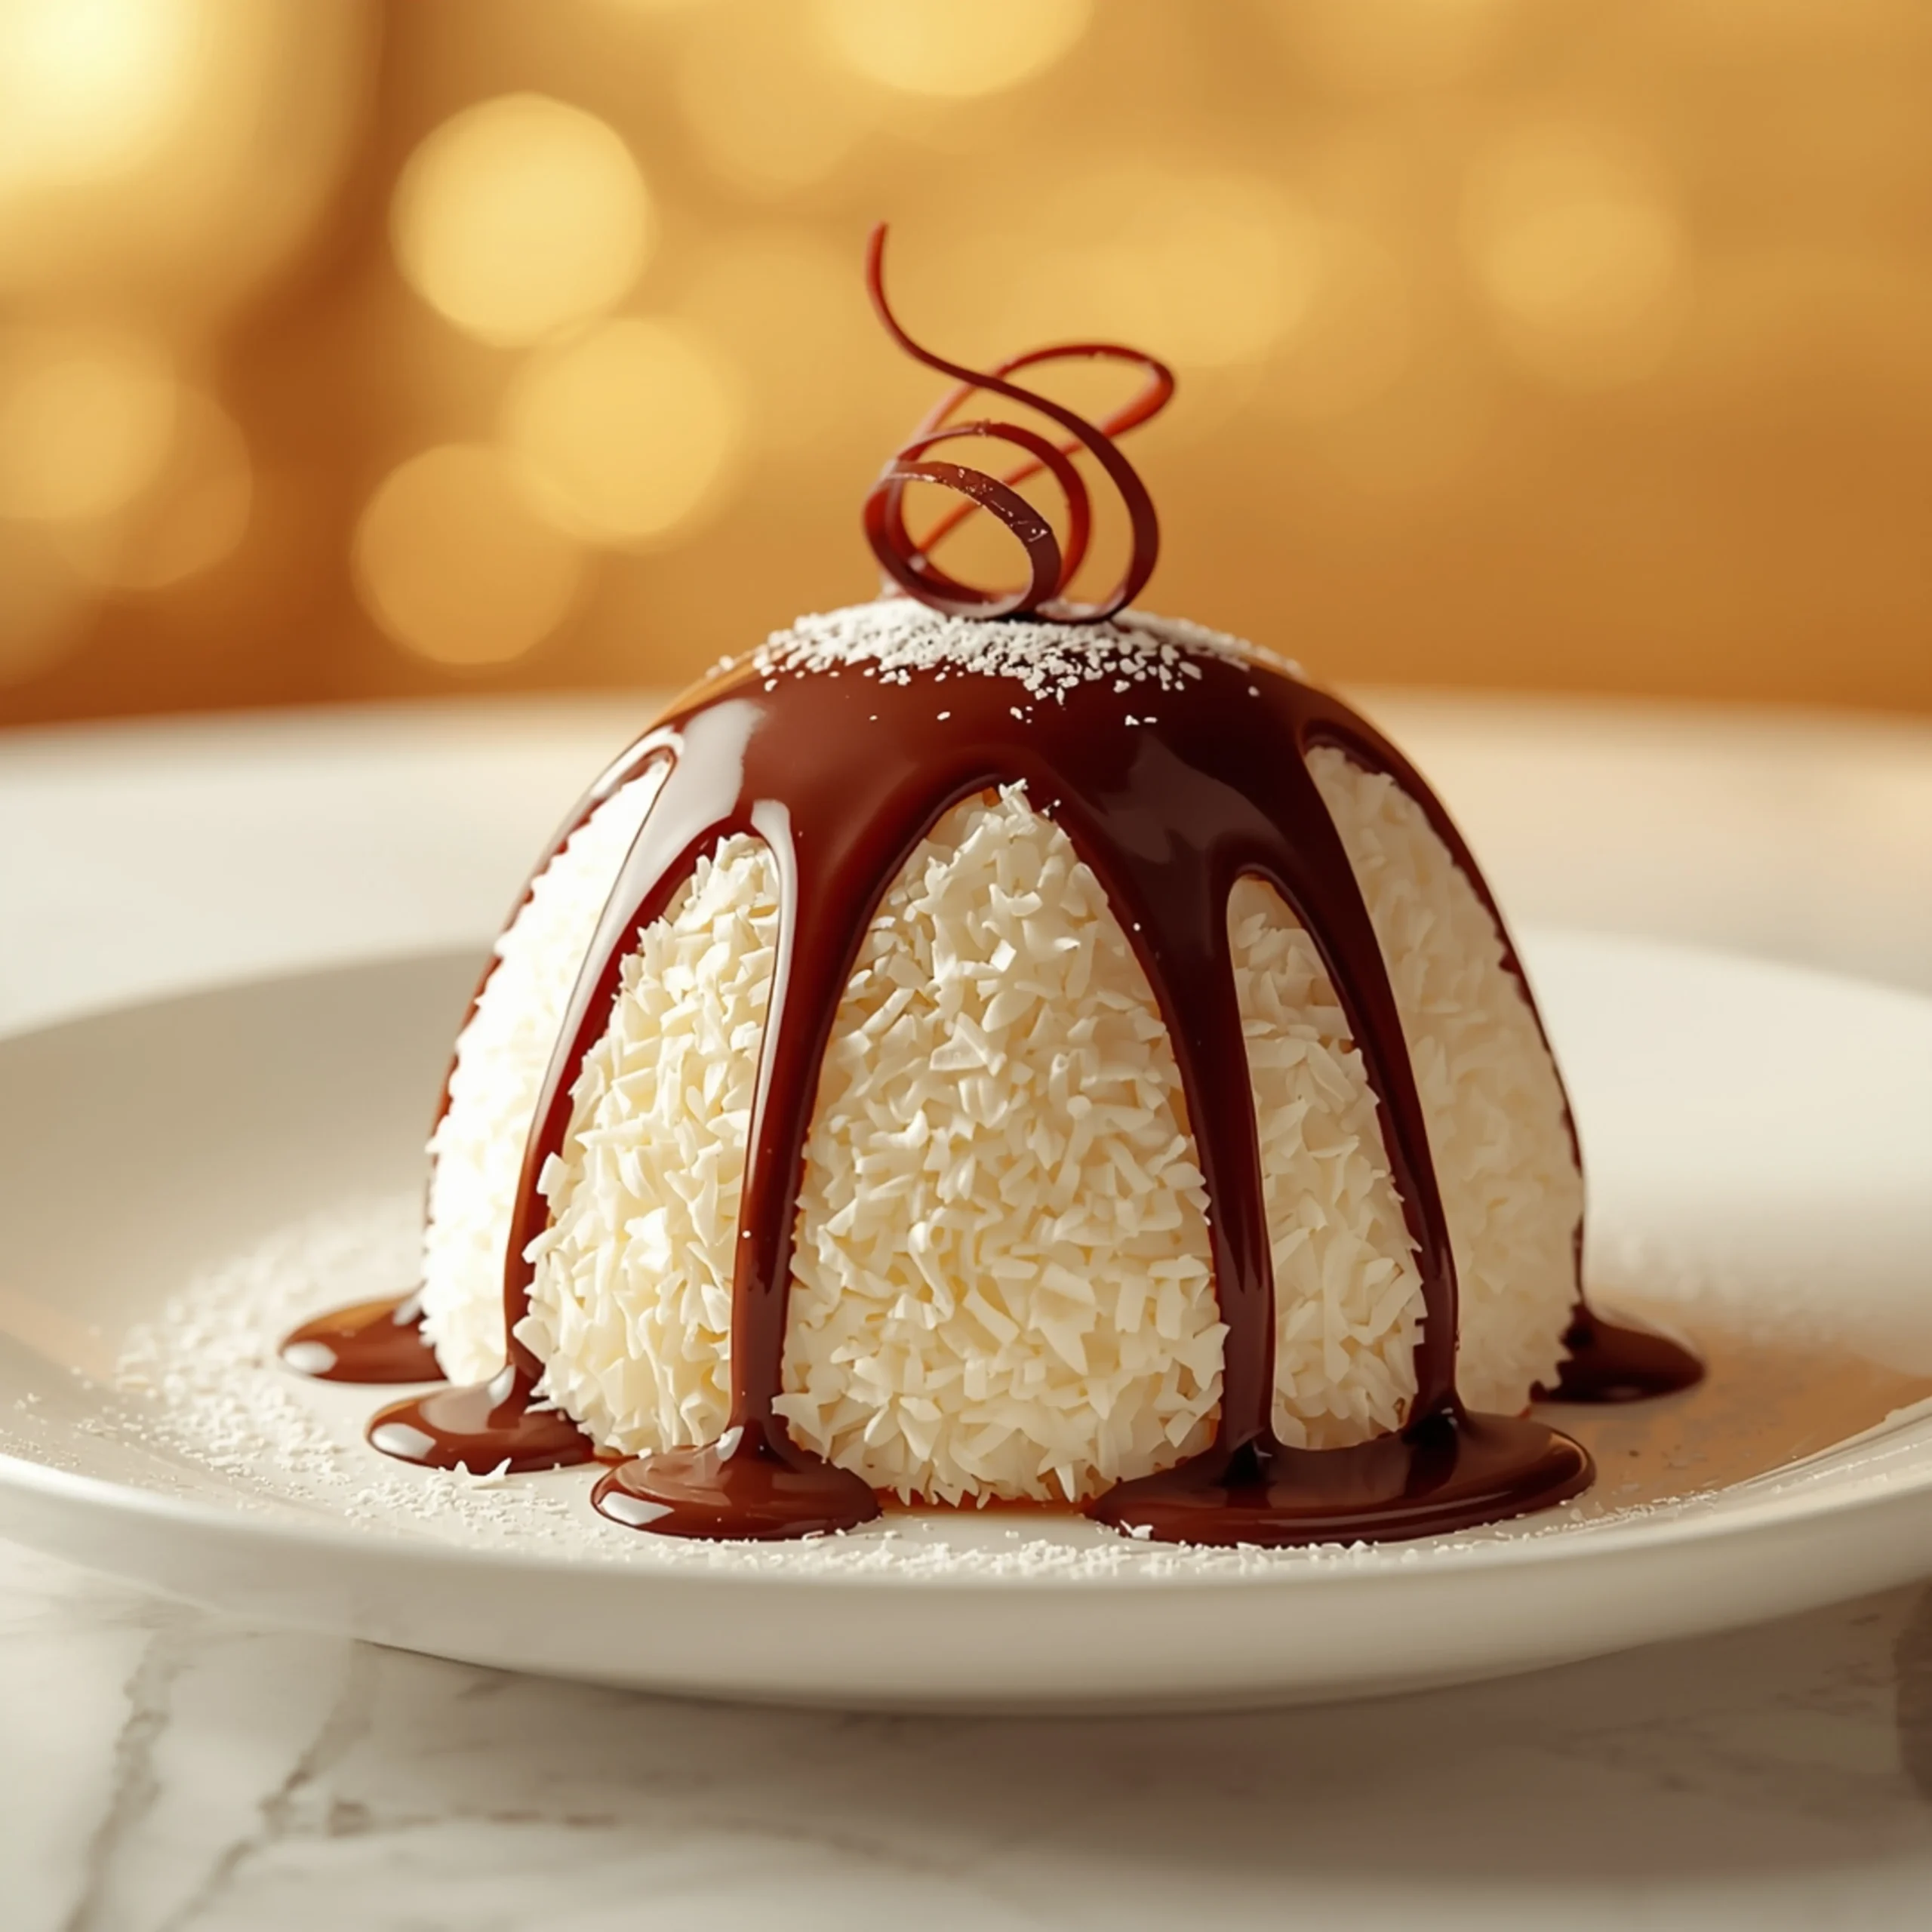
Rich Chocolate Coconut Domes: A No-Bake Recipe
These Chocolate Coconut Domes deliver a perfect balance of sweet, chewy coconut filling encased in a snappy dark chocolate shell. This no-bake recipe is engineered for simplicity and maximum flavor, making it one of the most efficient and delicious meals you can create. Explore all our recipes for more straightforward kitchen wins.
Why This Recipe Works
This method is designed for foolproof results. We prioritize structure and flavor with minimal effort.
- No-Bake Efficiency: The entire process happens in the fridge and freezer. No oven, no complex baking science.
- Simple Ingredients: Uses pantry staples that are easy to find and combine for a gourmet result.
- Structurally Sound: Chilling the coconut filling until firm is the critical step that ensures a clean, easy dip into the melted chocolate.
- Customizable: This recipe is a fantastic base. You can easily modify the size, shape, and flavor profile.
The Anatomy of a Perfect Dome
Success lies in perfecting the two core components.
1. The Coconut Filling
The goal is a filling that is moist, chewy, and holds its shape.
- Coconut: Use unsweetened, finely shredded coconut for the best texture. If you only have larger flakes, a quick pulse in a food processor breaks them down perfectly.
- Binder: Sweetened condensed milk is the classic, foolproof binder. It provides sweetness, moisture, and the ideal sticky consistency.
- Flavor: A high-quality vanilla extract and a pinch of salt elevate the coconut from flat to fantastic. The salt balances the sweetness.
2. The Chocolate Shell
The shell should be glossy, snappy, and rich.
- Chocolate: Choose a good quality semi-sweet or dark chocolate (60-72% cacao). Chocolate chips work, but chopped baking bars melt more smoothly.
- The Secret Ingredient: A teaspoon of coconut oil or vegetable shortening melted with the chocolate is non-negotiable. It thins the chocolate for easier dipping and provides that professional, glossy finish and clean snap.
Essential Equipment
No specialized gear is needed, but these items make the process seamless.
- Silicone Dome Mold: The fastest way to get perfectly uniform shapes. A mini-muffin tin also works well.
- Baking Sheet & Parchment Paper: Essential for chilling and setting the domes without sticking.
- Mixing Bowls: One for the filling, one for melting chocolate.
- Spatula: For mixing and scraping.
- Dipping Tools: A fork or candy dipping tool gives you the most control.
Step-by-Step Instructions
- Prepare Your Pan: Line a baking sheet with parchment paper. If using a silicone mold, have it ready.
- Mix the Filling: In a medium bowl, combine 3 cups of finely shredded unsweetened coconut, 3/4 cup of sweetened condensed milk, 1 teaspoon of vanilla extract, and 1/4 teaspoon of salt. Mix with a spatula until thoroughly combined and the mixture holds together when pressed.
- Form the Domes: Scoop tablespoon-sized portions of the coconut mixture.
- By Hand: Roll into a tight ball, then flatten the bottom on the parchment-lined baking sheet to create a dome shape.
- With Mold: Press the mixture firmly into the cavities of your silicone dome mold.
- First Chill: Place the baking sheet or mold in the freezer for at least 30 minutes. The domes must be very cold and firm. This is the key to preventing them from falling apart in the warm chocolate.
- Melt the Chocolate: Just before the domes are done chilling, melt the chocolate. In a microwave-safe bowl, combine 10 oz of chopped dark chocolate and 1 teaspoon of coconut oil. Microwave in 30-second intervals, stirring between each, until smooth. Do not overheat.
- Dip the Domes: Remove the coconut domes from the freezer. Working quickly, use a fork to dip one dome at a time into the melted chocolate, turning to coat completely.
- Set the Shell: Lift the dome out with the fork and tap it gently on the side of the bowl to let excess chocolate drip off. Place it back on the parchment-lined baking sheet.
- Final Chill: Once all domes are coated, refrigerate the baking sheet for 15-20 minutes, or until the chocolate shell is completely firm.
Serving & Flavor Variations
These domes are a perfect standalone treat, but they also pair beautifully with coffee or tea. They make an excellent addition to a platter of other desserts for a party or special occasion.
- Almond Joy Style: Press a whole toasted almond into the center of the coconut mixture before shaping and chilling.
- Citrus Zest: Add 1 teaspoon of orange or lime zest to the coconut filling for a bright, fresh contrast.
- Extracts: Swap the vanilla for 1/2 teaspoon of almond or peppermint extract for a completely different flavor profile.
- Toppings: Before the chocolate sets, sprinkle the domes with flaky sea salt, toasted coconut flakes, or chopped nuts.
- Savory Pairings: If you enjoy the interplay of sweet and savory, you might also appreciate interesting appetizers that use similar flavor dynamics, like this baked feta dip with fig jam and pecans recipe.
COMMON MISTAKES TO AVOID
- Mistake: The coconut filling is too dry or crumbly.
- Fix: Your coconut-to-binder ratio is off. Add more sweetened condensed milk, one tablespoon at a time, until the mixture holds together firmly when squeezed.
- Mistake: The chocolate coating is too thick and clumpy.
- Fix: Your chocolate was either overheated or needs more fat. Stir in another 1/2 teaspoon of melted coconut oil until it reaches a smooth, fluid consistency suitable for dipping.
- Mistake: The coconut domes fall apart when dipping in chocolate.
- Fix: They were not cold enough. The freezer step is critical. Return them to the freezer for another 15-20 minutes until they are rock-solid before attempting to dip again.
FAQ
Q: How do I store these Chocolate Coconut Domes?
A: Store them in an airtight container in the refrigerator for up to 1 week. The cool temperature keeps the chocolate shell crisp and the filling firm.
Q: Can I make these vegan or dairy-free?
A: Yes. Use a can of full-fat coconut cream (the thick, solid part only) instead of condensed milk, and add powdered sugar to taste for sweetness. Ensure you use a dairy-free chocolate.
Q: Are these freezable?
A: Absolutely. Once the chocolate shell is set, you can freeze them in a single layer in a freezer-safe container for up to 2 months. Thaw in the refrigerator for about 30 minutes before serving. For other impressive make-ahead ideas, check out this recipe for Christmas Gooey Butter Cookies.
NUTRITIONAL SNAPSHOT
| Nutrient | Amount per Serving |
|---|---|
| Calories | 165 |
| Protein | 1.5g |
| Fat | 11g |
| Net Carbs | 13g |
| Fiber | 2g |
| Sugar | 12g |
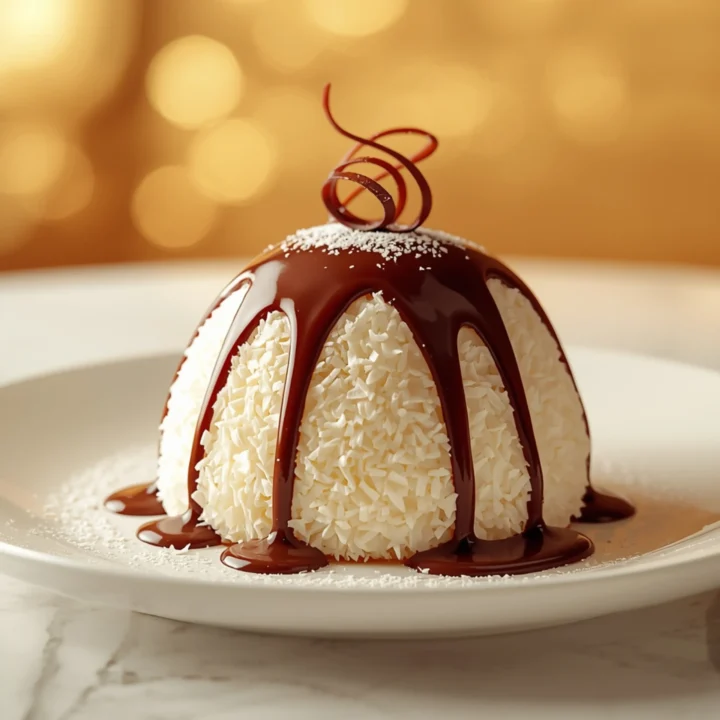
Rich Chocolate Coconut Domes: A No-Bake Recipe
These Chocolate Coconut Domes deliver a perfect balance of sweet, chewy coconut filling encased in a snappy dark chocolate shell. This no-bake recipe is engineered for simplicity and maximum flavor, making it one of the most efficient and delicious meals you can create.
Ingredients
- 3 cups shredded unsweetened coconut
- 3/4 cup sweetened condensed milk
- 1 tsp vanilla extract
- 1/4 tsp salt
- 10 oz dark or semi-sweet chocolate
- 1 tsp coconut oil
Instructions
- Prepare Your Pan: Line a baking sheet with parchment paper. If using a silicone mold, have it ready.
- Mix the Filling: In a medium bowl, combine 3 cups of finely shredded unsweetened coconut, 3/4 cup of sweetened condensed milk, 1 teaspoon of vanilla extract, and 1/4 teaspoon of salt. Mix with a spatula until thoroughly combined and the mixture holds together when pressed.
- Form the Domes: Scoop tablespoon-sized portions of the coconut mixture. By Hand: Roll into a tight ball, then flatten the bottom on the parchment-lined baking sheet to create a dome shape. With Mold: Press the mixture firmly into the cavities of your silicone dome mold.
- First Chill: Place the baking sheet or mold in the freezer for at least 30 minutes. The domes must be very cold and firm. This is the key to preventing them from falling apart in the warm chocolate.
- Melt the Chocolate: Just before the domes are done chilling, melt the chocolate. In a microwave-safe bowl, combine 10 oz of chopped dark chocolate and 1 teaspoon of coconut oil. Microwave in 30-second intervals, stirring between each, until smooth. Do not overheat.
- Dip the Domes: Remove the coconut domes from the freezer. Working quickly, use a fork to dip one dome at a time into the melted chocolate, turning to coat completely.
- Set the Shell: Lift the dome out with the fork and tap it gently on the side of the bowl to let excess chocolate drip off. Place it back on the parchment-lined baking sheet.
- Final Chill: Once all domes are coated, refrigerate the baking sheet for 15-20 minutes, or until the chocolate shell is completely firm.