How to Make Perfectly Chewy & Gooey Rice Krispie Treats
Forget dry, hard squares. This is your blueprint for impossibly gooey, buttery, and perfectly chewy Rice Krispie Treats every single time. We focus on simple techniques that elevate this classic into a truly memorable treat, making it one of the best easy dessert recipes in our collection at Bites by Lila.
The ‘Why’ Behind This Method
The perfect Rice Krispie Treat is an exercise in ratios and temperature control. This recipe is engineered for maximum chewiness and flavor.
- High Marshmallow-to-Cereal Ratio: We use a full 10-ounce bag of mini marshmallows. This ensures every bite is bound with a generous, gooey web of marshmallow, not just a thin coating.
- Low & Slow Heat: Melting the butter and marshmallows over low heat is non-negotiable. High heat caramelizes the sugar in the marshmallows too quickly, resulting in hard, brittle treats.
- The Vanilla & Salt Secret: A splash of pure vanilla extract and a pinch of sea salt are essential. Salt balances the sweetness, and vanilla adds a layer of bakery-quality depth.
- Gentle Pressing: Aggressively compacting the mixture into the pan is a primary cause of dense, hard treats. A light, greased-spatula press is all you need.
Essential Tools & Ingredients
Gather your components before you begin for a smooth process. Quality matters, especially with so few ingredients.
- Large Pot or Dutch Oven: Provides ample room for stirring without spilling.
- 9×9 Inch Baking Pan: The ideal size for thick, substantial treats. A 9×13 pan works for thinner bars.
- Silicone Spatula: For stirring and pressing without sticking.
- Unsalted Butter: Allows you to control the salt level.
- Mini Marshmallows: They melt faster and more evenly than large ones. Use a fresh bag—stale marshmallows don’t melt properly.
- Crispy Rice Cereal: The classic choice, but other cereals can be subbed in.
- Pure Vanilla Extract: Avoid imitation vanilla for the best flavor.
- Flaky Sea Salt: A finishing touch that makes a huge difference.
STEP-BY-STEP INSTRUCTIONS
- Prep Your Pan: Grease a 9×9 inch baking pan with butter or non-stick spray. For guaranteed easy removal, line the pan with parchment paper, leaving an overhang on two sides to act as “handles.”
- Melt the Butter: In a large pot over low heat, melt the 4 tablespoons of unsalted butter.
- Melt the Marshmallows: Once the butter is melted, add the entire 10-ounce bag of mini marshmallows. Stir continuously with a silicone spatula until they are about 80% melted.
- Remove From Heat: Take the pot off the heat before the marshmallows are completely melted. The residual heat will finish the job. This prevents overcooking.
- Add Flavor: Stir in the vanilla extract and a pinch of salt until the last few marshmallow lumps are smooth.
- Combine with Cereal: Immediately pour in the 6 cups of crispy rice cereal. Use your spatula to gently fold and mix until the cereal is evenly coated. Work quickly but don’t crush the cereal.
- Press into Pan: Scrape the mixture into your prepared pan. Lightly spray your spatula (or your fingertips) with cooking spray and gently press the mixture into an even layer. Do not pack it down firmly.
- Set & Cool: Let the treats cool at room temperature for at least 1 hour before cutting. Do not refrigerate, as this can make them hard.
- Cut & Serve: Use the parchment handles to lift the entire block out of the pan. Place on a cutting board and slice into squares with a sharp, greased knife.
The Brown Butter Upgrade (Highly Recommended)
For a nutty, complex, and richer flavor, browning the butter is a simple step that transforms your treats.
- How to Do It: In your pot, melt the butter over medium-low heat. Continue cooking, swirling the pan occasionally, after it melts. The butter will foam, then subside.
- Watch for Clues: You will see small, golden-brown milk solids form at the bottom of the pan and smell a distinct, nutty aroma.
- Proceed: Once you see these brown bits, immediately add your marshmallows and proceed with Step 3 of the recipe. The process adds only 3-5 minutes.
Flavor Variations & Add-Ins
Use the base recipe as a canvas for creative flavors. Fold these in with the cereal at the last moment.
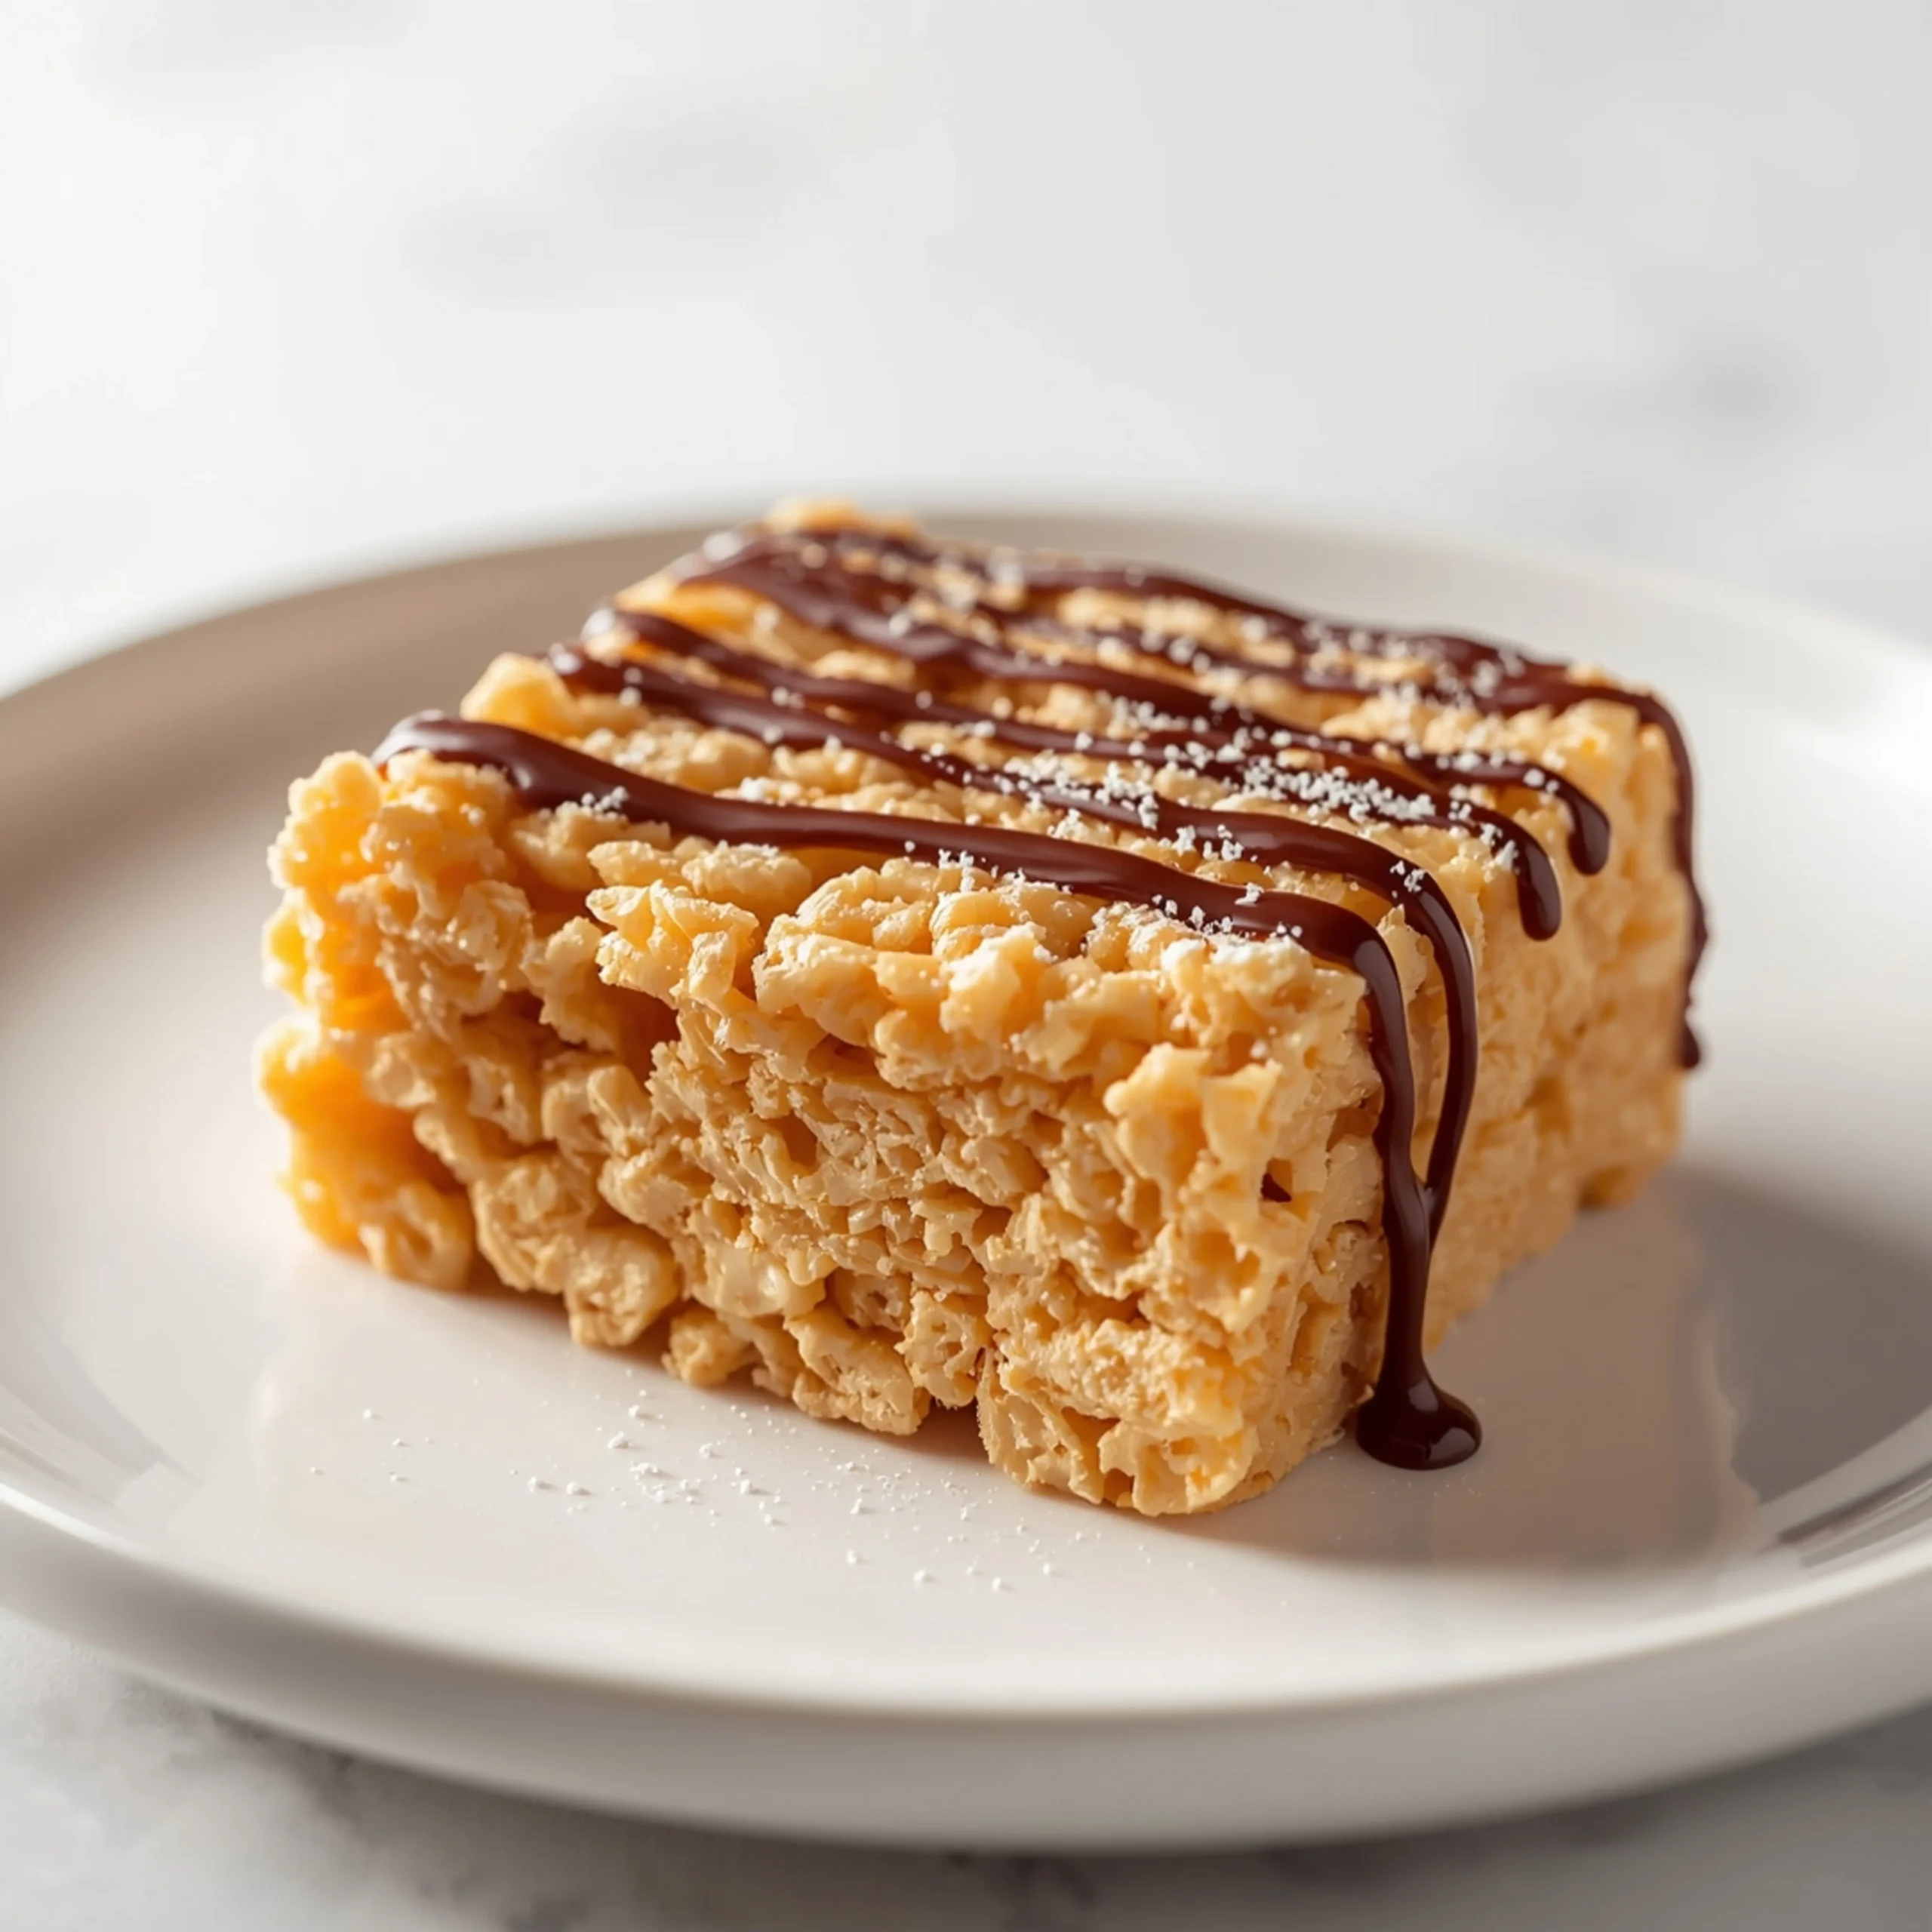
- Chocolate Drizzle: Melt 1/2 cup of chocolate chips with 1/2 teaspoon of coconut oil. Drizzle over the cooled treats.
- Salty & Sweet: Add 1 cup of crushed pretzels or potato chips along with the cereal.
- Sprinkle-fetti: Fold in 1/3 cup of your favorite rainbow sprinkles for a fun, colorful twist.
- Mix-Ins: Consider adding mini M&Ms, chopped candy bars, or toffee bits.
- Different Cereals: Don’t be afraid to experiment with some of your favorite breakfast cereals like Cheerios, Chex, or Golden Grahams.
- Holiday Twist: For a festive treat, consider a peppermint-chocolate combination. For another elegant holiday dessert idea, these Chocolate Peppermint Mousse Cups offer a rich, decadent experience.
COMMON MISTAKES TO AVOID
-
Mistake: My treats are rock hard.
Fix: You used heat that was too high or cooked the marshmallows for too long. Always use low heat and remove the pot just before the marshmallows are fully melted. Also, avoid using stale marshmallows. -
Mistake: The treats are falling apart.
Fix: The marshmallow-to-cereal ratio was too low. Ensure you use a full 10-ounce bag (about 6 cups) of mini marshmallows for 6 cups of cereal. Don’t skimp. -
Mistake: They taste bland.
Fix: You forgot the flavor enhancers. A pinch of salt and a splash of pure vanilla extract are critical for balancing the sweetness and adding depth. Browning the butter also adds incredible flavor.
FAQ
Q: Can I use old or stale marshmallows?
A: It’s highly discouraged. Stale, dry marshmallows have lost moisture and will not melt into a smooth, gooey consistency. They tend to create a stiff, hard texture in the final product. Always use a fresh bag for best results.
Q: How should I store Rice Krispie Treats?
A: Store them in an airtight container at room temperature for up to 3 days. To prevent them from sticking, you can place a small piece of wax paper between layers. Avoid refrigerating them.
Q: Can I make this recipe in the microwave?
A: Yes. Combine butter and marshmallows in a large, microwave-safe bowl. Microwave on high for 1 minute, then stir. Continue microwaving in 30-second intervals, stirring in between, until smooth. Then, mix in the cereal as directed.
NUTRITIONAL SNAPSHOT
*Based on 1 of 16 servings*
| Nutrient | Amount per Serving |
|---|---|
| Calories | 145 kcal |
| Protein | 1g |
| Fat | 4g |
| Net Carbs | 26g |
| Fiber | 0g |
| Sugar | 14g |
This classic no-bake dessert is a perfect starting point for any celebration. If you’re building a full menu, consider pairing it with a fun appetizer like Crispy Cheesy Elote Egg Rolls and a standout main course, such as elegant Stuffed Cornish Hens, for a truly complete and delicious meal plan.

How to Make Perfectly Chewy & Gooey Rice Krispie Treats
Forget dry, hard squares. This is your blueprint for impossibly gooey, buttery, and perfectly chewy Rice Krispie Treats every single time. We focus on simple techniques that elevate this classic into a truly memorable treat, making it one of the best easy dessert recipes in our collection at Bites by Lila.
Ingredients
- 4 tablespoons Unsalted Butter
- 1 bag (10 oz) Mini Marshmallows
- 6 cups Crispy Rice Cereal
- 1 teaspoon Pure Vanilla Extract
- 1/4 teaspoon Sea Salt, plus more for sprinkling
Instructions
- Grease a 9x9 inch baking pan with butter or non-stick spray. For guaranteed easy removal, line the pan with parchment paper, leaving an overhang on two sides to act as "handles."
- In a large pot over low heat, melt the 4 tablespoons of unsalted butter.
- Once the butter is melted, add the entire 10-ounce bag of mini marshmallows. Stir continuously with a silicone spatula until they are about 80% melted.
- Take the pot off the heat before the marshmallows are completely melted. The residual heat will finish the job. This prevents overcooking.
- Stir in the vanilla extract and a pinch of salt until the last few marshmallow lumps are smooth.
- Immediately pour in the 6 cups of crispy rice cereal. Use your spatula to gently fold and mix until the cereal is evenly coated. Work quickly but don't crush the cereal.
- Scrape the mixture into your prepared pan. Lightly spray your spatula (or your fingertips) with cooking spray and gently press the mixture into an even layer. Do not pack it down firmly.
- Let the treats cool at room temperature for at least 1 hour before cutting. Do not refrigerate, as this can make them hard.
- Use the parchment handles to lift the entire block out of the pan. Place on a cutting board and slice into squares with a sharp, greased knife.