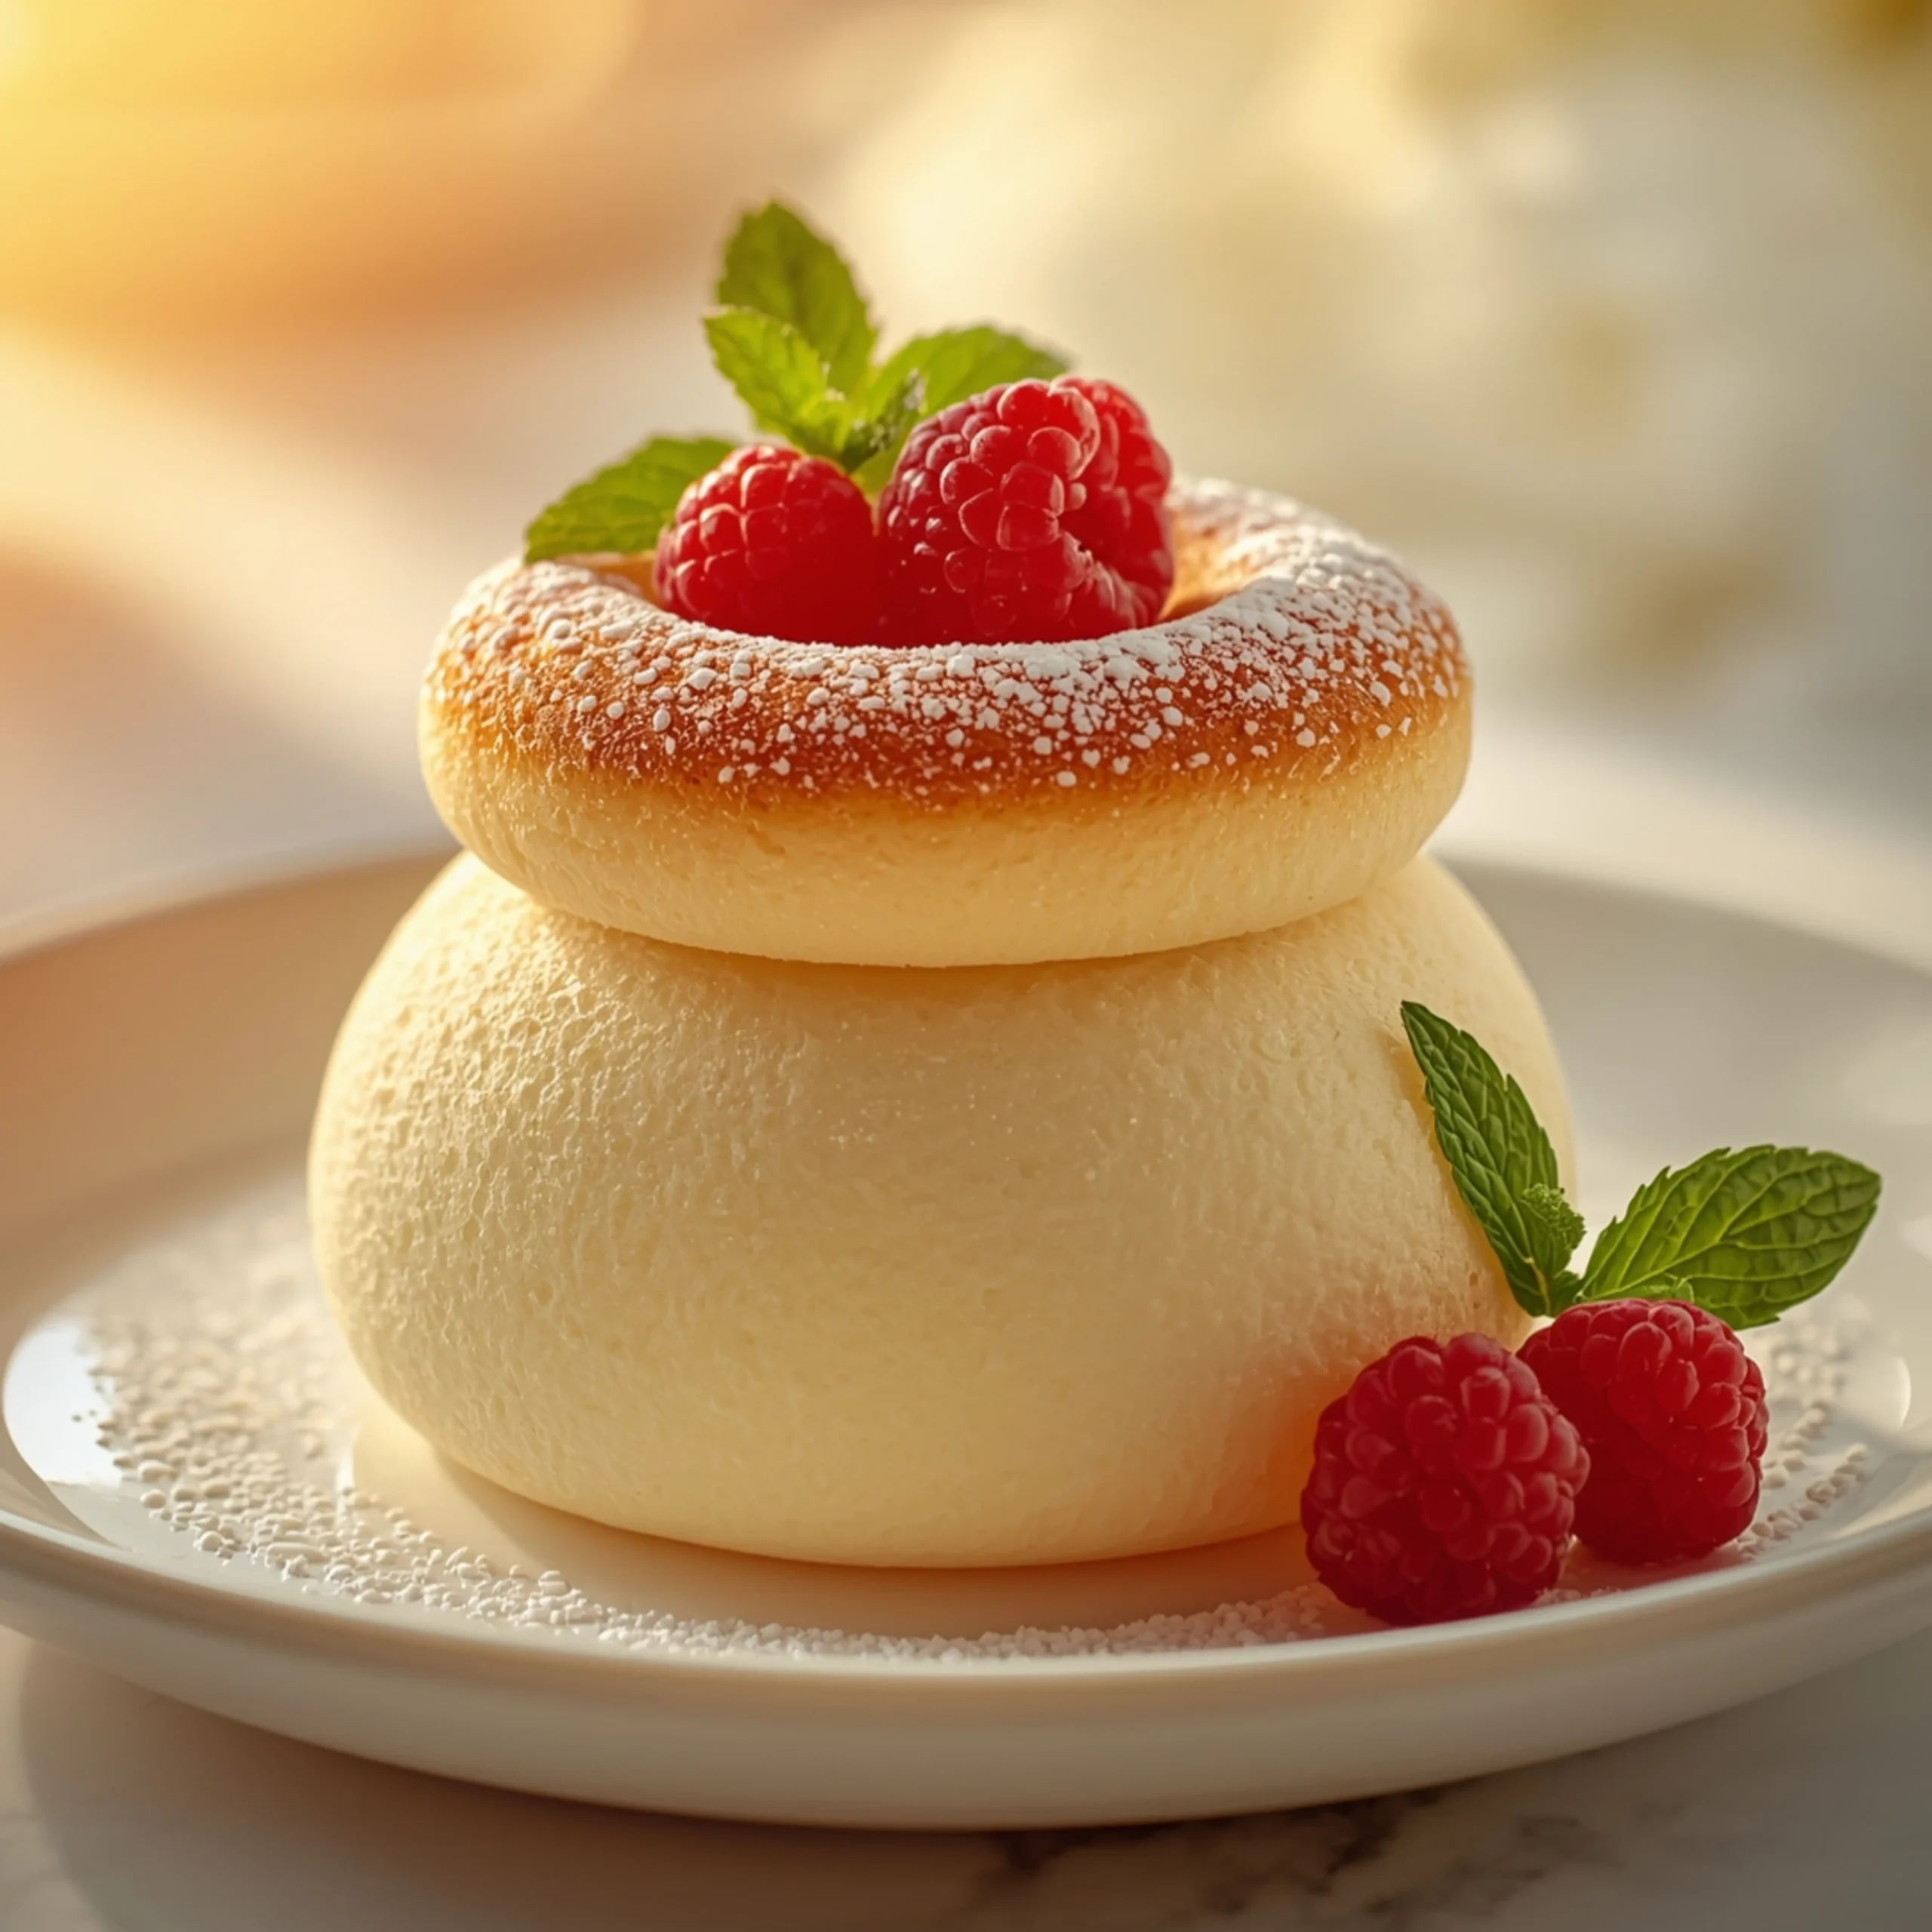
How to Make Fluffy Japanese Cloud Cake (A Perfect Soufflé)
This Japanese Cloud Cake delivers a famously light, airy, and jiggly texture that melts in your mouth. It’s a showstopper that relies on technique, not complicated ingredients. Among all our delicious dessert recipes, this one provides the most rewarding baking experience.
This guide is engineered for success, breaking down the critical steps to prevent common failures like cracking or collapsing.
The Meringue Matrix: Your Key to a Perfect Rise
The meringue is the engine of this cake. Its structure traps air, creating the signature lift and soufflé texture. Get this right, and you’re 90% of the way there.
- Use a Spotless Bowl: Any trace of fat or oil (including egg yolk) will prevent your egg whites from whipping to their full potential. Wipe your bowl and whisk with a touch of vinegar or lemon juice to be certain.
- Cold Eggs, Room Temp Whites: Separate your eggs while they’re cold—the yolks are firmer and less likely to break. Let the whites sit for about 20-30 minutes to come to room temperature for better volume.
- Gradual Sugar Addition: Don’t dump the sugar in all at once. Add it one tablespoon at a time *after* the whites have become foamy. This allows the sugar to dissolve properly, creating a stable, glossy meringue.
- The “Stiff Peak” Test: You’re looking for stiff, glossy peaks. When you lift the whisk, the peak should hold its shape and point straight up, maybe with a slight curl at the very tip. If it’s droopy, keep whipping. If it looks dry or curdled, you’ve gone too far.
Essential Equipment Checklist
Precision is key. Using the right tools eliminates variables and ensures consistent results. Having the right setup is crucial for all our easy breakfast recipes and desserts alike.
- 6-inch Round Cake Pan (3 inches high): A smaller, taller pan is non-negotiable. It encourages the cake to rise upwards.
- Kitchen Scale: Volume measurements (cups) are inaccurate for baking. Use grams for precision.
- Stand Mixer or Electric Hand Mixer: Whipping a stable meringue by hand is extremely difficult.
- Fine-Mesh Sieve: For sifting flour and cornstarch to prevent lumps.
- Large Roasting Pan: To create the water bath (bain-marie). It must be larger than your cake pan.
The Bain-Marie Blueprint: Steam is Your Secret Weapon
The bain-marie, or water bath, is essential for a moist, crack-free cake. It provides gentle, even heat and fills the oven with steam.
- How it Works: The water insulates the batter from the harsh, direct heat of the oven, preventing the outside from cooking too fast and cracking before the inside is set.
- Steam is Everything: The steam keeps the cake’s surface moist and pliable, allowing it to expand and rise dramatically without tearing.
- Water Temperature: Use hot tap water, but not boiling. Boiling water can create too much steam initially and overcook the bottom of the cake.
STEP-BY-STEP INSTRUCTIONS
Prep Phase:
- Preheat & Prep Pan: Preheat oven to 320°F (160°C). Cut a piece of parchment paper to fit the bottom of your 6-inch pan. Cut a long strip to line the sides, ensuring it stands about 1-2 inches above the pan’s rim. Grease the pan lightly with butter or neutral oil to help the parchment stick.
- Set Up Bain-Marie: Place your prepared 6-inch pan inside the larger roasting pan. Have hot water ready.
Part 1: The Yolk Base
- Melt & Combine: In a small saucepan over low heat, gently warm the milk, cream cheese, and butter. Whisk until completely smooth and no lumps remain. Remove from heat immediately.
- Cool Slightly: Let the mixture cool for a few minutes. It should be warm, not hot, to avoid scrambling the eggs.
- Add Yolks & Flavor: Whisk the egg yolks and vanilla extract into the cream cheese mixture until fully incorporated and smooth.
- Sift Dry Ingredients: Sift the cake flour and cornstarch directly into the yolk mixture. Whisk gently until just combined. Do not overmix. Set aside.
Part 2: The Meringue
- Whip Egg Whites: In the clean bowl of a stand mixer, beat the egg whites on medium speed until foamy. Add the cream of tartar.
- Add Sugar: With the mixer running, slowly add the granulated sugar, one tablespoon at a time.
- Whip to Stiff Peaks: Increase the speed to medium-high and whip until the meringue is glossy and forms stiff peaks (as described in the “Meringue Matrix” section above).
Part 3: The Fold & Bake
- Lighten the Batter: Take about 1/3 of the meringue and fold it vigorously into the yolk base. This is called “sacrificing” the meringue; its purpose is to lighten the heavy base, making it easier to fold in the rest.
- Fold Gently: Add the remaining meringue to the bowl. Use a spatula to gently fold it in, scraping from the bottom and turning the batter over itself. Stop as soon as no white streaks remain. Over-mixing will deflate the batter.
- Fill the Pan: Pour the batter into your prepared cake pan. Tap the pan gently on the counter 2-3 times to release any large air bubbles.
- Create Water Bath: Carefully place the roasting pan (with the cake pan inside) onto the oven rack. Pour hot water into the roasting pan until it comes about 1-inch up the side of the cake pan.
- Bake: Bake at 320°F (160°C) for 25 minutes. Then, reduce the oven temperature to 285°F (140°C) and bake for another 50-55 minutes. The cake should be golden brown and a skewer inserted into the center should come out clean.
- Cool Down: Turn off the oven, crack the door open slightly, and let the cake cool inside for 15-20 minutes. This gradual temperature change helps prevent it from collapsing.
- Serve: Remove from the oven and carefully lift the cake out of the pan using the parchment paper sling. Serve warm or chilled.
What to Eat Before This Dessert
A light, airy cake is the perfect finale to a meal. It doesn’t sit heavily after a savory main course. If you’re planning a menu, a comforting but not overwhelming dish like a creamy mac and cheese soup provides a wonderful contrast in textures before you enjoy this cloud-like dessert.
COMMON MISTAKES TO AVOID
- Mistake: A cracked, volcanic top.
- Fix: Your oven is too hot. The exterior cooked before the interior could rise, causing it to burst. Check your oven with an oven thermometer and ensure your water bath is in place.
- Mistake: The cake deflates dramatically after baking.
- Fix: The cake was likely under-baked, or the meringue was unstable (under-whipped). Ensure a skewer comes out clean and that your meringue reaches stiff, glossy peaks. The slow cool-down in the oven is also critical.
- Mistake: A dense, rubbery layer at the bottom.
- Fix: You over-mixed the batter when folding the meringue into the yolk base, deflating all the air you worked to create. Fold only until no white streaks remain.
Further Culinary Adventures
If you enjoyed the precision of this baking project, challenge yourself with another rewarding recipe. Crafting your own soft pretzels with parmesan can be a fun next step. For those looking for a quick and healthy dinner idea, this garlic shrimp with zucchini noodles is an excellent choice.
FAQ
Q: Why is my cake not as “jiggly” as the ones I see online?
A: The jiggle is most prominent when the cake is warm, right out of the oven. As it cools, the structure firms up. Also, ensuring your meringue is at the perfect stiff peak stage is key to achieving that ultra-light, airy structure that allows for the jiggle.
Q: Can I use all-purpose flour instead of cake flour?
A: You can, but the texture will be slightly denser. Cake flour has a lower protein content, which results in a more tender, delicate crumb. If you must use all-purpose flour, for every 1 cup, remove 2 tablespoons and replace them with 2 tablespoons of cornstarch.
Q: Can I make this in a larger pan?
A: It’s not recommended without adjusting the recipe. This recipe is specifically calibrated for the height and diameter of a 6-inch pan to achieve maximum rise. Using a wider pan will result in a much flatter, less impressive cake.
NUTRITIONAL SNAPSHOT
| Nutrient | Amount per Serving |
|---|---|
| Calories | 260 kcal |
| Protein | 8g |
| Fat | 18g |
| Net Carbs | 15g |
| Fiber | 0.5g |
| Sugar | 12g |

How to Make Fluffy Japanese Cloud Cake (A Perfect Soufflé)
This Japanese Cloud Cake delivers a famously light, airy, and jiggly texture that melts in your mouth. It's a showstopper that relies on technique, not complicated ingredients. Among all our delicious dessert recipes, this one provides the most rewarding baking experience. This guide is engineered for success, breaking down the critical steps to prevent common failures like cracking or collapsing.
Ingredients
- 1/2 cup (120ml) whole milk
- 3.5 oz (100g) cream cheese (softened)
- 3 tbsp (45g) unsalted butter
- 4 large egg yolks
- 1 tsp vanilla extract
- 1/3 cup (40g) cake flour
- 1.5 tbsp (15g) cornstarch
- 4 large egg whites (room temperature)
- 1/4 tsp cream of tartar
- 1/2 cup (100g) granulated sugar
Instructions
- Preheat oven to 320°F (160°C). Cut a piece of parchment paper to fit the bottom of your 6-inch pan. Cut a long strip to line the sides, ensuring it stands about 1-2 inches above the pan's rim. Grease the pan lightly with butter or neutral oil to help the parchment stick.
- Place your prepared 6-inch pan inside the larger roasting pan. Have hot water ready.
- In a small saucepan over low heat, gently warm the milk, cream cheese, and butter. Whisk until completely smooth and no lumps remain. Remove from heat immediately.
- Let the mixture cool for a few minutes. It should be warm, not hot, to avoid scrambling the eggs.
- Whisk the egg yolks and vanilla extract into the cream cheese mixture until fully incorporated and smooth.
- Sift the cake flour and cornstarch directly into the yolk mixture. Whisk gently until just combined. Do not overmix. Set aside.
- In the clean bowl of a stand mixer, beat the egg whites on medium speed until foamy. Add the cream of tartar.
- With the mixer running, slowly add the granulated sugar, one tablespoon at a time.
- Increase the speed to medium-high and whip until the meringue is glossy and forms stiff peaks (as described in the "Meringue Matrix" section above).
- Take about 1/3 of the meringue and fold it vigorously into the yolk base. This is called "sacrificing" the meringue; its purpose is to lighten the heavy base, making it easier to fold in the rest.
- Add the remaining meringue to the bowl. Use a spatula to gently fold it in, scraping from the bottom and turning the batter over itself. Stop as soon as no white streaks remain. Over-mixing will deflate the batter.
- Pour the batter into your prepared cake pan. Tap the pan gently on the counter 2-3 times to release any large air bubbles.
- Carefully place the roasting pan (with the cake pan inside) onto the oven rack. Pour hot water into the roasting pan until it comes about 1-inch up the side of the cake pan.
- Bake at 320°F (160°C) for 25 minutes. Then, reduce the oven temperature to 285°F (140°C) and bake for another 50-55 minutes. The cake should be golden brown and a skewer inserted into the center should come out clean.
- Turn off the oven, crack the door open slightly, and let the cake cool inside for 15-20 minutes. This gradual temperature change helps prevent it from collapsing.
- Remove from the oven and carefully lift the cake out of the pan using the parchment paper sling. Serve warm or chilled.