Easy Speckled Mini Easter Egg Cakes Recipe
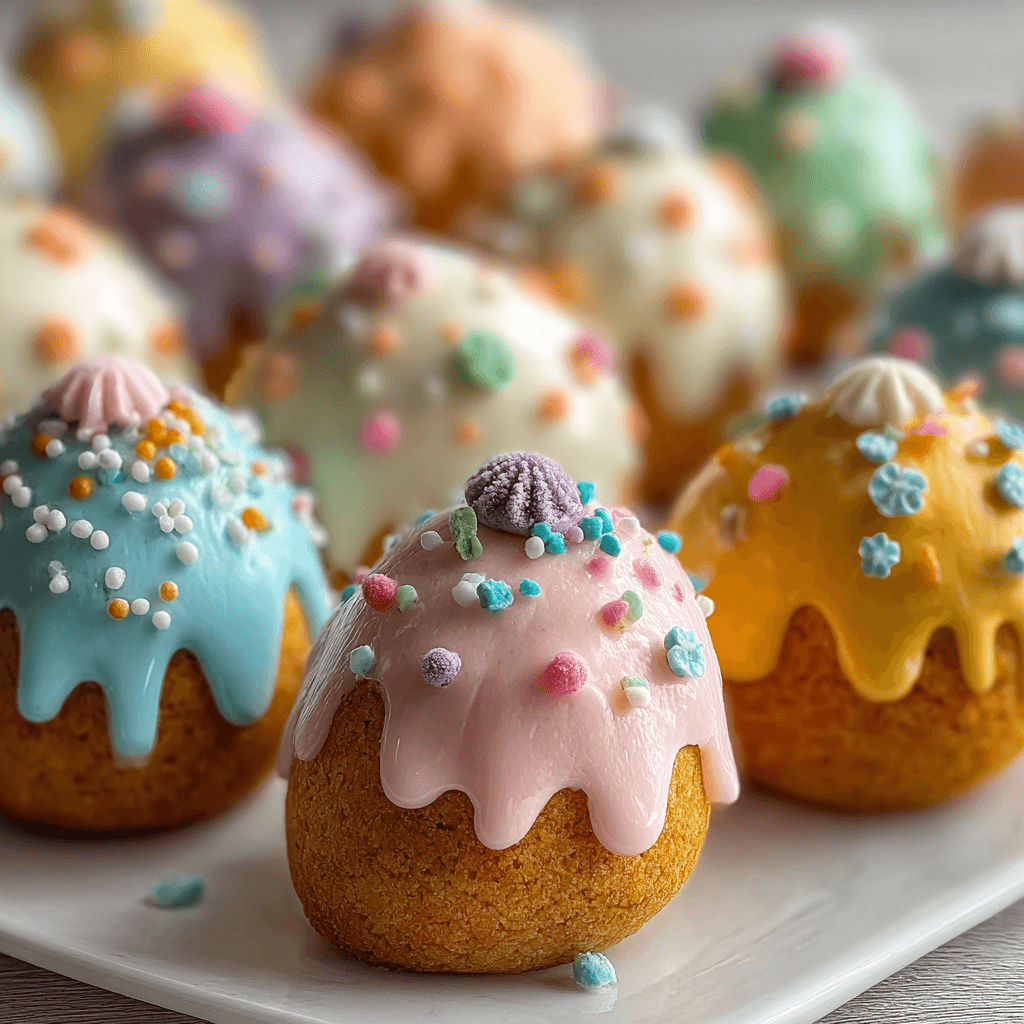
These charming Mini Easter Egg Cakes are the perfect centerpiece for your spring celebration. With a tender vanilla crumb and a simple buttercream, their signature speckled design is surprisingly easy to achieve. This is one of the most rewarding Desserts you can make this season.
Why This Method Works
This recipe is engineered for success. By using a stable vanilla cake base and a simple American buttercream, we ensure the structure is sound for shaping and decorating. The “flick and spatter” method for speckling is a low-effort, high-impact technique that delivers a professional look with minimal tools.
- Structure First: The cake recipe is sturdy enough to be handled and shaped without crumbling.
- Simple Frosting: American buttercream provides the ideal smooth, white canvas and firms up nicely.
- High-Impact Decor: The cocoa-vanilla speckle is fast, forgiving, and looks stunning.
Cake Base Options: From Scratch vs. Box Mix
Your foundation is key. You have two primary routes, both of which can lead to excellent results. Choose based on your available time and comfort level.
- From Scratch (Recommended): A homemade vanilla cake offers superior flavor and a denser, more carvable crumb. This is ideal for getting clean shapes. Our go-to vanilla cake is simple and reliable, but feel free to explore other Recipes for your base.
- High-Quality Box Mix: In a pinch, a box mix is a great shortcut.
- Pro Tip: To elevate a box mix, replace the water with whole milk, use melted butter instead of oil (double the amount), and add one extra egg. This will create a richer, more homemade taste and texture.
Essential Equipment Checklist
Having the right tools is half the battle. This isn’t a complex bake, but a few specific items make the process seamless.
- Baking Pan: An egg-shaped cakelet pan is the most direct route. Alternatively, a 9×13 inch sheet pan and a 3-inch egg-shaped cookie cutter work perfectly.
- Mixing Bowls: At least two; one for dry ingredients, one for wet.
- Electric Mixer: A stand mixer with a paddle attachment or a hand mixer is crucial for both the cake batter and the buttercream.
- Offset Spatula: A small offset spatula gives you precise control for a smooth frosting finish.
- Small, Stiff-Bristled Brush: A food-safe paintbrush or even a new, clean toothbrush is perfect for creating the speckle effect.
- Wire Rack: Essential for cooling the cakes completely before frosting.
Step-by-Step Instructions
Part 1: Baking the Vanilla Cake
- Pre-Op: Preheat your oven to 350°F (175°C). Thoroughly grease and flour your egg-shaped cakelet pan or a 9×13 inch sheet pan.
- Combine Dry Ingredients: In a medium bowl, whisk together the all-purpose flour, baking powder, and salt. Set aside.
- Cream Butter & Sugar: In the bowl of a stand mixer, beat the softened unsalted butter and granulated sugar on medium-high speed until light and fluffy, about 3-4 minutes.
- Add Eggs & Vanilla: Add the eggs one at a time, beating well after each addition. Scrape down the sides of the bowl. Beat in the vanilla extract.
- Alternate Wet & Dry: Reduce the mixer speed to low. Add the dry ingredients in three additions, alternating with the milk in two additions (begin and end with dry). Mix only until just combined—do not overmix.
- Bake: Pour the batter into your prepared pan(s).
- For Cakelet Pan: Fill each cavity about 2/3 full. Bake for 18-22 minutes.
- For Sheet Pan: Spread batter evenly. Bake for 25-30 minutes.
The cakes are done when a toothpick inserted into the center comes out clean.
- Cool: Let the cakes cool in the pan for 10 minutes before inverting them onto a wire rack to cool completely. If using a sheet pan, let it cool completely before cutting out egg shapes with your cookie cutter.
Part 2: Making the Buttercream & Assembly
- Beat Butter: In your stand mixer, beat the softened butter on medium speed for 2-3 minutes until completely smooth and creamy.
- Add Sugar & Liquid: Gradually add the powdered sugar, one cup at a time, alternating with the heavy cream and vanilla extract. Scrape down the bowl frequently.
- Whip: Once all ingredients are incorporated, increase the speed to medium-high and whip for 3-5 minutes until the buttercream is light, fluffy, and smooth.
- Assemble: If you used a sheet pan, you’ll have flat egg shapes. If you used a cakelet pan, you’ll have domed halves. To create a full “egg,” level the flat side of two halves, spread a thin layer of buttercream on one, and press them together.
- Crumb Coat: Apply a very thin layer of buttercream over the entire surface of each mini cake. This traps any loose crumbs. Refrigerate for 20-30 minutes until firm.
- Final Coat: Apply a final, smooth layer of buttercream over the chilled crumb coat. Use an offset spatula for the best results. Return to the fridge to set while you prepare the speckling mixture.
Part 3: Creating the Speckled Effect
- Prep Your Station: Protect your work surface with newspaper or parchment paper. This can get messy.
- Mix the “Paint”: In a small bowl, mix the cocoa powder and vanilla extract until a thin, paint-like consistency is formed.
- Speckle: Dip the tips of your stiff-bristled brush into the cocoa mixture. Hold the brush about 6-8 inches from a cake. Use your thumb to flick the bristles, splattering the “paint” onto the frosted surface. Rotate the cake and repeat until you achieve your desired look.
- Set: Allow the speckles to dry completely, about 15-20 minutes, before handling.
Make-Ahead & Storage Strategy
Proper planning makes holiday baking stress-free.
- Cakes (1-2 Days Ahead): The cake components can be baked, cooled, and stored in an airtight container at room temperature for up to 2 days.
- Buttercream (Up to 1 Week Ahead): The buttercream can be made and stored in an airtight container in the refrigerator. Let it come to room temperature and re-whip it for a few minutes before using.
- Assembled & Frosted (1 Day Ahead): You can assemble and frost the cakes (crumb coat and final coat) a day in advance. Store them in an airtight container in the refrigerator. Speckle them a few hours before serving for the best look.
- Finished Cakes: Store finished Mini Easter Egg Cakes in a single layer in an airtight container in the refrigerator for up to 3 days. Let them sit at room temperature for 20-30 minutes before serving.
After you’ve mastered these mini cakes, you might be inspired to try other creative bite-sized desserts, like these fun Strawberry Cheesecake Crunch Bites. And for the main course before dessert, a straightforward dish like this Maple Dijon Glazed Chicken Breast recipe keeps things simple and delicious.
COMMON MISTAKES TO AVOID
- Mistake: Frosting a warm cake.
- Fix: Patience is a key ingredient. The cakes must be 100% cool to the touch. Warm cakes will melt the buttercream into a greasy mess.
- Mistake: A lumpy or gritty buttercream.
- Fix: Sift your powdered sugar if it’s clumpy. More importantly, make sure your butter is at a cool room temperature—not melty—and whip it thoroughly before adding any sugar.
- Mistake: Heavy, blotchy speckles.
- Fix: Use less “paint” on the brush than you think you need. Practice your flicking motion on a piece of paper towel first to get the feel for the pressure and distance required for a fine, delicate spatter.
FAQ
Q: Can I make these without an egg-shaped pan?
A: Absolutely. Bake the cake in a 9×13 inch sheet pan, let it cool, and use an egg-shaped cookie cutter to cut out the shapes. You’ll have flat “cookies” instead of 3D eggs, which are just as delicious and easier to frost.
Q: Can I color the frosting?
A: Yes! After the buttercream is made, add a few drops of pastel-colored gel food coloring (gel works best to not alter the consistency) and mix on low until the color is uniform.
Q: What’s the best way to transport these?
A: Refrigerate the finished cakes until the frosting is very firm. Place them carefully in a container with a high lid, ensuring they don’t touch. A cupcake carrier with shallow inserts can also work well.
If you’re looking for more inventive recipes that blend different culinary ideas, check out this guide to making a Butter Chicken Lasagna for a truly unique dinner.
NUTRITIONAL SNAPSHOT
| Nutrient | Amount per Serving |
|---|---|
| Calories | 380 kcal |
| Protein | 4g |
| Fat | 20g |
| Net Carbs | 45g |
| Fiber | 1g |
| Sugar | 35g |
Estimates are based on one mini cake and may vary based on specific ingredients and final size.
Easy Speckled Mini Easter Egg Cakes Recipe
Ingredients
- 1 1/2 cups all-purpose flour
- 1 1/2 tsp baking powder
- 1/4 tsp salt
- 1/2 cup unsalted butter, softened
- 1 cup granulated sugar
- 2 large eggs, room temperature
- 2 tsp vanilla extract
- 3/4 cup whole milk, room temperature
- 1 cup unsalted butter, softened
- 3-4 cups powdered sugar, sifted
- 1/4 cup heavy cream or whole milk
- 1 1/2 tsp vanilla extract
- Pinch of salt
- 1 tbsp unsweetened cocoa powder
- 2 tsp vanilla extract (or water)