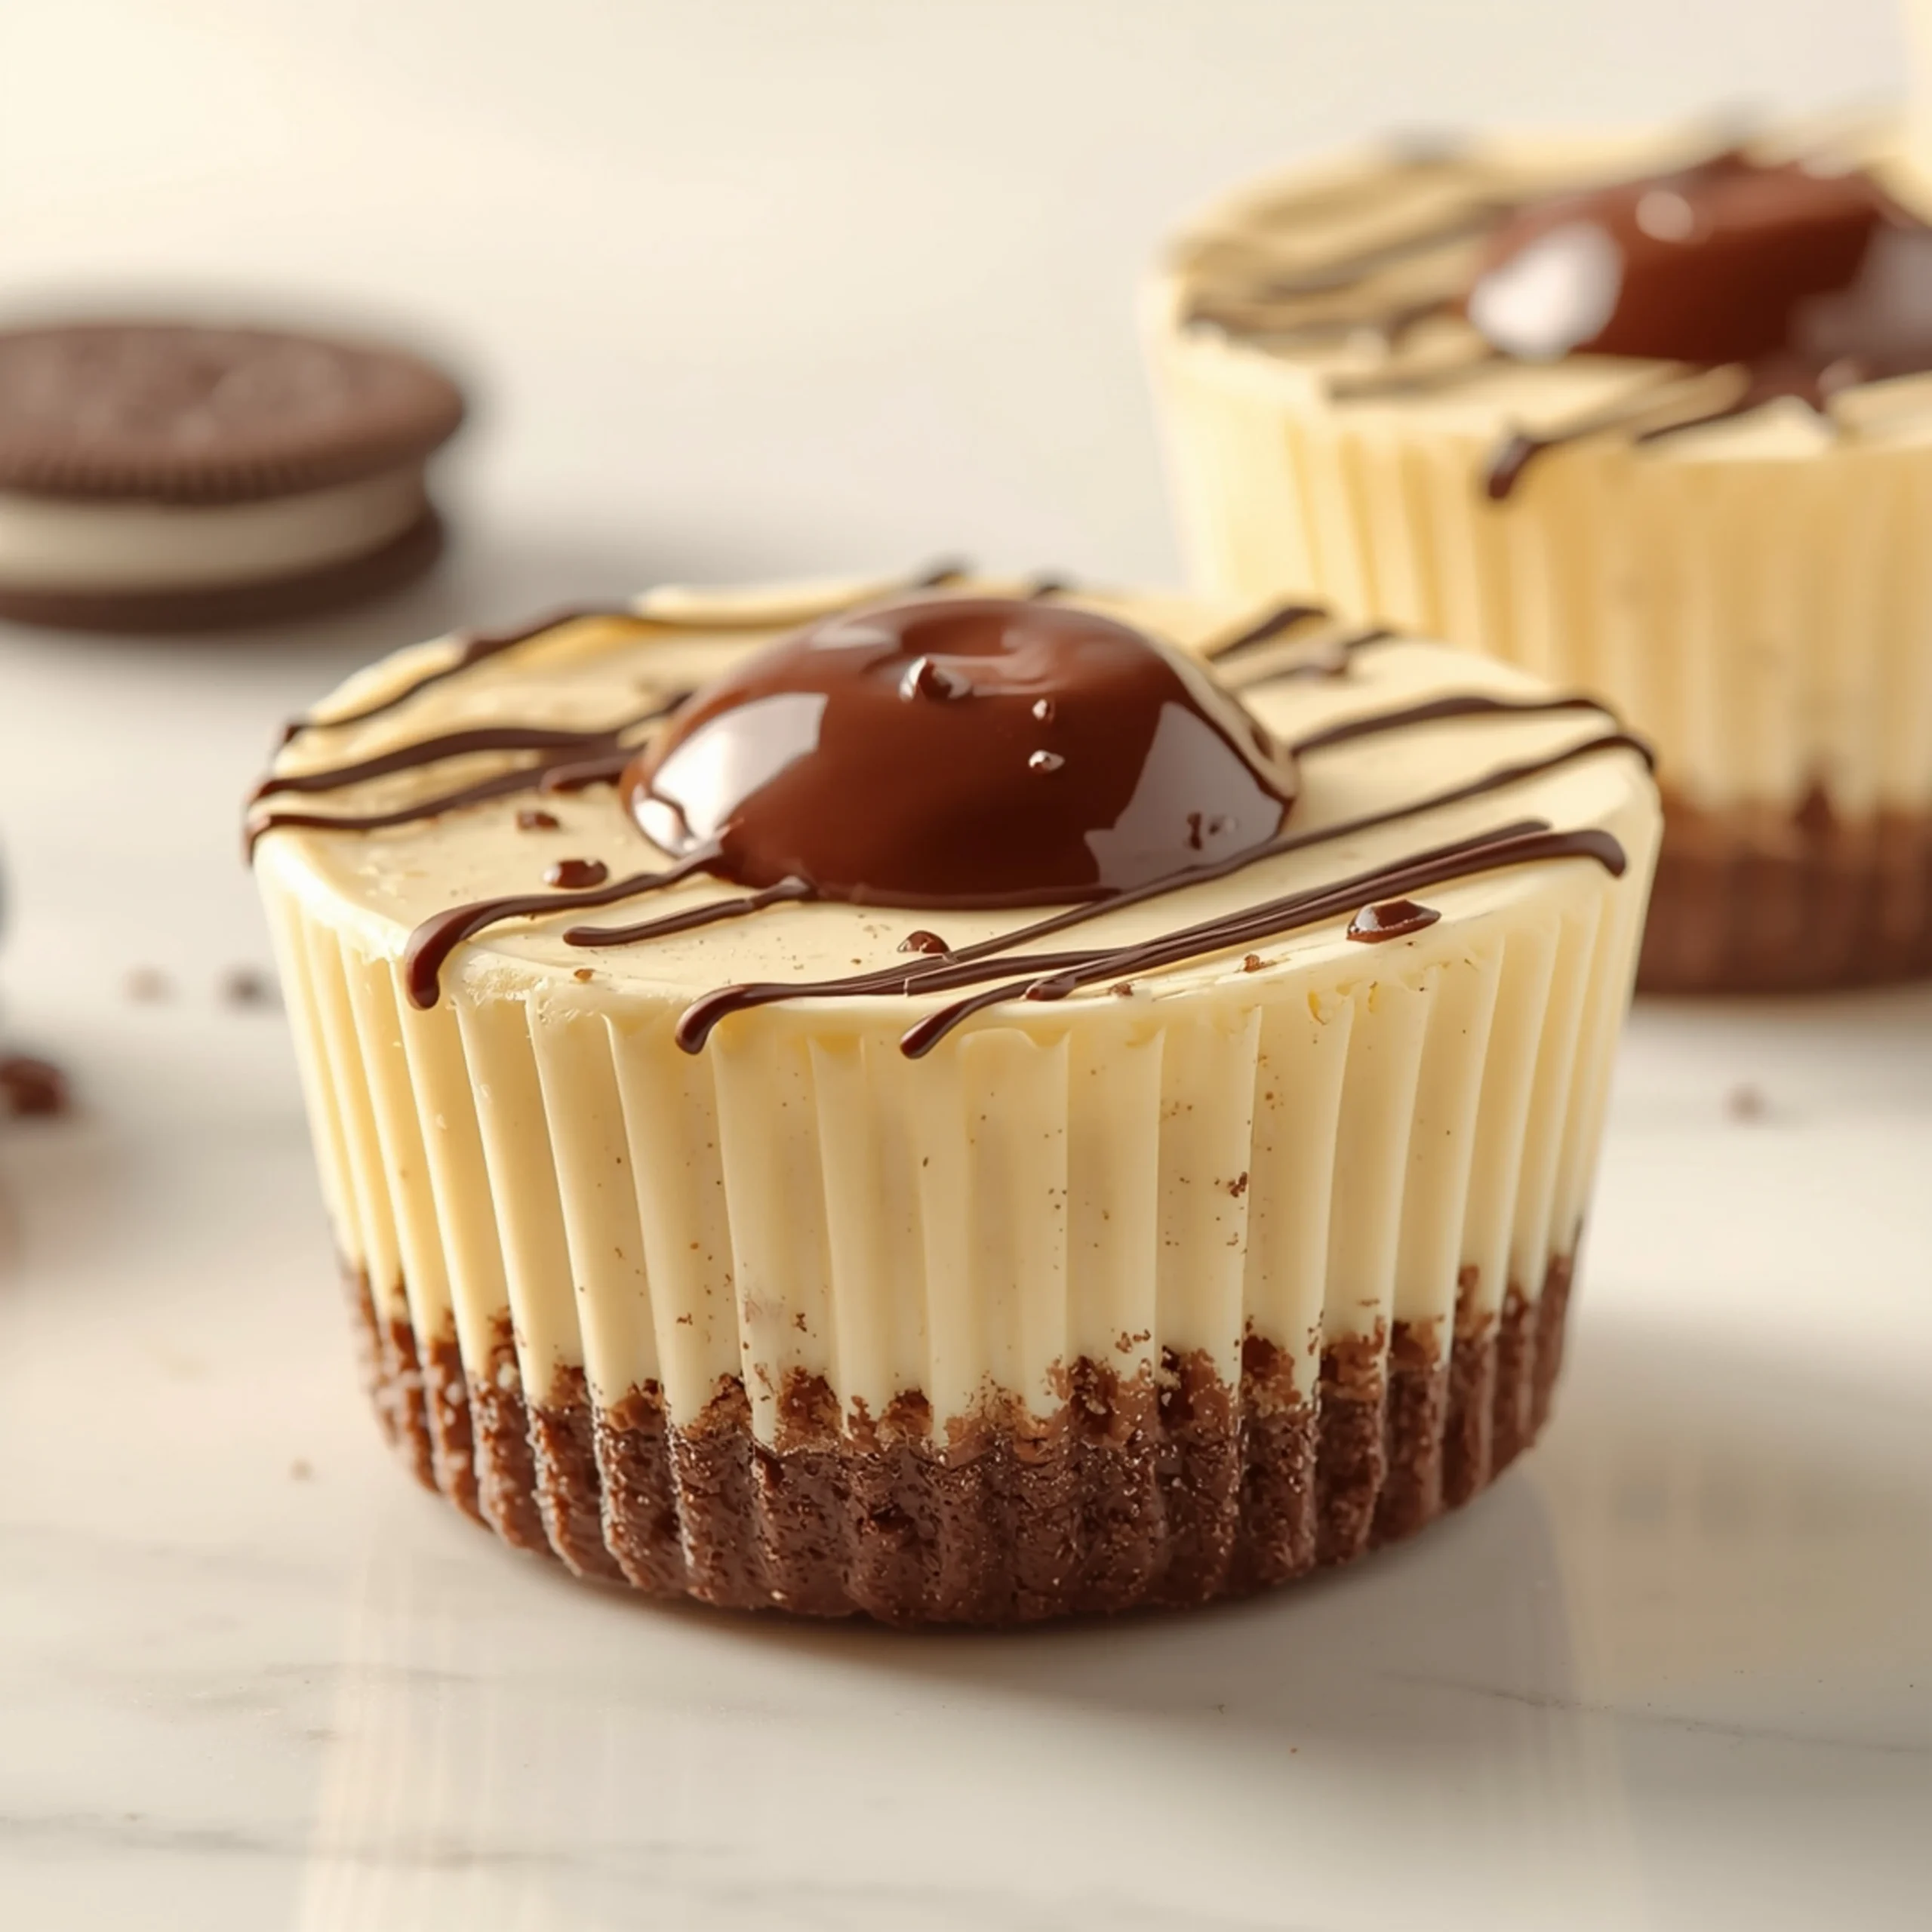
Easy Oreo No-Bake Cheesecake Cups
These Oreo No-Bake Cheesecake Cups deliver a rich, velvety cheesecake filling and a crunchy cookie crust without ever turning on your oven. They are the perfect individual dessert for effortless entertaining or a simple weeknight treat. For more crowd-pleasing sweets, you can explore all of our desserts.
Equipment & Setup: Your Prep Checklist
A successful no-bake recipe is all about efficient preparation. Having your tools and ingredients ready (“mise en place”) ensures a smooth process.
- Muffin Tin: A standard 12-cup tin is the mold for your cups.
- Paper or Silicone Liners: Essential for easy removal and serving.
- Food Processor or Ziplock Bag: To create fine Oreo crumbs for the crust. A rolling pin works well with the bag method.
- Electric Mixer: A stand mixer with a whisk attachment or a hand mixer is crucial for a light, airy filling.
- Mixing Bowls: You’ll need one for the crust and one for the filling.
- Spatula: For scraping the bowl to ensure everything is incorporated.
- Piping Bag or Scoop: A piping bag provides a clean, professional look. An ice cream or cookie scoop also works well for uniform portions.
Component Breakdown: The Anatomy of Perfection
Understanding the role of each ingredient helps you master the recipe and troubleshoot any issues.
The Oreo Crust
This two-ingredient foundation provides the signature cookies-and-cream flavor and a sturdy, crunchy base.
- Oreo Cookies: Use the entire cookie, cream filling and all. The filling contains fat and sugar that helps the crust bind together.
- Unsalted Butter: This is the glue. Once melted and mixed with the crumbs, it solidifies when chilled, creating a firm base that won’t fall apart.
The Cream Cheese Filling
This is the star of the show. The goal is a filling that is stable, creamy, and light—not dense or heavy.
- Full-Fat Cream Cheese: Do not substitute with low-fat. The high-fat content is critical for a rich flavor and a firm set. It must be at room temperature to prevent lumps.
- Powdered Sugar: Dissolves instantly into the cream cheese, providing sweetness without a gritty texture. It also contains cornstarch, which aids in stabilizing the filling.
- Heavy Whipping Cream: When whipped to stiff peaks, it incorporates air into the filling, transforming it from dense to light and mousse-like. It’s the key to the “no-bake” structure.
- Vanilla Extract & Salt: These are flavor enhancers. Vanilla adds warmth, and a tiny pinch of salt balances the sweetness and makes the chocolate notes pop.
Step-by-Step Instructions
- Prepare the Pan: Line a 12-cup standard muffin tin with paper or silicone liners. Set aside.
- Make the Crust: Place 24 Oreo cookies into a food processor and pulse until they become fine, uniform crumbs. Alternatively, place them in a sealed plastic bag and crush them with a rolling pin.
- Bind the Crust: Transfer the crumbs to a medium bowl. Pour in the melted butter and mix with a fork until all the crumbs are evenly moistened, resembling wet sand.
- Press the Crust: Distribute approximately 1.5 tablespoons of the crumb mixture into each muffin liner. Use the bottom of a small glass or a spice jar to press the crumbs down firmly into an even, compact layer. Place the muffin tin in the freezer to set while you prepare the filling.
- Start the Filling: In the bowl of a stand mixer fitted with the paddle attachment (or in a large bowl with a hand mixer), beat the room-temperature cream cheese on medium speed until completely smooth and free of lumps, about 2-3 minutes.
- Sweeten the Filling: Add the powdered sugar, vanilla extract, and salt. Mix on low speed until just combined, then increase to medium and beat for another minute until smooth. Scrape down the sides of the bowl.
- Whip the Cream: In a separate, chilled bowl, use the whisk attachment (or clean beaters on your hand mixer) to whip the cold heavy cream on medium-high speed until it forms stiff peaks. This means the peaks hold their shape and don’t flop over. Be careful not to over-whip, or it will turn grainy.
- Fold and Combine: Gently fold the whipped cream into the cream cheese mixture in two or three additions using a spatula. Be gentle to maintain the air you just incorporated. Fold until no white streaks remain.
- Assemble the Cups: Remove the muffin tin from the freezer. Transfer the cheesecake filling to a piping bag (or use a cookie scoop) and pipe or spoon it evenly over the chilled Oreo crusts, filling each liner to the top.
- Chill to Set: Place the muffin tin in the refrigerator and chill for at least 4-6 hours, or preferably overnight. This step is critical for the filling to set properly.
- Garnish and Serve: Just before serving, top each cheesecake cup with extra crushed Oreos or a mini Oreo cookie for decoration.
Flavor & Texture Customization
This simple recipe is a fantastic base for creativity. Just like with our best dinner recipes, the real fun starts when you make it your own.
- Crust Variations:
- Golden Oreo Crust: Swap classic Oreos for Golden Oreos and pair with a lemon or vanilla bean cheesecake filling.
- Nutty Crust: Add 1/4 cup of finely chopped pecans or walnuts to the Oreo crumbs for added texture.
- Mint-Chocolate Crust: Use Mint Oreos for a refreshing twist.
- Filling Mix-Ins:
- Extra Oreo Chunks: Gently fold 1/2 cup of coarsely chopped Oreos into the finished filling before piping.
- Peanut Butter Swirl: After piping the filling, add a small dollop of melted peanut butter on top and use a toothpick to create a swirl.
- Mocha Flavor: Add 1 teaspoon of instant espresso powder to the cream cheese mixture.
- Topping Ideas:
- Chocolate Ganache: A drizzle of rich, dark chocolate ganache elevates the look and taste.
- Caramel Drizzle: A simple sea salt caramel sauce complements the chocolate perfectly.
- Fresh Berries: A single raspberry or sliced strawberry on top adds a pop of color and a fresh, tart contrast. For another creative handheld dessert idea, these strawberry cheesecake stuffed egg rolls show how versatile fruit and cream cheese can be.
Make-Ahead & Storage Blueprint
These cups are ideal for making in advance, saving you time on the day of serving.
- Refrigeration: Store the finished cheesecake cups in an airtight container in the refrigerator for up to 4 days. Keep them well-covered to prevent them from absorbing other food odors.
- Freezing: For longer storage, you can freeze the cups (without toppings).
- First, “flash freeze” them by placing the muffin tin, uncovered, in the freezer for 1 hour until the cups are solid.
- Once firm, remove them from the tin and wrap each cup individually in plastic wrap, then place them in a freezer-safe bag or container.
- They will keep for up to 1 month. Thaw in the refrigerator for a few hours before garnishing and serving.
COMMON MISTAKES TO AVOID
- Mistake: Lumpy cheesecake filling.
- Fix: Ensure your cream cheese is truly at room temperature. Cold cream cheese will not blend smoothly with the sugar and will leave small, unpleasant lumps. Beat it by itself first until perfectly smooth before adding other ingredients.
- Mistake: A soggy or crumbly crust.
- Fix: Don’t skimp on pressing the crust down. Use firm, even pressure to compact the crumbs. Chilling the crust in the freezer while you make the filling is a key step that helps the butter solidify and create a strong base.
- Mistake: Runny, unset filling.
- Fix: This is usually caused by under-whipping the heavy cream or over-mixing when folding it in. The cream must be whipped to stiff peaks to provide structure. Fold it in gently with a spatula, not a mixer, to preserve the air. Also, be patient—the cups need a minimum of 4 hours to chill and set.
FAQ
Q: Can I make this as one large no-bake cheesecake instead of cups?
A: Absolutely. Press the crust mixture into the bottom of a 9-inch springform pan. Pour the filling over the top and smooth it out. You will need to increase the chilling time to at least 8 hours, or preferably overnight, to ensure the center is fully set before slicing.
Q: My filling seems too soft. What went wrong?
A: The most common culprits are using low-fat cream cheese, not whipping the heavy cream to stiff peaks, or not chilling the cheesecake long enough. Full-fat ingredients and proper chilling are non-negotiable for a firm set.
Q: What’s a good savory appetizer to serve before this rich dessert?
A: To balance the sweet, creamy nature of these cheesecake cups, you want a savory, salty starter. Something easy and shareable like these ham and cheese sticks would be an excellent choice for a party menu.
NUTRITIONAL SNAPSHOT
| Nutrient | Amount per Serving |
|---|---|
| Calories | 380 kcal |
| Protein | 4g |
| Fat | 28g |
| Net Carbs | 27g |
| Fiber | 1g |
| Sugar | 22g |

Easy Oreo No-Bake Cheesecake Cups
These Oreo No-Bake Cheesecake Cups deliver a rich, velvety cheesecake filling and a crunchy cookie crust without ever turning on your oven. They are the perfect individual dessert for effortless entertaining or a simple weeknight treat.
Ingredients
- 24 classic Oreo cookies (about 250g)
- 1/4 cup (57g) unsalted butter, melted
- 8 oz (226g) full-fat block cream cheese, softened to room temperature
- 1/2 cup (60g) powdered sugar
- 1 tsp vanilla extract
- Pinch of fine sea salt
- 1 cup (240ml) cold heavy whipping cream
- 4-6 extra Oreo cookies, crushed or whole minis
Instructions
- Line a 12-cup standard muffin tin with paper or silicone liners. Set aside.
- Place 24 Oreo cookies into a food processor and pulse until they become fine, uniform crumbs. Alternatively, place them in a sealed plastic bag and crush them with a rolling pin.
- Transfer the crumbs to a medium bowl. Pour in the melted butter and mix with a fork until all the crumbs are evenly moistened, resembling wet sand.
- Distribute approximately 1.5 tablespoons of the crumb mixture into each muffin liner. Use the bottom of a small glass or a spice jar to press the crumbs down firmly into an even, compact layer. Place the muffin tin in the freezer to set while you prepare the filling.
- In the bowl of a stand mixer fitted with the paddle attachment (or in a large bowl with a hand mixer), beat the room-temperature cream cheese on medium speed until completely smooth and free of lumps, about 2-3 minutes.
- Add the powdered sugar, vanilla extract, and salt. Mix on low speed until just combined, then increase to medium and beat for another minute until smooth. Scrape down the sides of the bowl.
- In a separate, chilled bowl, use the whisk attachment (or clean beaters on your hand mixer) to whip the cold heavy cream on medium-high speed until it forms stiff peaks. This means the peaks hold their shape and don't flop over. Be careful not to over-whip, or it will turn grainy.
- Gently fold the whipped cream into the cream cheese mixture in two or three additions using a spatula. Be gentle to maintain the air you just incorporated. Fold until no white streaks remain.
- Remove the muffin tin from the freezer. Transfer the cheesecake filling to a piping bag (or use a cookie scoop) and pipe or spoon it evenly over the chilled Oreo crusts, filling each liner to the top.
- Place the muffin tin in the refrigerator and chill for at least 4-6 hours, or preferably overnight. This step is critical for the filling to set properly.
- Just before serving, top each cheesecake cup with extra crushed Oreos or a mini Oreo cookie for decoration.