Creamy Peanut Butter Frozen Yogurt Bites: A No-Bake Treat
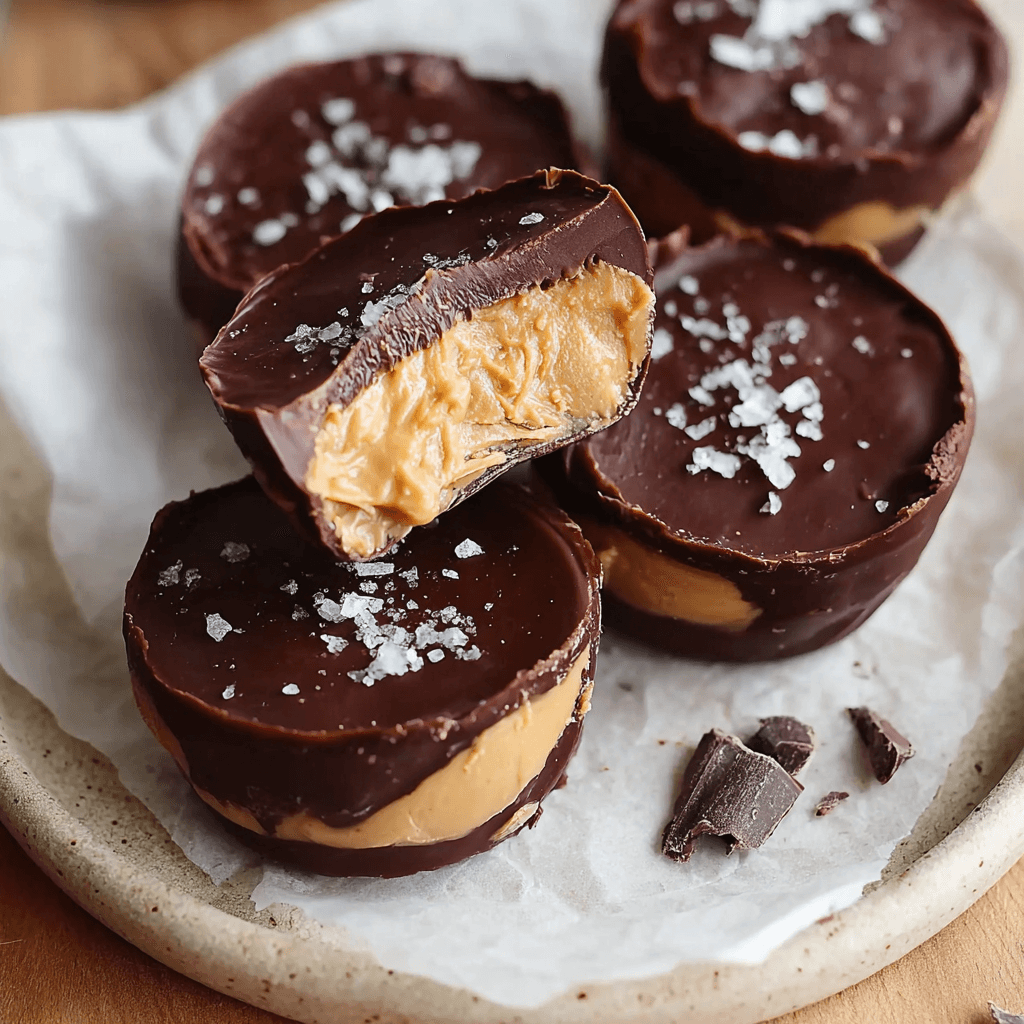
These peanut butter frozen yogurt bites deliver a creamy, satisfying punch of flavor with minimal effort. They’re the perfect no-bake solution for a healthy-ish treat, combining the tang of Greek yogurt with rich peanut butter and a crisp chocolate shell. It’s one of the easiest desserts you’ll ever make, ready to grab straight from the freezer.
Why This Recipe Is a Game-Changer
This isn’t just another frozen snack. This method is engineered for simplicity and satisfaction.
- No-Bake, No-Fuss: Zero oven time required. This is a mix, freeze, and dip operation perfect for warm days or when you need a quick dessert.
- Health-Conscious: Packed with protein from Greek yogurt and healthy fats from peanut butter. It satisfies sweet cravings without the guilt.
- Completely Customizable: This recipe is a blueprint. Swap nut butters, add mix-ins, or change the toppings.
- Perfectly Portioned: Individual bites make for easy snacking and portion control.
Ingredient Deep-Dive: The Core Four
The magic of this recipe lies in its simplicity. Understanding the role of each component allows for smart substitutions. For more ideas on using pantry staples, browse our full collection of recipes.
- Full-Fat Greek Yogurt: This is non-negotiable for a creamy, non-icy texture. The lower water content means fewer ice crystals. Plain, full-fat is best to control the sweetness.
- Natural Creamy Peanut Butter: Use a brand with just peanuts and salt. The natural oils help create a smooth, rich base. Avoid hydrogenated or “no-stir” varieties which can alter the texture.
- Liquid Sweetener (Honey or Maple Syrup): These blend seamlessly into the cold yogurt without creating a grainy texture. They also help keep the bites from freezing rock-solid.
- Dark Chocolate: Provides the signature “snap.” Use good quality chocolate chips or a chopped bar (70% cacao is ideal). A teaspoon of coconut oil helps create a smoother, glossier coating that hardens perfectly.
Step-by-Step Instructions
- Prepare Your Station: Line a small baking sheet or large plate with parchment paper. Make sure it fits in your freezer.
- Mix the Base: In a medium bowl, combine the Greek yogurt, creamy peanut butter, maple syrup (or honey), and vanilla extract. Stir with a spatula until completely smooth and uniform in color.
- Portion the Bites: Drop heaping tablespoons of the yogurt mixture onto the prepared parchment paper, creating small mounds. You should get 12-15 bites.
- First Freeze: Place the baking sheet in the freezer for at least 1 hour, or until the bites are firm to the touch. They shouldn’t be sticky.
- Melt the Chocolate: Just before the bites are ready, melt the dark chocolate and coconut oil in a small, microwave-safe bowl. Heat in 30-second increments, stirring in between, until smooth.
- Dip and Coat: Working quickly, take one frozen yogurt bite at a time. Use a fork to dip it into the melted chocolate, coating it completely. Lift it out, letting any excess chocolate drip off.
- Place and Garnish: Return the chocolate-coated bite to the parchment paper. Immediately sprinkle with flaky sea salt if using. Repeat for all bites.
- Final Freeze: Return the baking sheet to the freezer for another 15-20 minutes to allow the chocolate shell to harden completely.
- Store: Transfer the finished bites to an airtight container or freezer bag. Store in the freezer.
Pro Tips for Perfect Texture
Texture is everything in a frozen treat. Follow these guidelines for a creamy, snappy result.
- Don’t Overmix the Base: Stir the yogurt and peanut butter just until combined. Over-whipping incorporates too much air, which can lead to larger ice crystals.
- Work Quickly When Dipping: The frozen bites will start to melt the chocolate on contact. Have your station ready and work efficiently to ensure a thin, even coating.
- Use a Deep, Narrow Bowl for Chocolate: This makes it much easier to fully submerge and coat each bite without having to chase the chocolate around a wide bowl.
- Parchment is Key: Do not skip the parchment paper. It guarantees the bites won’t stick, preserving their perfect shape. While mastering simple frozen treats is rewarding, a different kind of creamy dessert challenge can be found in these expertly crafted tiramisu crepe rolls.
Flavor Customization Matrix
Use this as a starting point. These bites are incredibly versatile and can even serve as a quick add-on to a simple breakfast.
- Nut Butter Swaps:
- Almond Butter
- Cashew Butter
- Sunflower Seed Butter (for a nut-free version)
- Yogurt Base Mix-Ins (stir in 2-3 tbsp):
- Mini Chocolate Chips
- Toasted Coconut Flakes
- Finely Chopped Pretzels (for a sweet & salty crunch)
- Protein Powder (vanilla or chocolate)
- Topping Variations:
- Chopped Nuts (peanuts, almonds, pecans)
- Sprinkles
- Crushed Freeze-Dried Raspberries
COMMON MISTAKES TO AVOID
Mistake: Using low-fat or regular yogurt.
Fix: This is the most common error. The high water content in non-Greek or low-fat yogurt results in an icy, hard texture. Always use full-fat Greek yogurt for a creamy, scoop-shop consistency.
Mistake: The chocolate coating is too thick or seizes.
Fix: Add the teaspoon of coconut oil—it’s essential for a smooth, fluid dipping consistency. Melt the chocolate gently in short bursts and ensure no water gets into it, as this will cause it to seize.
Mistake: The bites melt too quickly when dipping.
Fix: Your yogurt bites aren’t frozen enough. Be patient and ensure they are completely firm after the first freeze (at least 1 hour, maybe longer depending on your freezer). Working with a truly frozen base is key.
FAQ
Q: Can I make these dairy-free or vegan?
A: Absolutely. Substitute the Greek yogurt with a thick, plain, unsweetened coconut or cashew-based yogurt. Use maple syrup instead of honey as your sweetener.
Q: How long will these last in the freezer?
A: Stored in an airtight container or a freezer-safe bag, they will stay fresh for up to 1 month. The texture is best within the first two weeks.
Q: My natural peanut butter is separated. What should I do?
A: Stir it very well in its jar until the oil is fully re-incorporated and the texture is smooth and creamy before measuring it out for the recipe. This ensures a consistent result.
For Your Next Culinary Project
If you enjoyed the simplicity of this no-bake recipe, you might appreciate the rustic charm of these Caramel Apple Mini Galettes. For those ready for a more advanced pastry challenge, these beautiful Raspberry Cream Choux Rings are a fantastic next step.
NUTRITIONAL SNAPSHOT
| Nutrient | Amount per Serving |
|---|---|
| Calories | 115 kcal |
| Protein | 4g |
| Fat | 8g |
| Net Carbs | 6g |
| Fiber | 1g |
| Sugar | 5g |
Estimates are per bite, assuming 15 bites per batch.
Creamy Peanut Butter Frozen Yogurt Bites: A No-Bake Treat
Ingredients
- 1 cup full-fat plain Greek yogurt
- 1/2 cup creamy natural peanut butter
- 3 tablespoons maple syrup or honey
- 1 teaspoon vanilla extract
- 1 cup dark chocolate chips or chopped dark chocolate
- 1 teaspoon coconut oil
- Flaky sea salt (optional, for topping)