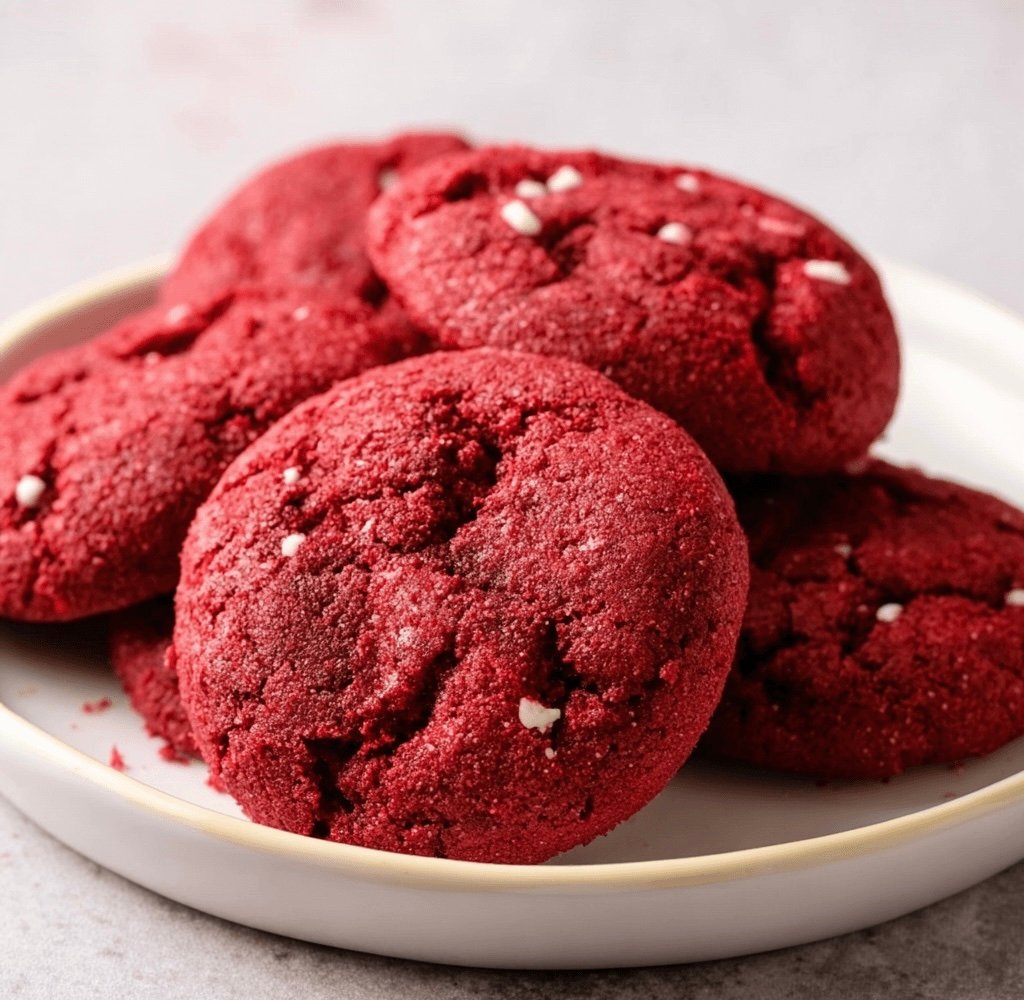
Rich & Chewy Gluten-Free Red Velvet Cookies
These gluten-free red velvet cookies deliver a perfectly soft, chewy center and a rich, tangy flavor profile that rivals any classic recipe. We’ve engineered this recipe for reliability, ensuring a decadent, bakery-quality result every time. They are a standout among our collection of beloved dessert recipes.
The Gluten-Free Flour Blueprint
Getting the texture right in gluten-free baking is a science. A single flour won’t work. We use a precise combination to mimic the structure and chew of traditional cookies.
- 1-to-1 Gluten-Free Baking Flour: This is your base. Choose one that contains xanthan gum. This gum is critical for binding and structure, replacing the role of gluten.
- Almond Flour: This is our secret weapon for moisture and richness. The healthy fats in almond flour prevent the cookies from drying out, a common issue in GF baking.
- Tapioca Starch (or Cornstarch): This adds a crucial element of chewiness and lightness. It gives the cookie’s interior that soft, yielding texture.
Engineering the Perfect Red Hue
- Gel Food Coloring is Superior: Liquid food coloring can water down your dough, affecting its consistency. A high-quality red gel color provides intense pigment with minimal liquid. Use 1-2 teaspoons for a vibrant red.
- The Role of Cocoa Powder: Red velvet isn’t just vanilla with red dye. It has a subtle, tangy chocolate note. Unsweetened cocoa powder reacts with the buttermilk (or vinegar/milk) to create a deeper, more authentic color and the signature “velvet” flavor.
- Don’t Go Overboard on Cocoa: Too much cocoa powder will turn your cookies brown, not red. We’re aiming for just a hint of chocolate, about 2 tablespoons for the entire batch.
The Cream Cheese Frosting Formula
A non-negotiable finish. This simple, tangy frosting cuts through the richness of the cookie. The key is temperature control.
- Use Cold, Block-Style Cream Cheese: Do not use whipped cream cheese from a tub. Cold, firm cream cheese provides the structure needed for a thick, pipeable frosting.
- Butter Must Be Room Temperature: The butter should be soft enough to press an indent into, but not greasy or melted. This allows it to whip into the cold cream cheese smoothly without creating lumps.
- Sift Your Powdered Sugar: This is a non-skippable step for a perfectly smooth, grit-free frosting.
Step-by-Step Instructions
Part 1: The Cookie Dough
- Prep: Preheat your oven to 375°F (190°C). Line two baking sheets with parchment paper. In a medium bowl, whisk together the 1-to-1 GF flour, almond flour, tapioca starch, cocoa powder, baking soda, and salt.
- Cream Butter & Sugar: In a large bowl with a hand mixer or in a stand mixer, beat the room-temperature unsalted butter, granulated sugar, and brown sugar on medium-high speed until light and fluffy, about 2-3 minutes.
- Add Wet Ingredients: Beat in the egg and egg yolk one at a time, followed by the vanilla extract. Scrape down the sides of the bowl.
- Add Color & Acid: Add the red gel food coloring and white vinegar. Mix on low speed until the color is evenly distributed and vibrant.
- Combine Wet & Dry: Gradually add the dry flour mixture to the wet ingredients, mixing on low speed until just combined. Do not overmix. The dough will be soft and sticky.
- Chill (Critical Step): Cover the bowl and chill the dough in the refrigerator for at least 60 minutes, or up to 24 hours. Chilling prevents the cookies from spreading too much and deepens the flavor.
Part 2: Baking & Assembly
- Portion Dough: Scoop dough using a 1.5-tablespoon cookie scoop (or roll into balls) and place them 2 inches apart on the prepared baking sheets.
- Bake: Bake for 10-12 minutes. The edges should be set, but the centers will still look slightly soft. This is key for a chewy texture. They will firm up as they cool. For more gluten-free guidance, check out our other gluten-free recipes.
- Cool: Let the cookies cool on the baking sheet for 5 minutes before transferring them to a wire rack to cool completely. Cookies must be 100% cool before frosting.
Part 3: The Frosting
- Beat Cream Cheese & Butter: In a large bowl, beat the cold cream cheese and room-temperature butter with a mixer on medium-high speed until completely smooth, about 2 minutes.
- Add Sugar & Vanilla: Add the sifted powdered sugar and vanilla extract. Mix on low speed until the sugar is incorporated, then increase to high speed and beat for 2-3 minutes until light and fluffy.
- Frost: Spread or pipe the frosting onto the completely cooled cookies. The frosting is rich, so a thin layer is perfect. These cookies offer a decadent flavor profile, much different than lighter desserts like mini fruit tartlets.
COMMON MISTAKES TO AVOID
- Mistake: Cookies are dry and crumbly.
- Fix: You may have over-baked them or measured your flour incorrectly. Use the “spoon and level” method for flour and pull the cookies from the oven when the centers still look slightly underdone.
- Mistake: Cookies spread into thin, flat discs.
- Fix: The dough wasn’t chilled long enough. Chilling solidifies the butter, which is essential for controlling spread in gluten-free doughs. Chill for at least one hour.
- Mistake: The cream cheese frosting is runny.
- Fix: Your cream cheese was too warm, or you used a “soft” tub-style version. Use cold, block-style cream cheese for structure. If it’s still too soft, chill the frosting for 20-30 minutes before using.
FAQ
Q: Can I make these dairy-free?
A: Yes. Use a high-quality vegan butter substitute (in sticks, not a tub) and a vegan cream cheese alternative. The texture may be slightly softer, but the flavor will be excellent.
Q: How do I store these cookies?
A: Due to the cream cheese frosting, these cookies must be stored in an airtight container in the refrigerator. They will keep for up to 5 days. Let them sit at room temperature for 15 minutes before serving for the best texture.
Q: Can I make the dough ahead of time?
A: Absolutely. The dough can be refrigerated for up to 72 hours. You can also scoop the dough into balls, freeze them on a baking sheet, and then transfer them to a freezer bag for up to 3 months. Bake from frozen, adding 2-3 minutes to the bake time.
After enjoying a savory main course like a creamy dill salmon pasta, these cookies are the perfect decadent dessert. If you’re looking for other satisfying meal ideas, consider these turkey cranberry grilled sandwiches for a quick and delicious lunch.
NUTRITIONAL SNAPSHOT
| Nutrient | Amount per Serving |
|---|---|
| Calories | 215 |
| Protein | 2g |
| Fat | 12g |
| Net Carbs | 24g |
| Fiber | 1g |
| Sugar | 18g |
*Estimates are for one frosted cookie.*
Rich & Chewy Gluten-Free Red Velvet Cookies
Ingredients
- 1 1/2 cups (180g) 1-to-1 Gluten-Free All-Purpose Baking Flour (with xanthan gum)
- 1/2 cup (50g) Super-Fine Almond Flour
- 2 tablespoons (15g) Tapioca Starch or Cornstarch
- 2 tablespoons (10g) Unsweetened Cocoa Powder
- 1 teaspoon Baking Soda
- 1/2 teaspoon Salt
- 1/2 cup (113g) Unsalted Butter, room temperature
- 3/4 cup (150g) Granulated Sugar
- 1/4 cup (50g) Packed Light Brown Sugar
- 1 Large Egg + 1 Large Egg Yolk, room temperature
- 1 tablespoon Vanilla Extract
- 1-2 teaspoons Red Gel Food Coloring
- 1 teaspoon White Vinegar
- 4 oz (113g) Full-Fat Block Cream Cheese, cold
- 1/4 cup (57g) Unsalted Butter, room temperature
- 1 1/2 cups (180g) Powdered Sugar, sifted
- 1/2 teaspoon Vanilla Extract