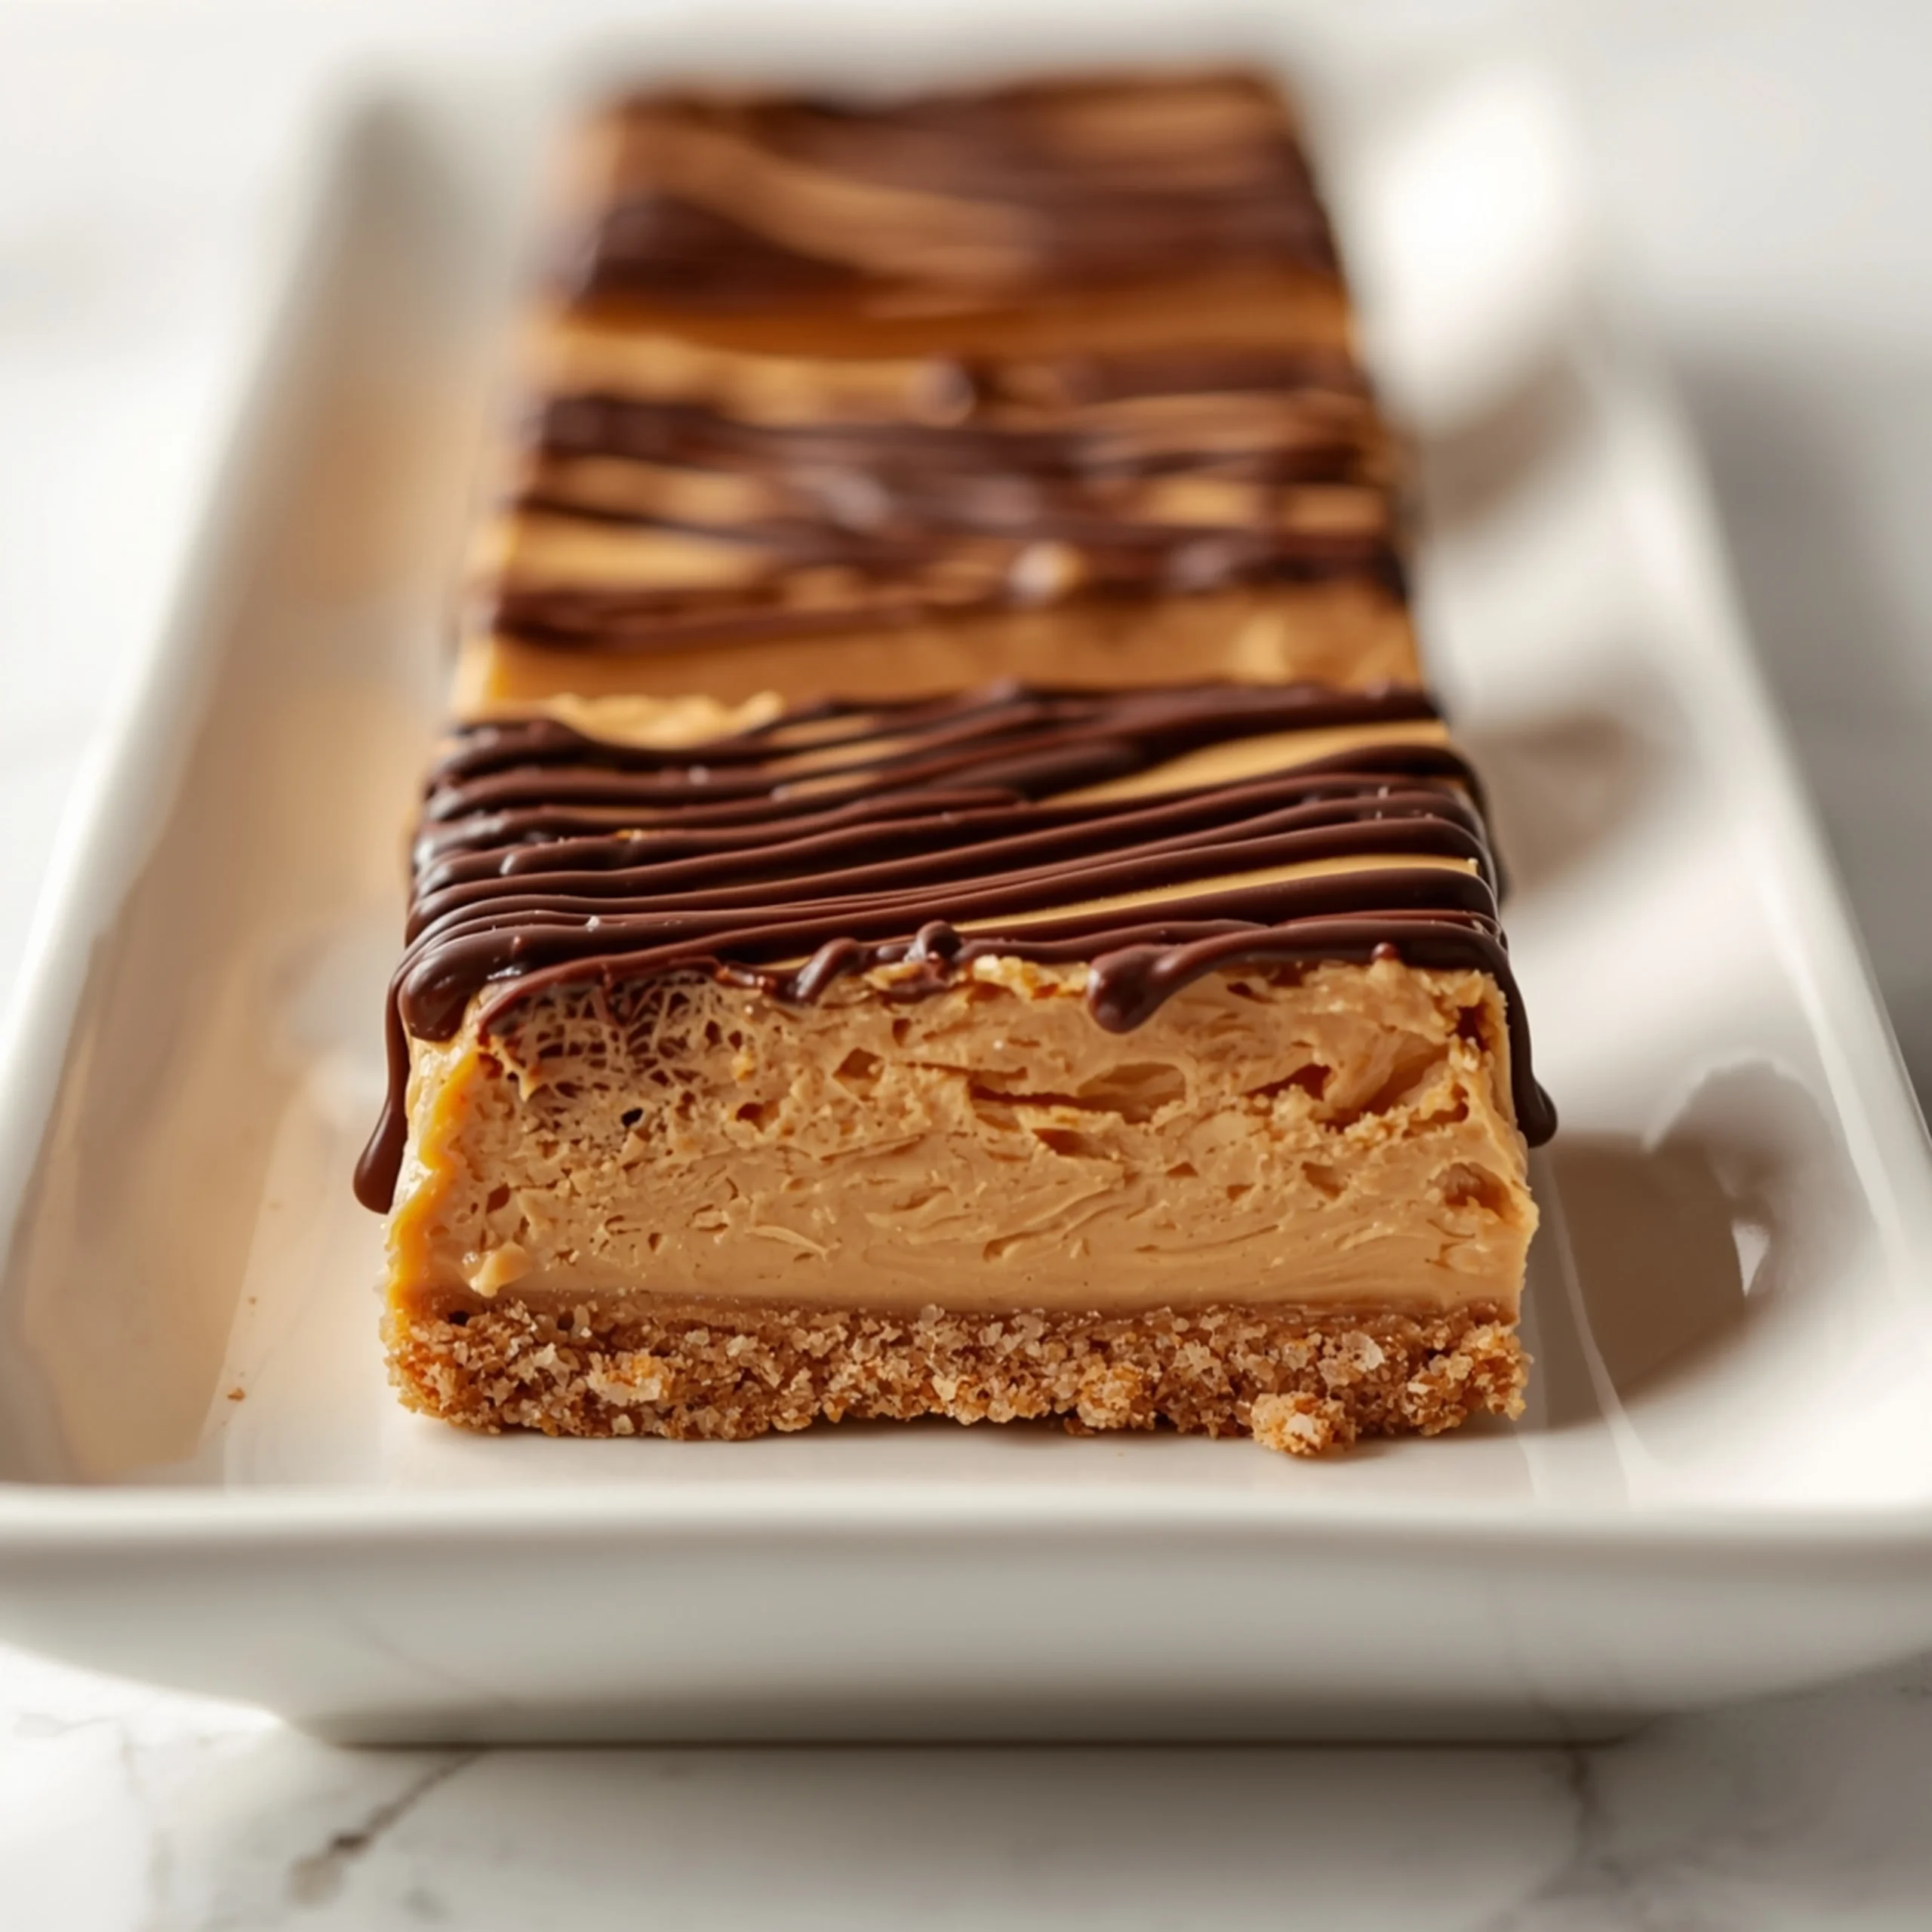
5-Ingredient No-Bake Peanut Butter Bars
These No-Bake Peanut Butter Bars deliver a perfect balance of salty, sweet, and rich in under 20 minutes of active time. This recipe is engineered for maximum flavor with minimal effort, making it one of our most reliable simple dessert recipes. Get ready for a dense, fudgy peanut butter base and a crisp, snappy chocolate topping.
The Core Components: Engineering the Perfect Bar
This recipe’s magic lies in its simplicity. Each of the five core ingredients plays a critical, non-negotiable role in the final texture and flavor.
- Peanut Butter: The star. Use a standard creamy peanut butter like Jif or Skippy. These “no-stir” varieties contain emulsifiers that ensure a smooth, homogenous base that holds its shape. Natural peanut butters can separate and create an oily final product.
- Butter: The binder. Melted unsalted butter combines with the peanut butter and powdered sugar to create a firm yet tender foundation. It adds richness and a necessary fat content that keeps the bars from being dry.
- Powdered Sugar: The structure. Also known as confectioners’ sugar, it dissolves instantly into the fats, sweetening the base while also providing the structural integrity. Granulated sugar would result in a gritty, unpleasant texture.
- Graham Cracker Crumbs: The texture. This is the secret to a perfect peanut butter bar. The crumbs add a subtle, sandy texture and a hint of toasted, nutty flavor that cuts through the richness. It makes the base less candy-like and more of a substantial dessert bar.
- Chocolate Chips: The snap. We use semi-sweet chocolate chips for the topping. They provide a balanced sweetness and melt into a glossy, smooth layer. The contrast of the snappy chocolate against the soft peanut butter base is essential.
Step-by-Step Instructions
Prep Time: 15 minutes
Chill Time: 1 hour
Total Time: 1 hour 15 minutes
Equipment:
- 8×8 or 9×9 inch baking pan
- Parchment paper
- Large microwave-safe bowl
- Small microwave-safe bowl
- Spatula
- 1. Prep the Pan: Line an 8×8 inch baking pan with parchment paper, leaving an overhang on two sides. This “sling” will make it easy to lift the bars out later for clean cutting.
- 2. Make the Peanut Butter Base: In a large microwave-safe bowl, combine 1 cup of creamy peanut butter and 1/2 cup (1 stick) of unsalted butter. Microwave in 30-second intervals, stirring in between, until fully melted and smooth.
- 3. Combine Dry Ingredients: Add 1 cup of graham cracker crumbs and 1 cup of powdered sugar to the melted peanut butter mixture. Stir with a spatula until everything is thoroughly combined and no dry streaks remain. The mixture will be thick.
- 4. Press the Base: Transfer the peanut butter mixture into your prepared pan. Using the back of the spatula or your hands, press the mixture into an even, tightly packed layer. A flat-bottomed glass is excellent for this task.
- 5. Create the Chocolate Topping: In a separate small, microwave-safe bowl, combine 1 1/4 cups of semi-sweet chocolate chips with 1 tablespoon of creamy peanut butter. The extra peanut butter is a key trick—it keeps the chocolate from getting too hard and brittle when it sets, ensuring it won’t crack when you cut the bars.
- 6. Melt the Topping: Microwave the chocolate and peanut butter in 30-second intervals, stirring well each time, until the mixture is 90% melted. Remove from the microwave and continue stirring until the residual heat melts the remaining chips and the topping is glossy and smooth.
- 7. Assemble and Chill: Pour the melted chocolate over the peanut butter base. Use an offset spatula or the back of a spoon to spread it into a smooth, even layer that covers the entire surface.
- 8. Set the Bars: Place the pan in the refrigerator and chill for at least 1 hour, or until the chocolate is completely firm.
- 9. Cut and Serve: Once firm, use the parchment paper sling to lift the entire block out of the pan and onto a cutting board. Let it sit at room temperature for 5-10 minutes to take the deep chill off the chocolate, which helps prevent cracking. Use a large, sharp knife to cut into 16 squares.
Pro-Tips for Flawless Layers
Achieving distinct, professional-looking layers is simple if you follow these engineering principles.
- Compact the Base: The most common mistake is a crumbly base. You must press the peanut butter layer down firmly and evenly. This removes air pockets and ensures a solid foundation that won’t fall apart.
- Use Room Temp Ingredients: While you melt the butter and peanut butter, ensure your powdered sugar and crumbs aren’t cold, as this can cause the fats to seize up prematurely.
- The “Hot Knife” Trick: For ultra-clean cuts, run your knife under hot water and wipe it dry before each slice. The heated blade will glide through the chocolate and peanut butter layers without dragging.
- Don’t Overheat Chocolate: When melting the chocolate, stop microwaving when there are still a few lumps. The residual heat of the bowl and the melted chocolate will be enough to finish the job with a few good stirs. This prevents scorching.
Customization & Flavor Upgrades
The base recipe is a classic, but it’s also a perfect canvas for creativity. If you love experimenting, you can explore more of our recipes for inspiration.
- Add a Salty Crunch: Press a layer of salted pretzels on top of the peanut butter base before pouring on the chocolate. Or, for a simpler approach, sprinkle flaky sea salt over the wet chocolate topping before chilling.
- Nut Variations: Swap the peanut butter for almond butter or cashew butter for a different flavor profile. Note that textures may vary slightly.
- Mix-ins: Fold 1/2 cup of mini chocolate chips, Reese’s Pieces, or chopped peanuts into the base mixture for extra texture.
- Go Savory First: A rich, sweet dessert like this is the perfect ending to a balanced, savory meal. Consider pairing these bars as a treat after enjoying a satisfying main course like these flavorful turkey and spinach stuffed peppers. The contrast makes the dessert even more satisfying.
COMMON MISTAKES TO AVOID
- Mistake: Oily or separated base.
Fix: You likely used natural peanut butter. This recipe requires a conventional, emulsified peanut butter (like Skippy or Jif) to maintain a stable, uniform texture. - Mistake: The chocolate layer cracks and shatters when cut.
Fix: Two things prevent this: 1) adding a tablespoon of peanut butter to the melting chocolate makes it slightly softer, and 2) letting the bars sit at room temperature for 5-10 minutes before slicing allows the chocolate to soften just enough for clean cuts. - Mistake: The peanut butter base is too soft and doesn’t hold its shape.
Fix: The ratio of wet-to-dry is key. Ensure you are measuring your ingredients accurately. If the mixture still feels too wet, you can add powdered sugar or graham cracker crumbs, 1 tablespoon at a time, until it stiffens.
FAQ
Q: Can I make these gluten-free?
A: Absolutely. Simply substitute the graham cracker crumbs with crumbs from your favorite gluten-free cookie or use crushed gluten-free pretzels for a salty twist.
Q: How should I store these bars?
A: Store them in an airtight container in the refrigerator for up to one week. You can also freeze them for up to 3 months. If freezing, place parchment paper between layers to prevent sticking.
Q: Can I use a different type of chocolate?
A: Yes. Milk chocolate will result in a sweeter bar, while dark chocolate (60-72% cacao) will provide a more intense, less sweet contrast. White chocolate also works but can be much sweeter.
Further Reading & Meal Inspiration
Simple desserts free up your time and energy to focus on other delicious meals. If you’re planning your next dinner, a simple and elegant main course like this caramelized onion brie toast recipe can be a fantastic savory counterpoint to a sweet treat.
NUTRITIONAL SNAPSHOT
(Estimates per bar, assuming 16 bars per pan)
| Nutrient | Amount per Serving |
|---|---|
| Calories | 260 kcal |
| Protein | 5g |
| Fat | 17g |
| Net Carbs | 21g |
| Fiber | 2g |
| Sugar | 18g |

5-Ingredient No-Bake Peanut Butter Bars
These No-Bake Peanut Butter Bars deliver a perfect balance of salty, sweet, and rich in under 20 minutes of active time. This recipe is engineered for maximum flavor with minimal effort, making it one of our most reliable simple dessert recipes. Get ready for a dense, fudgy peanut butter base and a crisp, snappy chocolate topping.
Ingredients
- 1 cup creamy peanut butter
- 1/2 cup unsalted butter
- 1 cup powdered sugar
- 1 cup graham cracker crumbs
- 1 1/4 cups semi-sweet chocolate chips
- 1 tbsp creamy peanut butter
Instructions
- Line an 8x8 inch baking pan with parchment paper, leaving an overhang on two sides. This "sling" will make it easy to lift the bars out later for clean cutting.
- In a large microwave-safe bowl, combine 1 cup of creamy peanut butter and 1/2 cup (1 stick) of unsalted butter. Microwave in 30-second intervals, stirring in between, until fully melted and smooth.
- Add 1 cup of graham cracker crumbs and 1 cup of powdered sugar to the melted peanut butter mixture. Stir with a spatula until everything is thoroughly combined and no dry streaks remain. The mixture will be thick.
- Transfer the peanut butter mixture into your prepared pan. Using the back of the spatula or your hands, press the mixture into an even, tightly packed layer. A flat-bottomed glass is excellent for this task.
- In a separate small, microwave-safe bowl, combine 1 1/4 cups of semi-sweet chocolate chips with 1 tablespoon of creamy peanut butter. The extra peanut butter is a key trick—it keeps the chocolate from getting too hard and brittle when it sets, ensuring it won't crack when you cut the bars.
- Microwave the chocolate and peanut butter in 30-second intervals, stirring well each time, until the mixture is 90% melted. Remove from the microwave and continue stirring until the residual heat melts the remaining chips and the topping is glossy and smooth.
- Pour the melted chocolate over the peanut butter base. Use an offset spatula or the back of a spoon to spread it into a smooth, even layer that covers the entire surface.
- Place the pan in the refrigerator and chill for at least 1 hour, or until the chocolate is completely firm.
- Once firm, use the parchment paper sling to lift the entire block out of the pan and onto a cutting board. Let it sit at room temperature for 5-10 minutes to take the deep chill off the chocolate, which helps prevent cracking. Use a large, sharp knife to cut into 16 squares.