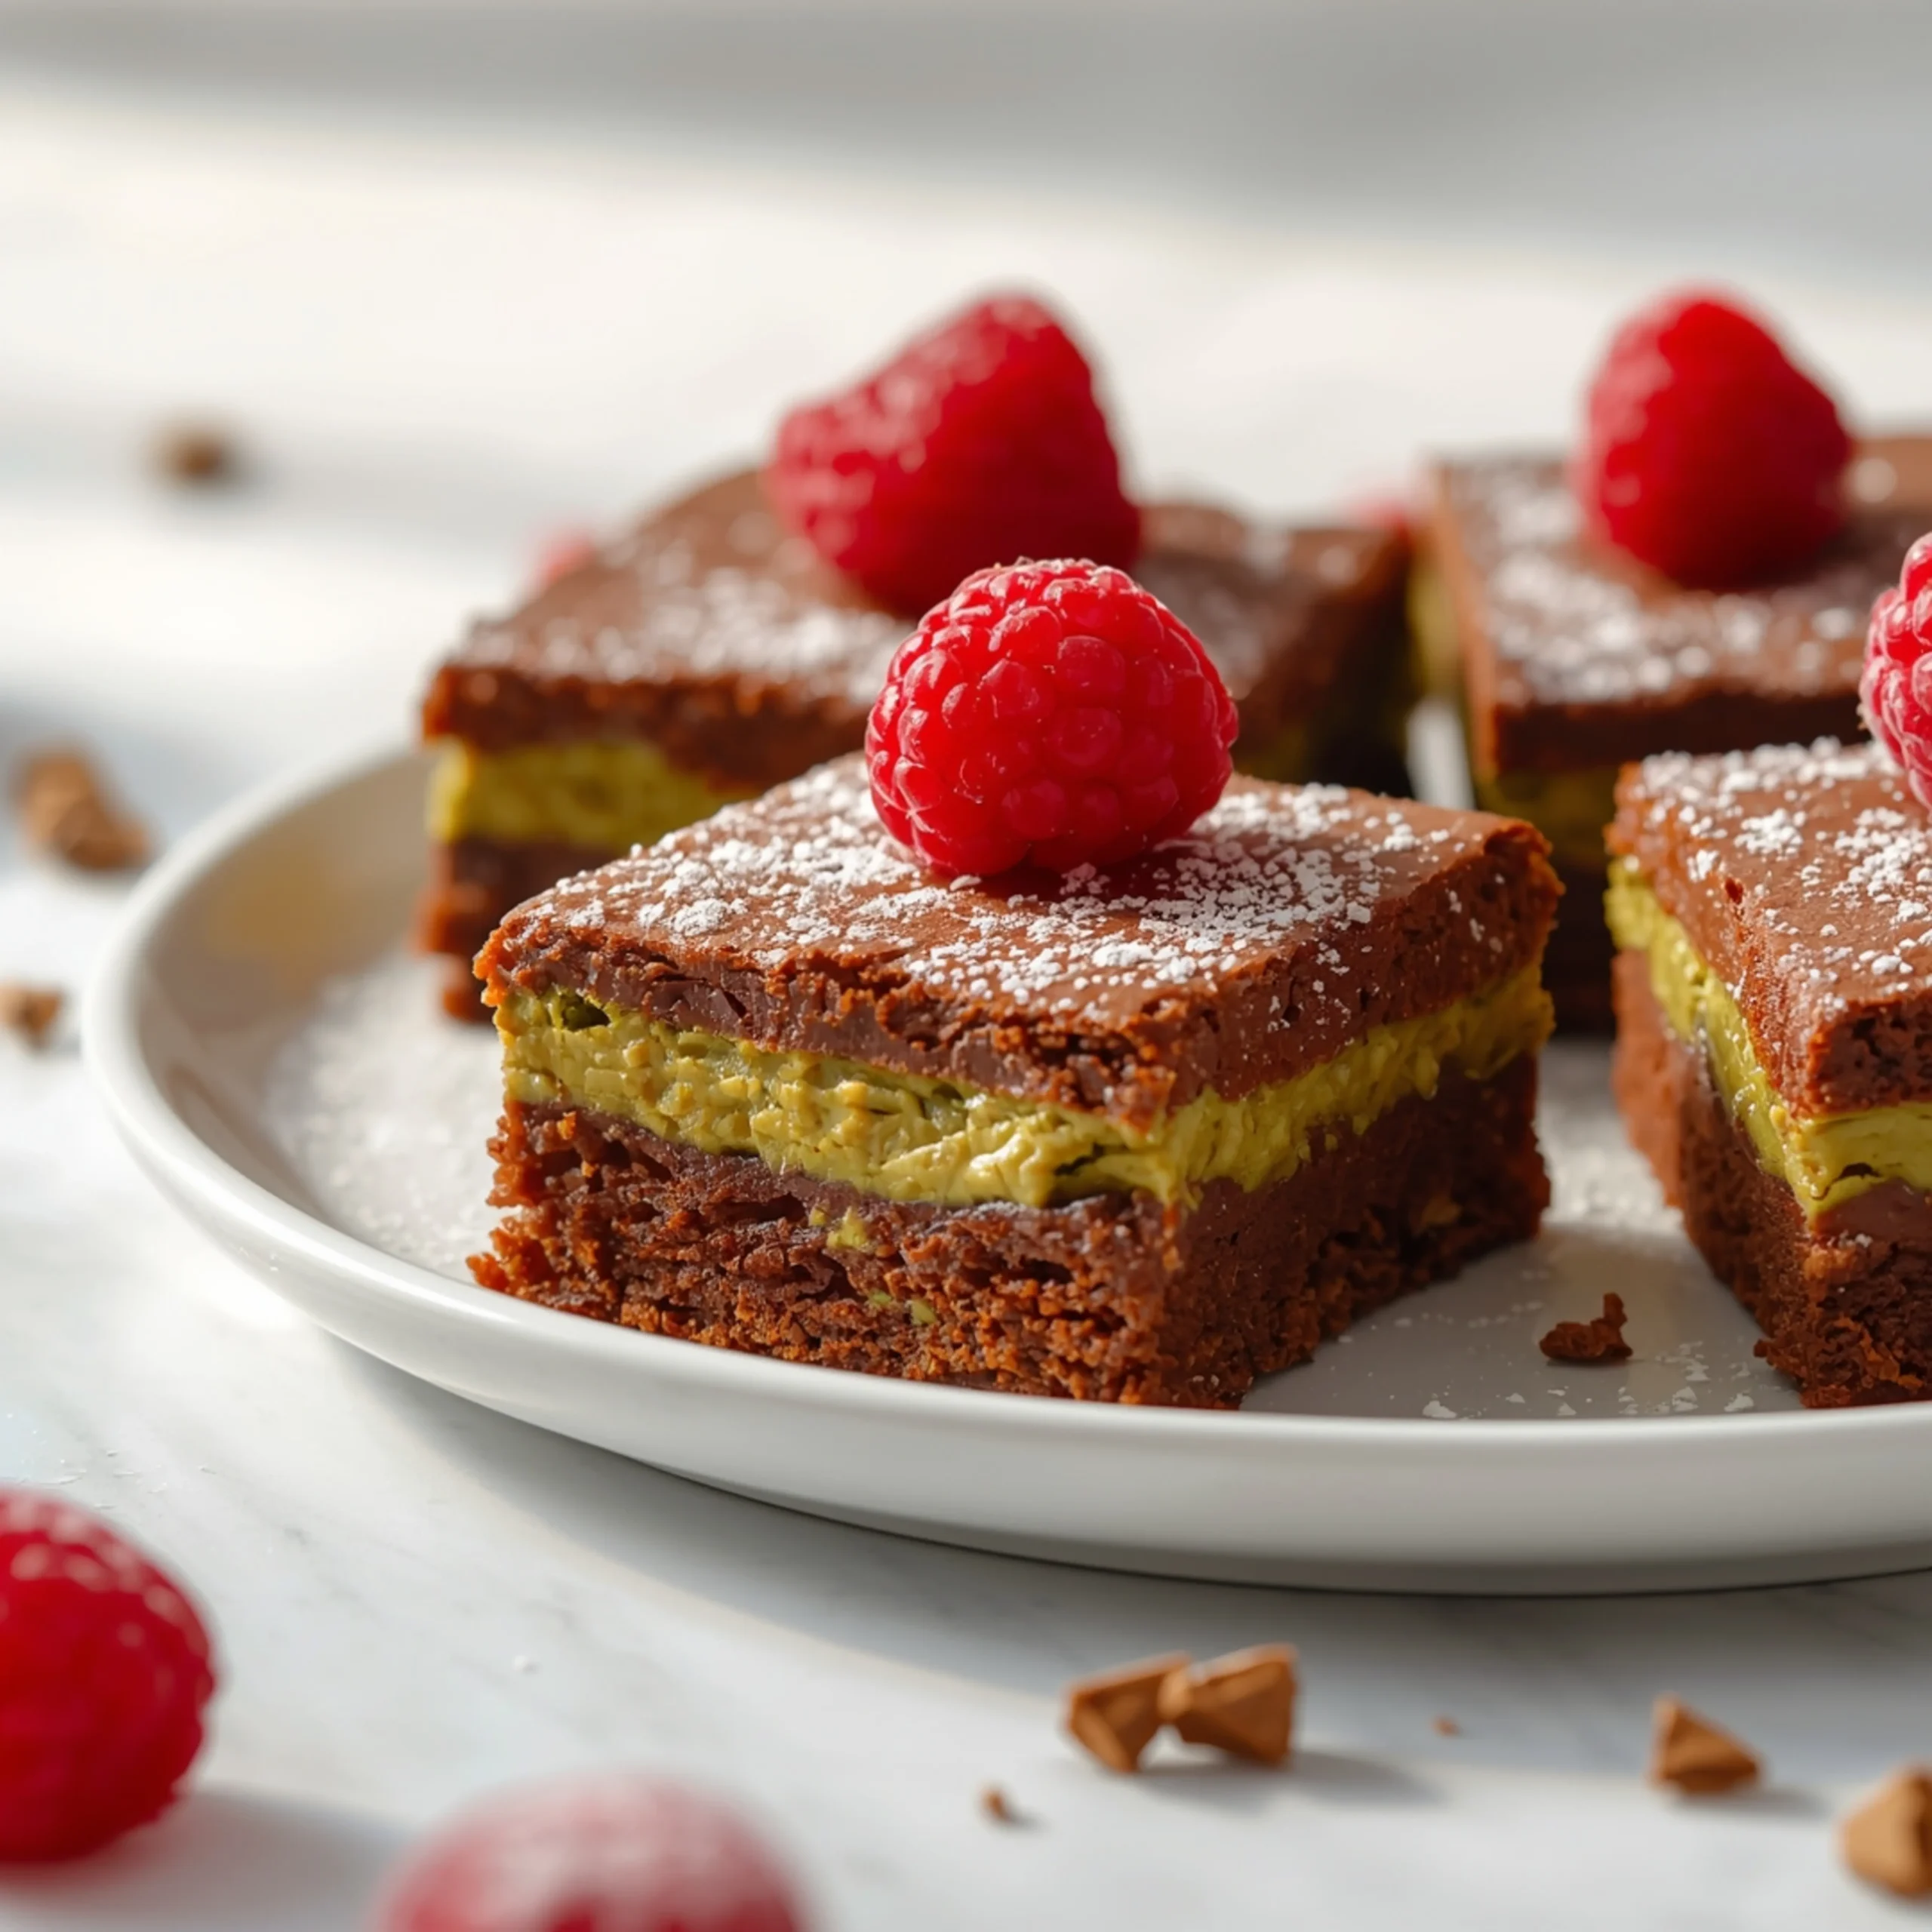
Fudgy Matcha Brownies with White Chocolate
These are not your average brownie. Imagine a dense, chewy, and deeply fudgy square packed with the earthy, vibrant flavor of high-quality matcha, perfectly balanced by pools of sweet, melted white chocolate. This recipe is engineered for a rich, moist texture that will make you rethink what a brownie can be. For more unique twists on classic bakes, check out all my favorite desserts.
The Matcha Matrix: Choosing Your Green Tea Powder
The quality of your matcha is the single most important factor in this recipe. Using a low-grade, dull green powder will result in a bitter, muddy-tasting brownie.
- Ceremonial Grade: Highest quality, with a vibrant green color and a smooth, delicate, slightly sweet flavor. It’s the best choice for a pronounced, clean matcha taste.
- Premium or Culinary Grade: A solid, accessible option. Look for a brand that specifies “premium culinary grade.” It should still be bright green and have a strong, pleasant aroma. Avoid anything that looks yellowish or brownish.
- What to Avoid: Cheap, generic “green tea powder” is often oxidized and bitter, which will ruin the final product. Invest in good matcha; the flavor is worth it.
Engineering the Perfect Fudgy Texture
The fudgy, dense crumb of these brownies is no accident. It’s the result of specific techniques designed to minimize air and maximize moisture.
- Melted Butter, Not Creamed: We melt the butter with the white chocolate instead of creaming it with sugar. Creaming incorporates air, leading to a cakey texture. Melting ensures a dense, fudgy result.
- The Extra Egg Yolk: The whole eggs provide structure, but the additional yolk is pure richness. It adds fat and emulsifiers, which contribute to a tender, ultra-moist crumb.
- Minimal Flour Mixing: As soon as you add the dry ingredients, mix only until the last streak of flour disappears. Overmixing develops gluten, the protein network that gives bread its chew but makes brownies tough and cakey. We want to keep gluten development to a minimum.
Flavor Pairings & Variations
While incredible on their own, these matcha brownies are a fantastic canvas for other flavors.
- Nutty Additions: Toasted macadamia nuts or pistachios add a wonderful crunch and complement the earthy matcha. Fold in ½ cup with the white chocolate chips.
- Citrus Zest: The zest of one lemon or lime stirred into the batter brightens the matcha flavor significantly.
- A Savory Counterpoint: The complex flavor of matcha pairs surprisingly well with savory dishes. For an unconventional dessert course after a main, try serving a small square of this brownie after something equally bold, like these creamy peppercorn steak bites.
- Swirls & Drizzles: Before baking, swirl in a tablespoon of raspberry jam for a fruity contrast, or drizzle the cooled brownies with melted dark chocolate.
Step-by-Step Instructions
Prep Time: 15 minutes
Cook Time: 25-30 minutes
Yields: 16 small brownies
- Pre-heat & Prep Pan: Preheat your oven to 350°F (175°C). Line an 8×8 inch baking pan with parchment paper, leaving an overhang on two sides to act as handles for easy removal.
- Melt Butter & Chocolate: In a medium saucepan over low heat, melt the butter and 4 oz of chopped white chocolate. Stir constantly until smooth and fully combined. Remove from heat and let it cool slightly for a few minutes.
- Combine Wet Ingredients: Pour the melted butter mixture into a large mixing bowl. Whisk in the granulated sugar until combined. Add the 2 large eggs and 1 egg yolk, one at a time, whisking well after each addition. Stir in the vanilla extract.
- Sift Dry Ingredients: In a separate small bowl, sift together the all-purpose flour, matcha powder, and salt. Sifting is critical to prevent clumps of matcha in the final product.
- Combine Wet & Dry: Add the dry ingredients to the wet ingredients. Using a spatula, fold them together gently until just combined. Do not overmix. A few faint streaks of flour are acceptable.
- Add Chocolate Chips: Gently fold in the remaining ½ cup of white chocolate chips.
- Bake: Pour the batter into your prepared pan and spread it into an even layer. Bake for 25-30 minutes. The edges should be set and the center should look slightly underdone. A toothpick inserted in the center should come out with moist, fudgy crumbs, not wet batter.
- Cool Completely: This is the most important step for fudgy texture. Let the brownies cool completely in the pan on a wire rack for at least 2 hours, or even longer. Cooling allows them to set into a dense, sliceable square. Chilling them in the fridge for 30 minutes before slicing can yield even cleaner cuts.
- Slice & Serve: Once cool, use the parchment paper handles to lift the brownie slab out of the pan. Slice into 16 squares and serve.
Make-Ahead & Storage Blueprint
These brownies are excellent for making ahead of time. Their flavor deepens by the second day.
- Room Temperature: Store in an airtight container at room temperature for up to 3 days. This is the best method for maintaining the ideal texture.
- Refrigerator: You can store them in the fridge for up to a week. They will become much firmer when chilled. Let them sit at room temperature for 15-20 minutes before serving to soften.
- Freezer: For long-term storage, wrap the unsliced slab (or individual squares) tightly in plastic wrap, then a layer of aluminum foil. Freeze for up to 3 months. Thaw at room temperature.
For more easy and delicious recipes that fit into a busy schedule, explore the rest of the blog.
COMMON MISTAKES TO AVOID
- Mistake: Using dull, brownish matcha powder. This results in a bitter, unappealing flavor and color.
- Fix: Invest in a high-quality culinary or ceremonial grade matcha. The color should be a vibrant, electric green.
- Mistake: Overbaking the brownies until a toothpick comes out clean. This creates a dry, cakey texture.
- Fix: Pull them from the oven when the center is still slightly soft and a toothpick has moist, fudgy crumbs attached. They will continue to set as they cool.
- Mistake: Slicing the brownies while they are still warm. This leads to messy, gooey squares that fall apart.
- Fix: Be patient. Let the brownies cool completely in the pan for at least 2 hours before attempting to slice them.
FAQ
Q: Can I use semi-sweet or dark chocolate chips instead of white chocolate?
A: Absolutely. Dark chocolate provides a rich, slightly bitter contrast to the matcha, while semi-sweet is a classic choice. Note that you should still use chopped white chocolate in the base for the intended creamy texture.
Q: Why did my matcha brownies turn a dull, brownish color after baking?
A: This usually happens for two reasons: low-quality matcha that was already dull, or overbaking. High heat for too long can cause the chlorophyll in the matcha to break down, dulling the color.
Q: Can I make this recipe gluten-free?
A: Yes, you can substitute the all-purpose flour with a high-quality 1-to-1 gluten-free baking flour blend (one that contains xanthan gum). The texture will be very similar.
NUTRITIONAL SNAPSHOT
| Nutrient | Amount per Serving |
|---|---|
| Calories | 215 kcal |
| Protein | 3g |
| Fat | 12g |
| Net Carbs | 23g |
| Fiber | 1g |
| Sugar | 18g |
Disclaimer: This is an estimate and may vary based on ingredients used.
If you enjoyed these brownies and are looking for other delicious ideas, consider this recipe for Honey Garlic Glazed Salmon for a perfect weeknight dinner before your dessert.

Fudgy Matcha Brownies with White Chocolate
These are not your average brownie. Imagine a dense, chewy, and deeply fudgy square packed with the earthy, vibrant flavor of high-quality matcha, perfectly balanced by pools of sweet, melted white chocolate. This recipe is engineered for a rich, moist texture that will make you rethink what a brownie can be.
Ingredients
- 1/2 cup unsalted butter (113g)
- 4 ounces good quality white chocolate, chopped
- 1 cup granulated sugar (200g)
- 2 large eggs, room temperature
- 1 large egg yolk, room temperature
- 1 teaspoon vanilla extract
- 3/4 cup all-purpose flour (90g)
- 2 ½ tablespoons high-quality matcha powder
- 1/2 teaspoon kosher salt
- 1/2 cup white chocolate chips (100g)
Instructions
- Preheat your oven to 350°F (175°C). Line an 8x8 inch baking pan with parchment paper, leaving an overhang on two sides to act as handles for easy removal.
- In a medium saucepan over low heat, melt the butter and 4 oz of chopped white chocolate. Stir constantly until smooth and fully combined. Remove from heat and let it cool slightly for a few minutes.
- Pour the melted butter mixture into a large mixing bowl. Whisk in the granulated sugar until combined. Add the 2 large eggs and 1 egg yolk, one at a time, whisking well after each addition. Stir in the vanilla extract.
- In a separate small bowl, sift together the all-purpose flour, matcha powder, and salt. Sifting is critical to prevent clumps of matcha in the final product.
- Add the dry ingredients to the wet ingredients. Using a spatula, fold them together gently until *just* combined. Do not overmix. A few faint streaks of flour are acceptable.
- Gently fold in the remaining ½ cup of white chocolate chips.
- Pour the batter into your prepared pan and spread it into an even layer. Bake for 25-30 minutes. The edges should be set and the center should look slightly underdone. A toothpick inserted in the center should come out with moist, fudgy crumbs, not wet batter.
- This is the most important step for fudgy texture. Let the brownies cool *completely* in the pan on a wire rack for at least 2 hours, or even longer. Cooling allows them to set into a dense, sliceable square. Chilling them in the fridge for 30 minutes before slicing can yield even cleaner cuts.
- Once cool, use the parchment paper handles to lift the brownie slab out of the pan. Slice into 16 squares and serve.