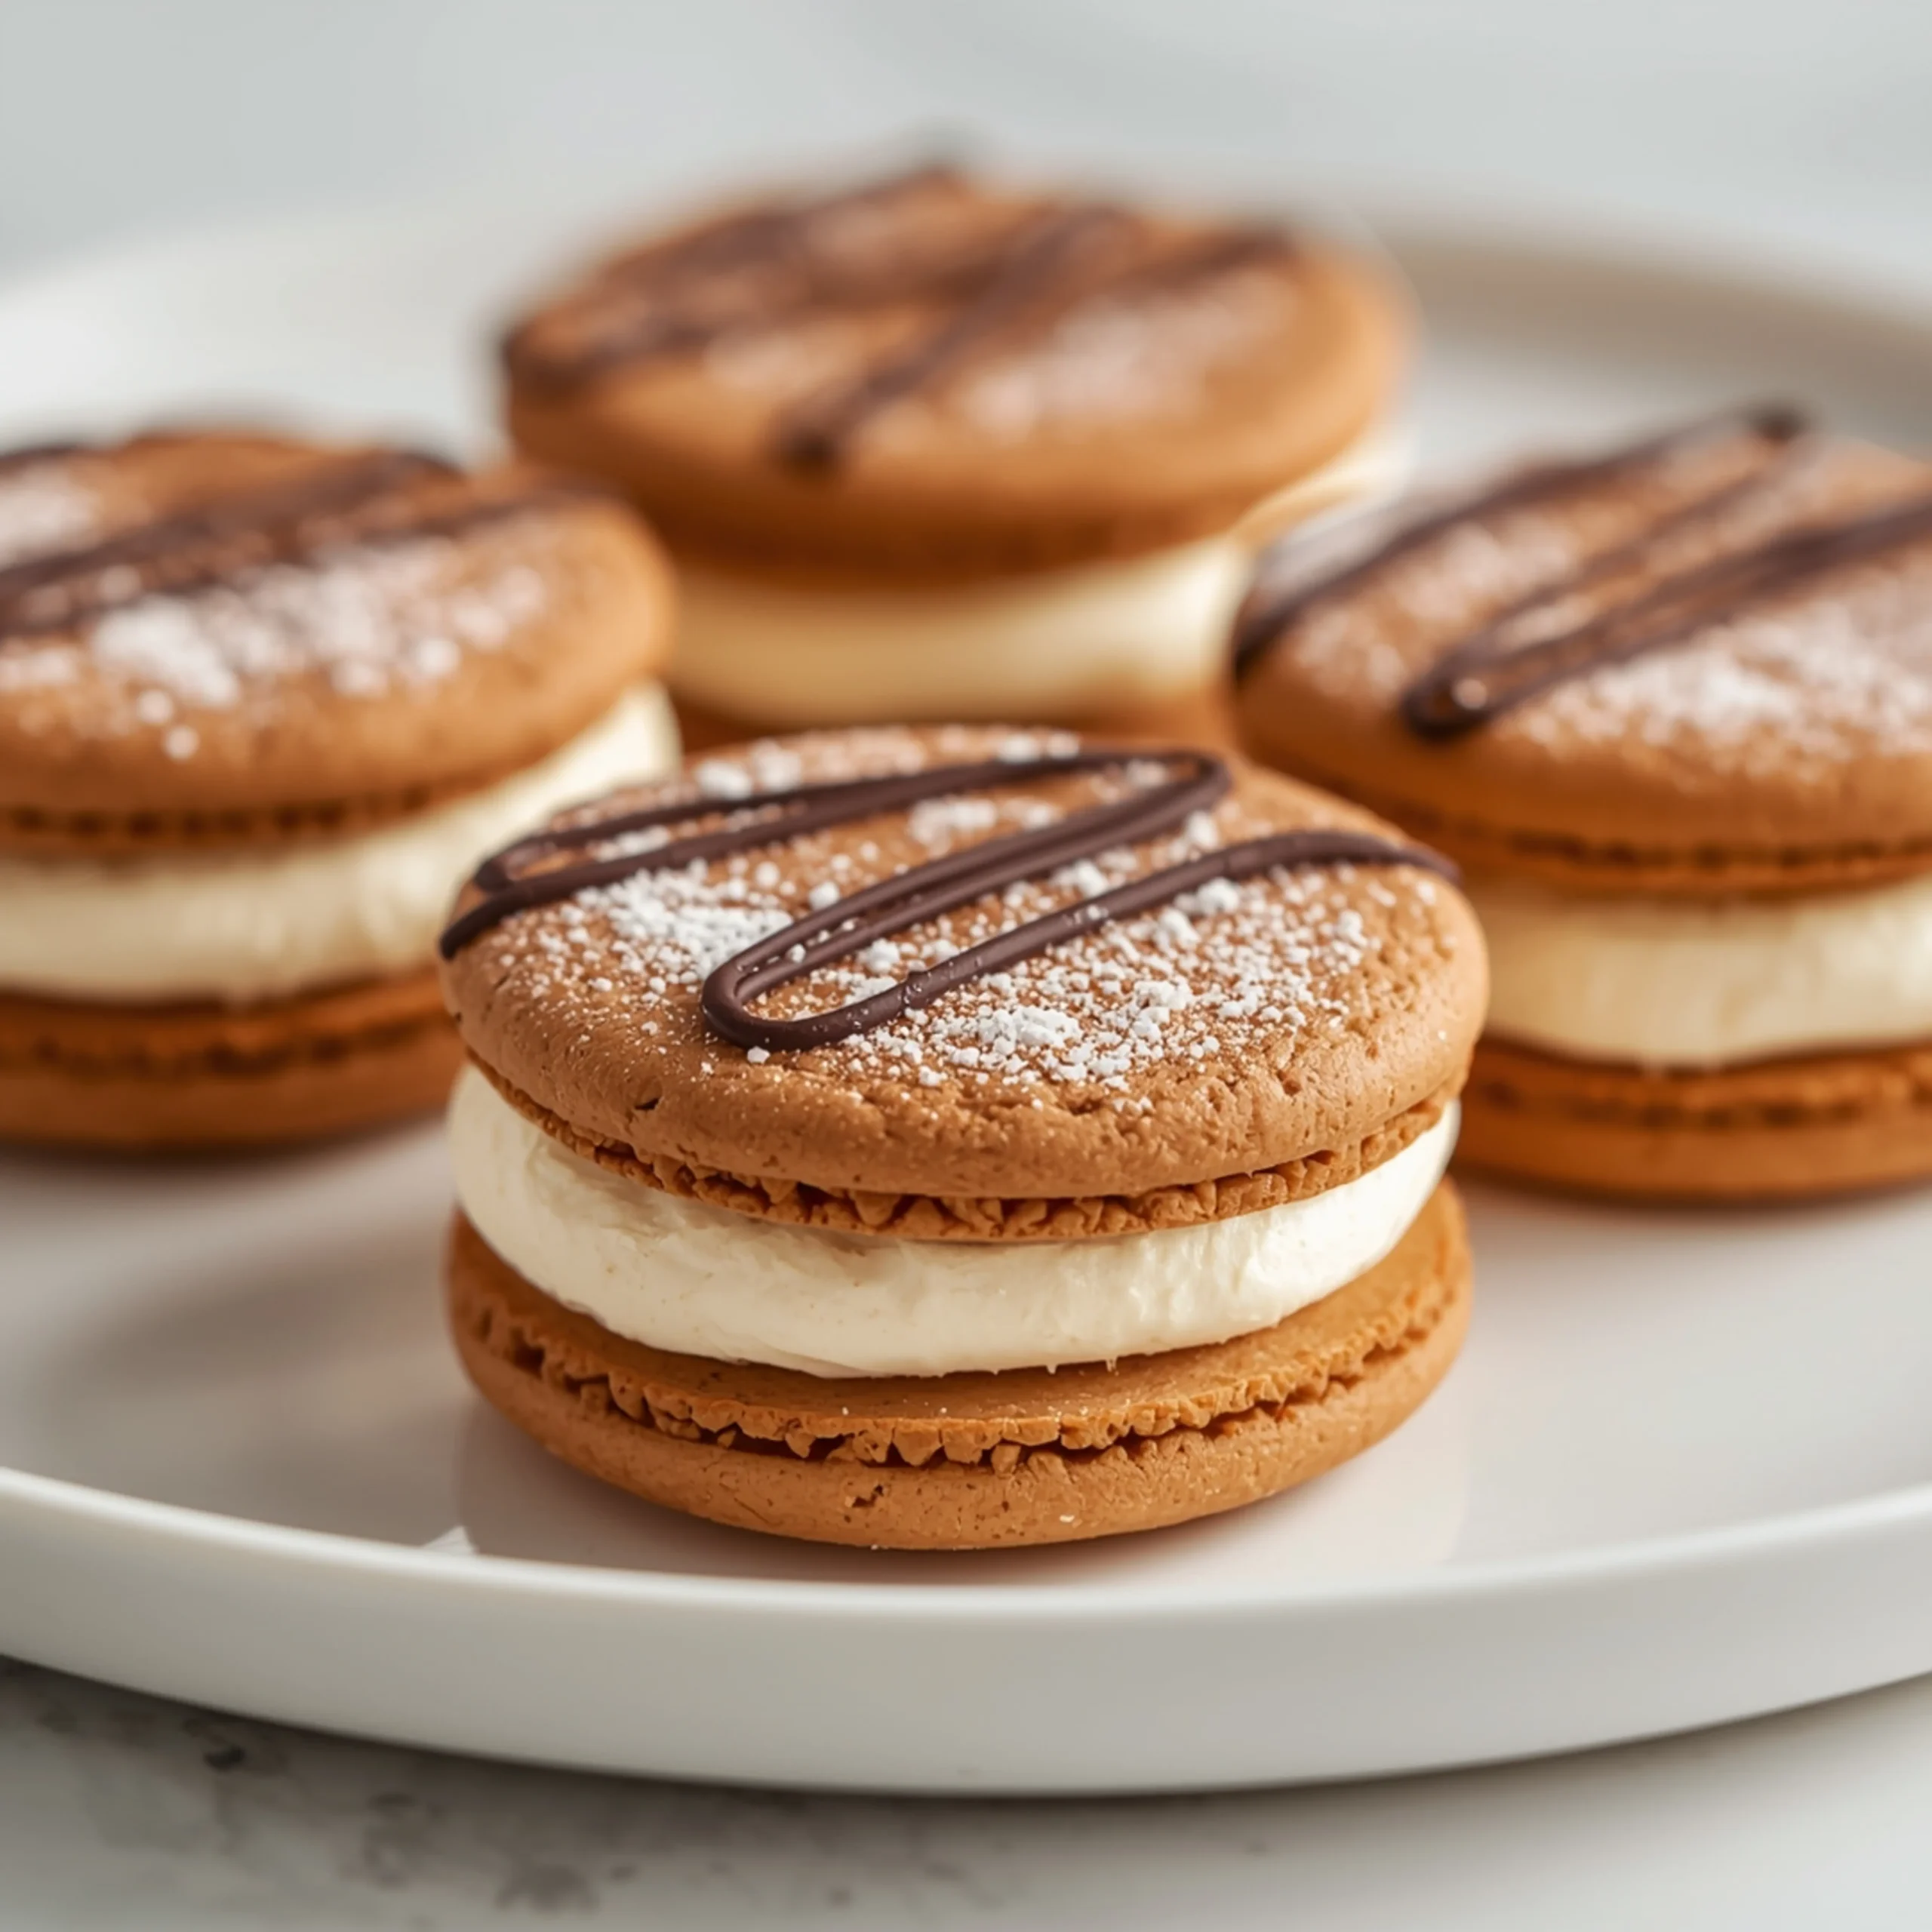
Soft Tiramisu Cookies: The Classic Dessert, Reimagined
These Tiramisu Cookies capture the soul of the classic Italian dessert in a single, perfect bite. We’ve engineered a soft, cake-like cookie that absorbs a rich espresso soak, all held together by a luscious, stable mascarpone cream filling. If you love tiramisu, this is your new favorite cookie; find more delicious treats in our desserts category.
Why This Recipe Is Engineered for Success
This recipe is built on a foundation of balanced components. We don’t just put tiramisu flavors on a cookie; we build the cookie around the tiramisu experience.
- Superior Texture: The cookie isn’t a standard sugar cookie. It’s softer and more porous, designed to mimic a ladyfinger’s ability to absorb liquid without disintegrating.
- Stable, Creamy Filling: By whipping cold mascarpone with powdered sugar and a touch of heavy cream, we create a filling that’s rich and flavorful yet firm enough to hold its shape. No sad, weeping cookies here.
- Controlled Coffee Flavor: A quick, precise dip in strong, cooled espresso ensures a robust coffee flavor without turning the cookie into a soggy mess. The control is in the technique.
Component Breakdown: The Tiramisu Trifecta
Mastering these three elements is the key to perfect Tiramisu Cookies.
- The Cookie Base: Think of this as your ladyfinger. The recipe uses a combination of all-purpose flour and cornstarch to create a tender, soft crumb. This structure is crucial for soaking.
- The Espresso Soak: This is the heart of the tiramisu flavor. Use high-quality, strongly brewed espresso or coffee, and make sure it is completely cooled before dipping. Warm coffee will melt the cookies.
- The Mascarpone Cream: This is the rich, luxurious element. Use full-fat, cold mascarpone cheese. The cold temperature helps it whip into a stable cream that won’t become runny.
Essential Tools & Equipment
Having the right tools makes the process seamless.
- Stand Mixer or Hand Mixer: Essential for creaming the butter and sugar and whipping the mascarpone filling to the perfect consistency.
- Baking Sheets & Parchment Paper: For even baking and zero sticking.
- Piping Bag with Round Tip: For a clean, professional look when applying the filling. You can also use a zip-top bag with the corner snipped off.
- Fine-Mesh Sieve: For a delicate, even dusting of cocoa powder.
STEP-BY-STEP INSTRUCTIONS
Follow this blueprint precisely for flawless results. We break it down into three stages: Baking, Mixing, and Assembling.
Part 1: Bake the Soft Cookies
- Prep: Preheat your oven to 350°F (175°C). Line two baking sheets with parchment paper.
- Combine Dry Ingredients: In a medium bowl, whisk together the all-purpose flour, cornstarch, baking powder, and salt. Set aside.
- Cream Butter & Sugar: In the bowl of a stand mixer, beat the room-temperature unsalted butter and granulated sugar on medium-high speed until light and fluffy, about 3-4 minutes.
- Add Wet Ingredients: Add the egg, egg yolk, and vanilla extract. Mix until just combined, scraping down the sides of the bowl as needed.
- Combine Wet & Dry: Reduce the mixer speed to low and gradually add the dry ingredients. Mix until the flour is just incorporated. Do not overmix. The dough will be very soft.
- Portion & Bake: Drop rounded tablespoons of dough onto the prepared baking sheets, about 2 inches apart.
- Bake: Bake for 10-12 minutes, or until the edges are lightly golden. The centers should still be soft. Let them cool on the baking sheet for 5 minutes before transferring to a wire rack to cool completely.
Part 2: Prepare the Filling & Soak
- Brew Espresso: Brew your espresso or strong coffee. Pour it into a shallow bowl and let it cool to room temperature completely.
- Whip the Filling: In a clean mixer bowl, combine the cold mascarpone cheese, powdered sugar, and vanilla extract. Beat on medium speed until smooth and combined.
- Add Cream: With the mixer on low, slowly stream in the cold heavy cream. Once incorporated, increase the speed to medium-high and whip until stiff peaks form, about 2-3 minutes. Be careful not to over-whip, or it can curdle.
- Transfer to Piping Bag: Transfer the filling to a piping bag fitted with a round tip.
Part 3: Assemble the Cookies
- Pair the Cookies: Match up your cooled cookies into pairs of similar size.
- The Soak: Take one cookie from each pair (the bottom one). Quickly dip the flat side into the cooled espresso for just 1-2 seconds. Do not submerge it. Place it coffee-side up on your work surface.
- Pipe the Filling: Pipe a generous swirl of the mascarpone filling onto the coffee-soaked cookie. Looking for more simple and effective guides? Check out our other recipes.
- Sandwich: Place the second, un-soaked cookie on top and press down gently to create a sandwich.
- Dust & Chill: Use a fine-mesh sieve to lightly dust the tops of the finished cookies with unsweetened cocoa powder.
- Chill to Set: Place the assembled cookies in the refrigerator for at least 30 minutes to an hour. This allows the filling to set and the flavors to meld.
While these are chilling, you can start planning your next meal. For a fantastic savory option, consider these Korean BBQ Meatballs, which offer a completely different but equally delicious flavor profile.
COMMON MISTAKES TO AVOID
- Mistake: Soggy, falling-apart cookies.
Fix: The espresso dip should be incredibly fast—literally one second. Use a shallow dish and only dip the flat bottom of one cookie per sandwich. - Mistake: Runny or grainy mascarpone filling.
Fix: Ensure your mascarpone and heavy cream are ice cold, straight from the fridge. Whip just until stiff peaks form; over-whipping can cause the mascarpone to break and become watery. Always use powdered sugar, not granulated, for a smooth texture. - Mistake: Assembling with warm components.
Fix: Patience is key. The cookies must be 100% cool, and the espresso must be at room temperature before you begin assembly. Any warmth will melt the filling instantly.
FAQ
Q: Can I make these ahead of time?
A: Yes. You can bake the cookies up to 2 days in advance and store them in an airtight container. The mascarpone filling can be made 1 day ahead and kept refrigerated. For best texture, assemble the cookies a few hours before serving.
Q: What’s a good substitute for mascarpone cheese?
A: For a similar texture, you can blend 8 oz of full-fat, block-style cream cheese (softened) with 1/4 cup of heavy cream. The flavor will be tangier and less traditional, but it works in a pinch.
Q: How do I store leftover Tiramisu Cookies?
A: Store them in a single layer in an airtight container in the refrigerator for up to 3 days. The cookies will soften more over time as they absorb moisture from the filling.
Beyond Dessert: More to Explore
Once you’ve mastered this dessert, you might be ready for a new culinary project. For a holiday centerpiece, this guide to a perfect Roast Turkey with Garlic Herb Butter is invaluable. Or, for a weekend project, switch gears entirely and try making delicious Skillet Huevos Rancheros for an unforgettable breakfast.
NUTRITIONAL SNAPSHOT
Estimates per cookie.
| Nutrient | Amount per Serving |
|---|---|
| Calories | 195 kcal |
| Protein | 2g |
| Fat | 12g |
| Net Carbs | 19g |
| Fiber | 1g |
| Sugar | 11g |

Soft Tiramisu Cookies: The Classic Dessert, Reimagined
These Tiramisu Cookies capture the soul of the classic Italian dessert in a single, perfect bite. We’ve engineered a soft, cake-like cookie that absorbs a rich espresso soak, all held together by a luscious, stable mascarpone cream filling.
Ingredients
- 1.5 cups (180g) all-purpose flour
- 2 tbsp (15g) cornstarch
- 1/2 tsp baking powder
- 1/4 tsp salt
- 1/2 cup (113g) unsalted butter, room temperature
- 3/4 cup (150g) granulated sugar
- 1 large egg
- 1 large egg yolk
- 1.5 tsp vanilla extract
- 1 cup (227g) mascarpone cheese, cold
- 3/4 cup (90g) powdered sugar
- 1/2 cup (120ml) heavy cream, cold
- 1 tsp vanilla extract
- 1/2 cup (120ml) strongly brewed espresso or coffee, cooled
- 2 tbsp unsweetened cocoa powder, for dusting
Instructions
- Preheat your oven to 350°F (175°C). Line two baking sheets with parchment paper.
- In a medium bowl, whisk together the all-purpose flour, cornstarch, baking powder, and salt. Set aside.
- In the bowl of a stand mixer, beat the room-temperature unsalted butter and granulated sugar on medium-high speed until light and fluffy, about 3-4 minutes.
- Add the egg, egg yolk, and vanilla extract. Mix until just combined, scraping down the sides of the bowl as needed.
- Reduce the mixer speed to low and gradually add the dry ingredients. Mix until the flour is just incorporated. Do not overmix. The dough will be very soft.
- Drop rounded tablespoons of dough onto the prepared baking sheets, about 2 inches apart.
- Bake for 10-12 minutes, or until the edges are lightly golden. The centers should still be soft. Let them cool on the baking sheet for 5 minutes before transferring to a wire rack to cool completely.
- Brew your espresso or strong coffee. Pour it into a shallow bowl and let it cool to room temperature completely.
- In a clean mixer bowl, combine the cold mascarpone cheese, powdered sugar, and vanilla extract. Beat on medium speed until smooth and combined.
- With the mixer on low, slowly stream in the cold heavy cream. Once incorporated, increase the speed to medium-high and whip until stiff peaks form, about 2-3 minutes. Be careful not to over-whip, or it can curdle.
- Transfer the filling to a piping bag fitted with a round tip.
- Match up your cooled cookies into pairs of similar size.
- Take one cookie from each pair (the bottom one). Quickly dip the flat side into the cooled espresso for just 1-2 seconds. Do not submerge it. Place it coffee-side up on your work surface.
- Pipe a generous swirl of the mascarpone filling onto the coffee-soaked cookie.
- Place the second, un-soaked cookie on top and press down gently to create a sandwich.
- Use a fine-mesh sieve to lightly dust the tops of the finished cookies with unsweetened cocoa powder.
- Place the assembled cookies in the refrigerator for at least 30 minutes to an hour. This allows the filling to set and the flavors to meld.