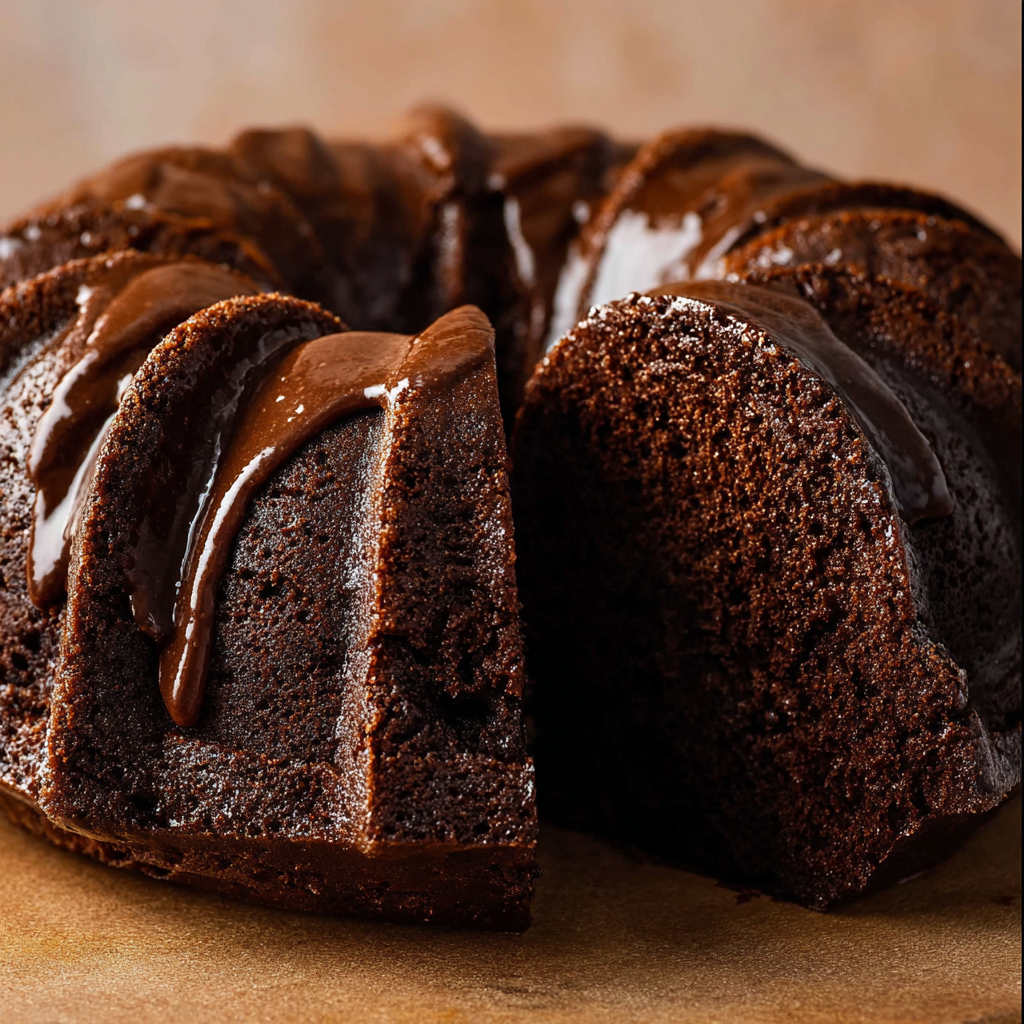
How to Make a Rich, Glossy Chocolate Pound Cake
This dense, velvety chocolate pound cake delivers a deep cocoa flavor and a stunningly glossy finish. It’s the simple, elegant dessert that works for any occasion, from a quiet afternoon to a dinner party centerpiece. If you love a straightforward baking project with a big payoff, much like my popular Peach Pie Cinnamon Rolls recipe, this is for you.
The Science of the Glossy Glaze
The “glossy” finish isn’t just for looks; it’s a simple technique that seals in moisture. Achieving that mirror shine comes down to two key factors: ingredients and temperature.
- Corn Syrup is Key: A small amount of light corn syrup is the secret ingredient. It acts as an “interfering agent,” preventing the sugar in the chocolate from crystallizing into a dull, matte finish.
- Controlled Heat: When melting the glaze ingredients, use low, gentle heat. Overheating can cause the chocolate to “break” or become grainy, ruining the texture and shine.
- Cool Cake, Warm Glaze: The cake must be completely cool before you pour the glaze. Pouring warm glaze over a cool surface allows it to set smoothly and evenly without melting the cake’s crust.
Ingredient Deep Dive: The “Why” Behind Key Components
Great results come from using the right ingredients. Here’s the engineering behind the essentials for this specific recipe.
- Dutch-Process Cocoa Powder: This is non-negotiable. Dutch-processing neutralizes the cocoa’s acidity, resulting in a darker color and a smoother, less bitter chocolate flavor that defines this cake.
- Buttermilk: The acidity in buttermilk reacts with the baking soda for a better rise. More importantly, it tenderizes the gluten in the flour, creating a soft, fine crumb that’s characteristic of a perfect pound cake.
- Room Temperature Ingredients: This is critical for a smooth, uniform batter. Cold butter and eggs don’t emulsify properly, which can lead to a dense, greasy, or curdled texture. Set them on the counter 30-60 minutes before you begin.
Pro-Tips for a Perfect Pound Cake Crumb
Avoid common pound cake pitfalls with these field-tested tips for a moist, even crumb every time.
- Spoon & Level Your Flour: Never scoop flour directly from the bag with your measuring cup. This compacts it, adding up to 25% more flour than needed, which is the #1 cause of a dry cake. Spoon it into the cup and level it with a straight edge.
- Don’t Overmix: Mix the flour just until the last streaks disappear. Overmixing develops gluten, which will make your pound cake tough and chewy instead of tender.
- The “Tap & Drop”: Before baking, tap the filled pan firmly on the counter a few times. This releases large air bubbles, preventing tunnels and cracks from forming in your finished cake.
Step-by-Step Instructions
Prep Time: 20 mins
Cook Time: 60-70 mins
Total Time: 1 hr 30 mins (plus cooling)
Part 1: The Chocolate Pound Cake
- Preheat & Prep: Set your oven to 325°F (163°C). Generously grease and flour a 9×5 inch loaf pan. Cut a strip of parchment paper to line the bottom and long sides, creating a “sling” for easy removal.
- Combine Dry Ingredients: In a medium bowl, whisk together the all-purpose flour, Dutch-process cocoa powder, baking soda, and salt. Set aside.
- Cream Butter & Sugar: In a large bowl with an electric mixer (or a stand mixer with the paddle attachment), beat the room temperature unsalted butter and granulated sugar on medium-high speed for 4-5 minutes, until light and fluffy. Scrape down the sides of the bowl as needed.
- Add Eggs & Vanilla: Add the eggs one at a time, beating well after each addition until fully incorporated. Mix in the vanilla extract.
- Alternate Wet & Dry: Reduce the mixer speed to low. Add the dry ingredients in three additions, alternating with the buttermilk in two additions (Dry, Wet, Dry, Wet, Dry). Mix only until the last streaks of flour disappear. Do not overmix.
- Bake: Pour the batter into your prepared loaf pan and smooth the top. Bake for 60-70 minutes, or until a wooden skewer inserted into the center comes out with a few moist crumbs attached, but no wet batter.
- Cool Completely: Let the cake cool in the pan on a wire rack for 15 minutes. Then, use the parchment sling to lift it out and let it cool completely on the rack. This will take at least 2 hours. The cake must be cool before glazing.
Part 2: The Glossy Chocolate Glaze
- Melt Ingredients: In a small, heavy-bottomed saucepan, combine the semi-sweet chocolate chips, unsalted butter, and light corn syrup. For a truly rich dessert experience, consider how the deep flavors here compare to a lighter, fruitier dessert. For a different but equally satisfying project, try my homemade Samoas Cookies recipe.
- Gentle Heat: Place the saucepan over low heat, stirring constantly until everything is melted and the glaze is completely smooth and shiny. Do not let it bubble. This rich cake would also be a fantastic dessert following a hearty meal, like this flavorful Broccoli Cheddar and Bacon Soup recipe.
- Glaze the Cake: Place the completely cooled cake on its serving platter or a wire rack set over a baking sheet to catch drips. Pour the warm glaze evenly over the top, letting it drip down the sides.
- Set & Serve: Let the glaze set for at least 30 minutes before slicing and serving.
COMMON MISTAKES TO AVOID
- Mistake: A dry, dense cake.
- Fix: You likely overmeasured your flour or overbaked the cake. Use the “spoon and level” method for flour and check for doneness 5 minutes before the recipe suggests.
- Mistake: The cake has a large crack or dome on top.
- Fix: Your oven temperature may be too high, causing the exterior to set before the center has finished rising. Check your oven with an oven thermometer for accuracy.
- Mistake: The glaze is dull, grainy, or too thick.
- Fix: You either overheated the chocolate or a drop of water got into the pan. Melt on the lowest possible heat, stir constantly, and use a completely dry saucepan and utensils.
FAQ
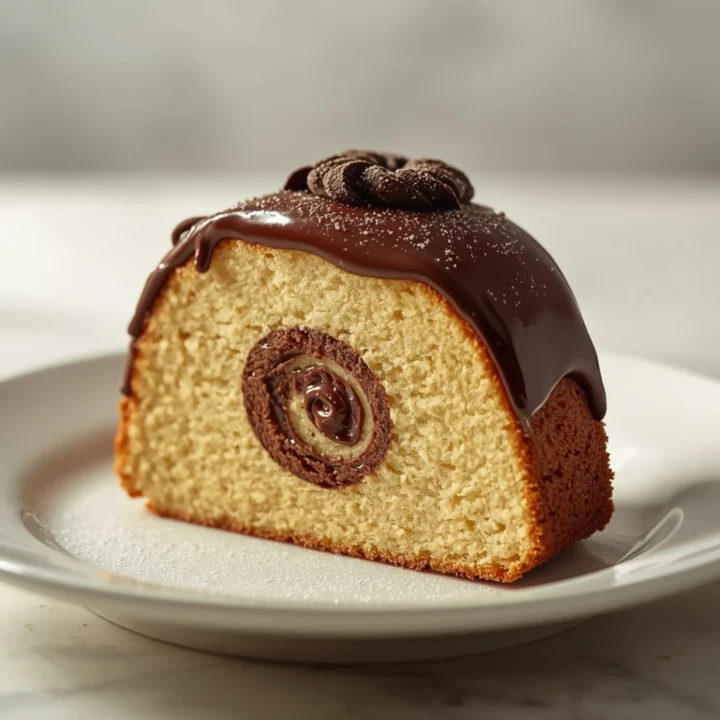
Q: Can I use a bundt pan instead of a loaf pan?
A: Yes, this recipe works well in a 10- or 12-cup bundt pan. Grease and flour it meticulously. Begin checking for doneness around the 55-minute mark, as the bake time may be slightly shorter.
Q: How do I store the cake to keep the glaze shiny?
A: Store the cake at room temperature in an airtight container for up to 3 days. Do not refrigerate, as condensation will dull the glaze and dry out the cake.
Q: Can I make this cake gluten-free?
A: You can substitute a high-quality 1-to-1 gluten-free baking flour blend that contains xanthan gum. The texture will be slightly different but still delicious.
For those who love exploring different dessert profiles, you might also appreciate the festive spice of this Gingerbread Trifle recipe or the cool, refreshing taste of these Chocolate Peppermint Mousse Cups.
NUTRITIONAL SNAPSHOT
| Nutrient | Amount per Serving |
|---|---|
| Calories | 410 kcal |
| Protein | 5g |
| Fat | 22g |
| Net Carbs | 48g |
| Fiber | 3g |
| Sugar | 35g |
*Estimates are for one slice (recipe makes ~10 slices).
How to Make a Rich, Glossy Chocolate Pound Cake
This dense, velvety chocolate pound cake delivers a deep cocoa flavor and a stunningly glossy finish. It's the simple, elegant dessert that works for any occasion, from a quiet afternoon to a dinner party centerpiece.
Ingredients
- 1 1/2 cups all-purpose flour
- 3/4 cup Dutch-process cocoa powder
- 1/2 teaspoon baking soda
- 1/2 teaspoon salt
- 1 cup (2 sticks) unsalted butter, room temperature
- 1 3/4 cups granulated sugar
- 4 large eggs, room temperature
- 1 teaspoon vanilla extract
- 3/4 cup buttermilk, room temperature
- 1 cup semi-sweet chocolate chips
- 4 tablespoons unsalted butter
- 1 tablespoon light corn syrup
Instructions
- Preheat your oven to 325°F (163°C). Generously grease and flour a 9x5 inch loaf pan. Cut a strip of parchment paper to line the bottom and long sides, creating a "sling" for easy removal.
- In a medium bowl, whisk together the all-purpose flour, Dutch-process cocoa powder, baking soda, and salt. Set aside.
- In a large bowl with an electric mixer (or a stand mixer with the paddle attachment), beat the room temperature unsalted butter and granulated sugar on medium-high speed for 4-5 minutes, until light and fluffy. Scrape down the sides of the bowl as needed.
- Add the eggs one at a time, beating well after each addition until fully incorporated. Mix in the vanilla extract.
- Reduce the mixer speed to low. Add the dry ingredients in three additions, alternating with the buttermilk in two additions (Dry, Wet, Dry, Wet, Dry). Mix only until the last streaks of flour disappear. Do not overmix.
- Pour the batter into your prepared loaf pan and smooth the top. Bake for 60-70 minutes, or until a wooden skewer inserted into the center comes out with a few moist crumbs attached, but no wet batter.
- Let the cake cool in the pan on a wire rack for 15 minutes. Then, use the parchment sling to lift it out and let it cool completely on the rack. This will take at least 2 hours. The cake must be cool before glazing.
- In a small, heavy-bottomed saucepan, combine the semi-sweet chocolate chips, unsalted butter, and light corn syrup.
- Place the saucepan over low heat, stirring constantly until everything is melted and the glaze is completely smooth and shiny. Do not let it bubble.
- Place the completely cooled cake on its serving platter or a wire rack set over a baking sheet to catch drips. Pour the warm glaze evenly over the top, letting it drip down the sides.
- Let the glaze set for at least 30 minutes before slicing and serving.