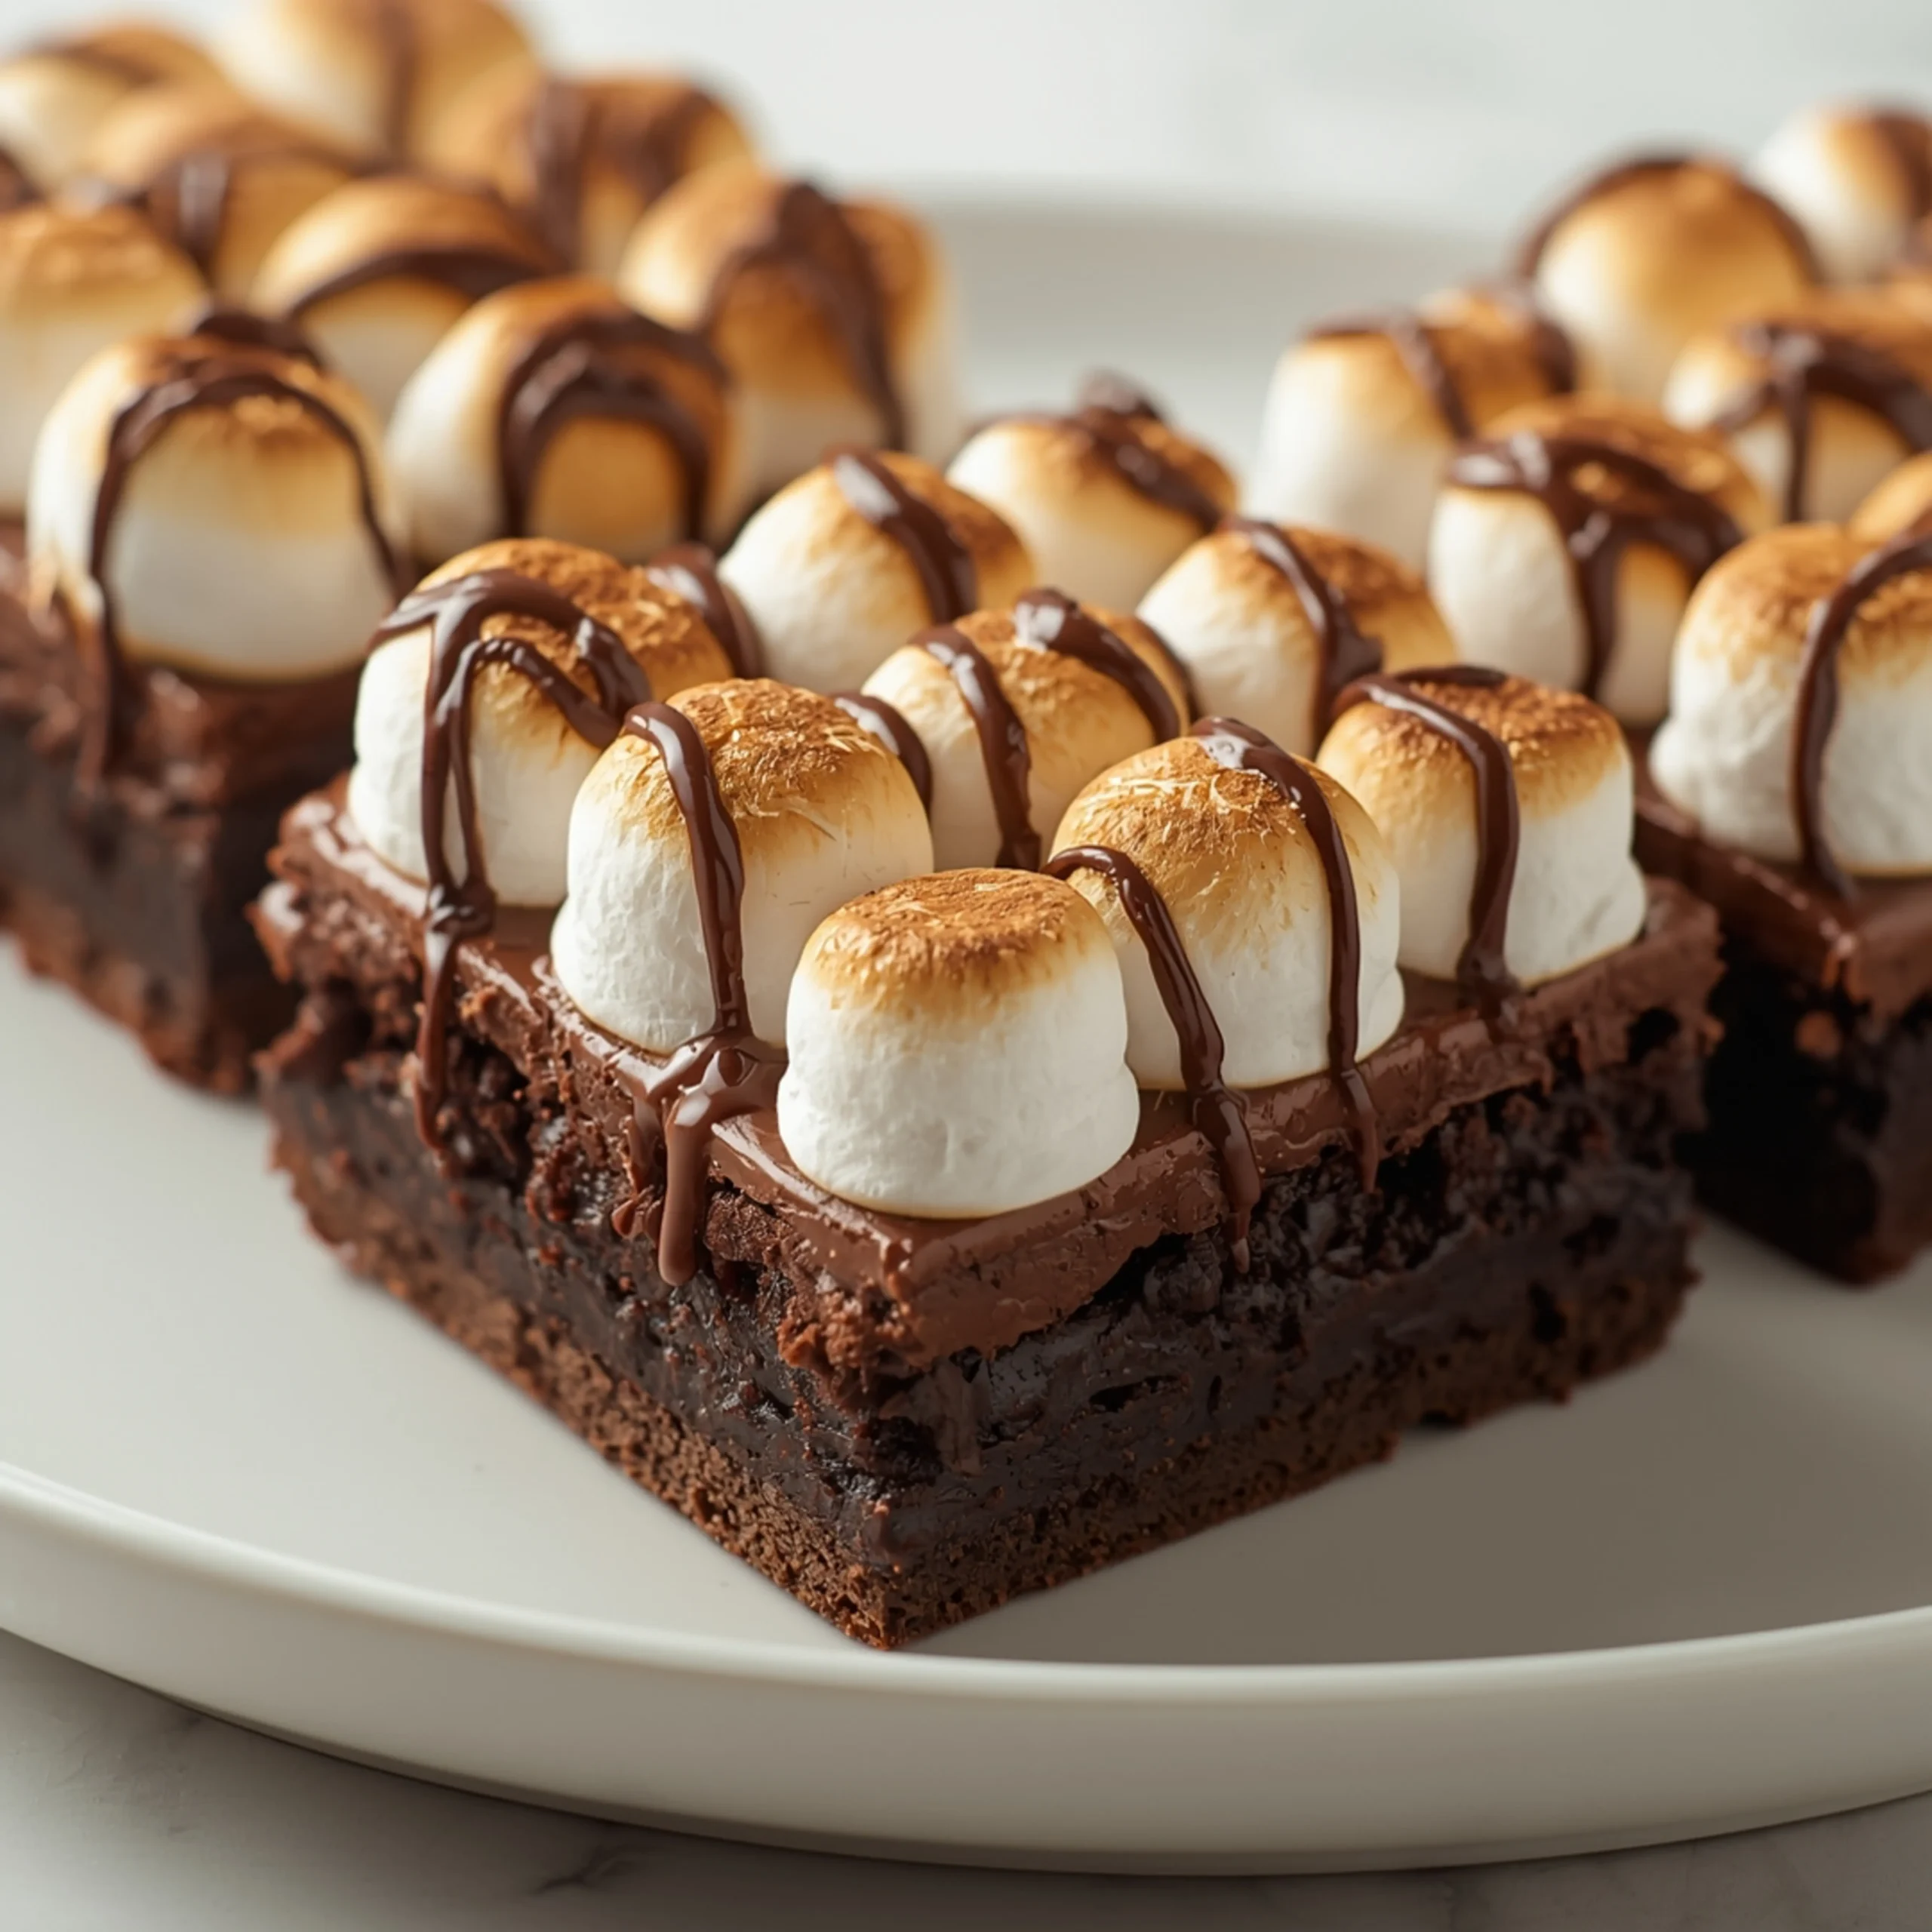
Rich Hot Chocolate Brownies with Toasted Marshmallow
These aren’t your average brownies. This recipe captures the essence of a rich cup of hot cocoa, baked into a dense, fudgy square and topped with a perfectly toasted layer of gooey marshmallows. It’s a straightforward method that delivers pure comfort, making it one of our favorite desserts for any occasion.
Why This Recipe Works: The Fudgy Factor
The engineering of a truly fudgy brownie comes down to a few key principles. This recipe is optimized for a dense, moist crumb instead of a cakey one.
- Melted Fat: We use melted butter, not creamed butter. This coats the flour proteins, limiting gluten development and resulting in a denser, fudgier texture.
- Minimal Leavening: There is no baking soda or powder. The only lift comes from the eggs, which prevents the brownies from rising into a cake-like structure.
- Blooming the Cocoa: Mixing the cocoa powder with hot liquid (in this case, the hot melted butter) intensifies its flavor, a process called “blooming.” This creates a deeper, more robust chocolate base.
- Dual Chocolate Sources: Using both cocoa powder and melted chocolate chips provides complex, layered chocolate flavor that mimics real hot chocolate.
Step-by-Step Instructions
Prep Time: 15 minutes
Cook Time: 30-35 minutes
Total Time: 50 minutes (+ cooling)
Yields: 16 brownies
-
1. Preparation:
- Preheat your oven to 350°F (175°C).
- Line an 8×8 inch square baking pan with parchment paper, leaving an overhang on two sides to act as handles. This is critical for easy removal. Lightly grease the paper and any exposed pan sides.
-
2. Melt Butter and Chocolate:
- In a medium saucepan, melt the butter over low heat.
- Once melted, remove from heat and stir in the chopped chocolate or chocolate chips until the mixture is completely smooth. Set aside to cool slightly for a few minutes.
-
3. Combine Wet Ingredients:
- In a large bowl, whisk together the granulated sugar, brown sugar, eggs, and vanilla extract until well combined and slightly lightened in color (about 1-2 minutes).
- Slowly pour the slightly cooled butter-chocolate mixture into the egg mixture, whisking constantly until fully incorporated and glossy.
-
4. Incorporate Dry Ingredients:
- In a separate small bowl, whisk together the all-purpose flour, Dutch-process cocoa powder, and salt.
- Gently fold the dry ingredients into the wet mixture using a rubber spatula. Do not overmix. Stop as soon as no dry streaks remain. Overmixing develops gluten and creates tough, cakey brownies.
-
5. First Bake:
- Pour the batter into your prepared baking pan and spread it into an even layer with the spatula.
- Bake for 20-23 minutes. The brownies are ready for the marshmallow topping when a toothpick inserted into the center comes out with moist, fudgy crumbs attached, not wet batter.
-
6. Add Marshmallows and Finish Baking:
- Remove the pan from the oven. Immediately and evenly sprinkle the mini marshmallows over the entire surface.
- Return the pan to the oven and bake for an additional 5-7 minutes, or until the marshmallows are puffed and lightly golden brown.
- For a more “toasted” look: Switch the oven to the high broil setting for the final 30-60 seconds. WATCH CAREFULLY, as marshmallows can go from golden to burnt in seconds.
-
7. Cool Completely:
- Remove from the oven and place the pan on a wire rack to cool completely. This step is non-negotiable for clean cuts. For best results, let them cool for at least 2-3 hours.
Marshmallow Mastering: The Key to a Perfect Topping
Getting the marshmallow layer just right is what makes these brownies special. It should be gooey, slightly melted into the brownie, and beautifully toasted.
- Use Mini Marshmallows: They provide much better coverage and melt more evenly than large ones. If you only have large marshmallows, snip them into quarters with kitchen shears.
- Timing is Everything: Never add the marshmallows at the beginning of the bake. They will dissolve and burn. Add them only when the brownie base is nearly cooked through.
- The Broiler Method: For that authentic, campfire-toasted finish, a quick trip under the broiler is unmatched. Stay glued to your oven window—it happens fast. This technique is a simple way to elevate many of our easy-to-follow recipes.
Ingredient Deep Dive: Cocoa & Chocolate
The quality and type of your chocolate sources are the foundation of this recipe’s flavor.
- Cocoa Powder: We strongly recommend Dutch-process cocoa powder. It has been treated to neutralize its acidity, resulting in a smoother, less bitter flavor and a darker, richer color that’s perfect for a “hot chocolate” profile.
- Bar Chocolate vs. Chips: Using a melted semi-sweet or dark chocolate bar (or high-quality chips) in the batter creates the fudgy base. The extra chocolate chips folded in provide pockets of melted chocolate in the final product.
Pro-Tips for Clean Slices & Storage
Cutting into gooey, marshmallow-topped brownies can be a messy affair. Use these engineering-approved methods for perfect squares.
- Patience is a Virtue: Let the brownies cool completely to room temperature before even thinking about cutting them.
- The Chill Method: For ultra-clean cuts, place the fully cooled brownies in the refrigerator for 30-60 minutes to firm up the chocolate and marshmallow topping.
- Hot Knife Technique: Fill a tall glass with hot water. Dip a large, sharp knife into the water, wipe it dry with a towel, and make one long, clean cut. Repeat dipping and wiping for every single cut.
- Storage: Store brownies in an airtight container at room temperature for up to 3 days. Refrigerating can dry them out, but it’s an option if your kitchen is very warm.
Serving Suggestions
These brownies are a standout dessert on their own. However, to elevate the experience:
- A La Mode: Serve a warm brownie square with a scoop of vanilla bean or coffee ice cream.
- Sauce Drizzle: A light drizzle of salted caramel or hot fudge sauce complements the marshmallow beautifully.
- Full Comfort Meal: For the ultimate comfort food experience, enjoy these after a hearty main course like classic spinach and ricotta stuffed shells.
COMMON MISTAKES TO AVOID
- Mistake: Overbaking the brownie base before adding marshmallows.
Fix: Pull the brownies out when they are slightly underdone (a toothpick should have moist crumbs, not be clean). They will finish cooking with the marshmallows on top. - Mistake: Cutting the brownies while they are still warm.
Fix: Allow them to cool completely on a wire rack for at least 2 hours. Use the parchment paper “handles” to lift the entire slab out before cutting. - Mistake: Using a mixer on high speed to combine ingredients.
Fix: Mix by hand with a spatula or whisk. This prevents incorporating too much air, which leads to a cakey texture instead of a fudgy one.
FAQ
Q: Can I use a different pan size?
A: Yes. For a 9×13 inch pan, the brownies will be thinner. Reduce the initial baking time to 15-18 minutes before adding the marshmallows. For a 9-inch round pan, the baking time will be similar to the 8×8.
Q: Can I make these brownies gluten-free?
A: Yes, this recipe works well with a 1-to-1 gluten-free all-purpose flour blend. Ensure your blend contains xanthan gum.
Q: How do I store leftovers?
A: Store in an airtight container at room temperature for up to 3 days. The marshmallow topping will get stickier over time. Do not stack them without a layer of parchment paper in between.
For more creative ideas, this guide on making baked stuffed chicken breasts with spinach and cheese also explores how a simple filling can transform a classic dish.
NUTRITIONAL SNAPSHOT
(Estimates based on 16 servings)
| Nutrient | Amount per Serving |
|---|---|
| Calories | 280 kcal |
| Protein | 3g |
| Fat | 15g |
| Net Carbs | 32g |
| Fiber | 2g |
| Sugar | 25g |

Rich Hot Chocolate Brownies with Toasted Marshmallow
These aren't your average brownies. This recipe captures the essence of a rich cup of hot cocoa, baked into a dense, fudgy square and topped with a perfectly toasted layer of gooey marshmallows. It's a straightforward method that delivers pure comfort, making it one of our favorite desserts for any occasion.
Ingredients
- 1/2 cup (113g) unsalted butter
- 4 oz (113g) semi-sweet chocolate, chopped (or 2/3 cup chips)
- 1 cup (200g) granulated sugar
- 1/4 cup (50g) packed light brown sugar
- 2 large eggs, room temperature
- 1 tsp vanilla extract
- 3/4 cup (90g) all-purpose flour
- 1/4 cup (25g) Dutch-process cocoa powder
- 1/2 tsp salt
- 2 cups (120g) mini marshmallows
Instructions
- Preheat your oven to 350°F (175°C). Line an 8x8 inch square baking pan with parchment paper, leaving an overhang on two sides to act as handles. This is critical for easy removal. Lightly grease the paper and any exposed pan sides.
- In a medium saucepan, melt the butter over low heat. Once melted, remove from heat and stir in the chopped chocolate or chocolate chips until the mixture is completely smooth. Set aside to cool slightly for a few minutes.
- In a large bowl, whisk together the granulated sugar, brown sugar, eggs, and vanilla extract until well combined and slightly lightened in color (about 1-2 minutes). Slowly pour the slightly cooled butter-chocolate mixture into the egg mixture, whisking constantly until fully incorporated and glossy.
- In a separate small bowl, whisk together the all-purpose flour, Dutch-process cocoa powder, and salt. Gently fold the dry ingredients into the wet mixture using a rubber spatula. Do not overmix. Stop as soon as no dry streaks remain. Overmixing develops gluten and creates tough, cakey brownies.
- Pour the batter into your prepared baking pan and spread it into an even layer with the spatula. Bake for 20-23 minutes. The brownies are ready for the marshmallow topping when a toothpick inserted into the center comes out with moist, fudgy crumbs attached, not wet batter.
- Remove the pan from the oven. Immediately and evenly sprinkle the mini marshmallows over the entire surface. Return the pan to the oven and bake for an additional 5-7 minutes, or until the marshmallows are puffed and lightly golden brown. For a more "toasted" look: Switch the oven to the high broil setting for the final 30-60 seconds. WATCH CAREFULLY, as marshmallows can go from golden to burnt in seconds.
- Remove from the oven and place the pan on a wire rack to cool completely. This step is non-negotiable for clean cuts. For best results, let them cool for at least 2-3 hours.