The 5-Ingredient Lemon Bar Shortcut (Using Cake Mix)
These cake mix lemon bars deliver that perfect tangy, sweet, and buttery flavor with a fraction of the effort. We’re using a simple boxed cake mix to create a tender, chewy crust and a luscious, creamy lemon filling that sets up perfectly every time. It’s the ideal low-effort dessert, much like my famously easy Preacher Cake.
Why This Cake Mix Hack Works
Using a box of cake mix isn’t just a shortcut; it’s a strategic move for a better lemon bar. Here’s the engineering behind it:
- Perfected Ratios: Cake mix has the ideal ratio of flour, sugar, and leavening agents already measured out. This creates a consistently soft, slightly chewy crust without any guesswork.
- Ultra-Fine Texture: The flour in cake mix is often milled finer than standard all-purpose flour, contributing to a more tender crumb in the crust.
- Built-in Flavor: A yellow or lemon cake mix adds a subtle buttery, vanilla-like background note that complements the tart lemon filling beautifully.
Choosing Your Cake Mix: A Critical Decision
The type of cake mix you grab from the shelf directly impacts the final result. All options work, but they produce slightly different bars.
- Yellow Cake Mix (Recommended): This is the gold standard. It provides a rich, buttery, and sturdy crust that holds up well to the creamy filling. Its neutral flavor lets the lemon shine.
- Lemon Cake Mix: Use this if you want an intense, double-dose of lemon flavor. Be aware that the crust will be slightly softer and the overall bar will be less tart and more “candy-like.”
- White or Angel Food Cake Mix: These can work in a pinch but often result in a much lighter, spongier, and more delicate crust that can get soggy faster.
Step-by-Step Instructions
Prep Time: 10 minutes
Cook Time: 35-40 minutes
Total Time: 45 minutes + cooling
Equipment:
- 9×13 inch baking pan
- Parchment paper
- Mixing bowls
- Electric mixer (or whisk)
Part 1: Prepare the Crust
- Preheat & Prep: Preheat your oven to 350°F (175°C). Line a 9×13 inch baking pan with parchment paper, leaving some overhang on the sides to act as “handles.” This is crucial for easy removal.
- Combine Crust Ingredients: In a medium bowl, combine the entire box of yellow cake mix, the melted butter, and one egg.
- Mix Until Crumbly: Using a fork or your hands, mix until a soft, crumbly dough forms. Don’t overmix.
- Press into Pan: Dump the dough into your prepared pan. Firmly and evenly press it into the bottom to form the crust.
- Par-Bake the Crust: Bake for 15-18 minutes, until the edges are lightly golden. This pre-baking step ensures the crust stays crisp.
Part 2: Mix the Filling & Bake
- Beat Cream Cheese: While the crust bakes, place the softened cream cheese in a separate large bowl. Using an electric mixer, beat on medium speed until completely smooth and free of lumps.
- Add Remaining Ingredients: Add the powdered sugar, the remaining two eggs, fresh lemon juice, and lemon zest to the cream cheese.
- Mix Until Smooth: Beat on low speed until everything is just combined and the filling is silky smooth. Avoid over-beating, which incorporates too much air.
- Pour and Bake: Once the crust is out of the oven, immediately pour the lemon filling over the hot crust. Spread it evenly.
- Final Bake: Return the pan to the oven and bake for an additional 20-25 minutes. The bars are done when the center is mostly set but still has a very slight jiggle. The edges should be firm.
Part 3: Cool and Serve
- Cool Completely: Let the pan cool on a wire rack for at least 1 hour at room temperature.
- Chill Thoroughly: Transfer the pan to the refrigerator and chill for at least 2 hours, or until completely firm. This step is non-negotiable for clean slices.
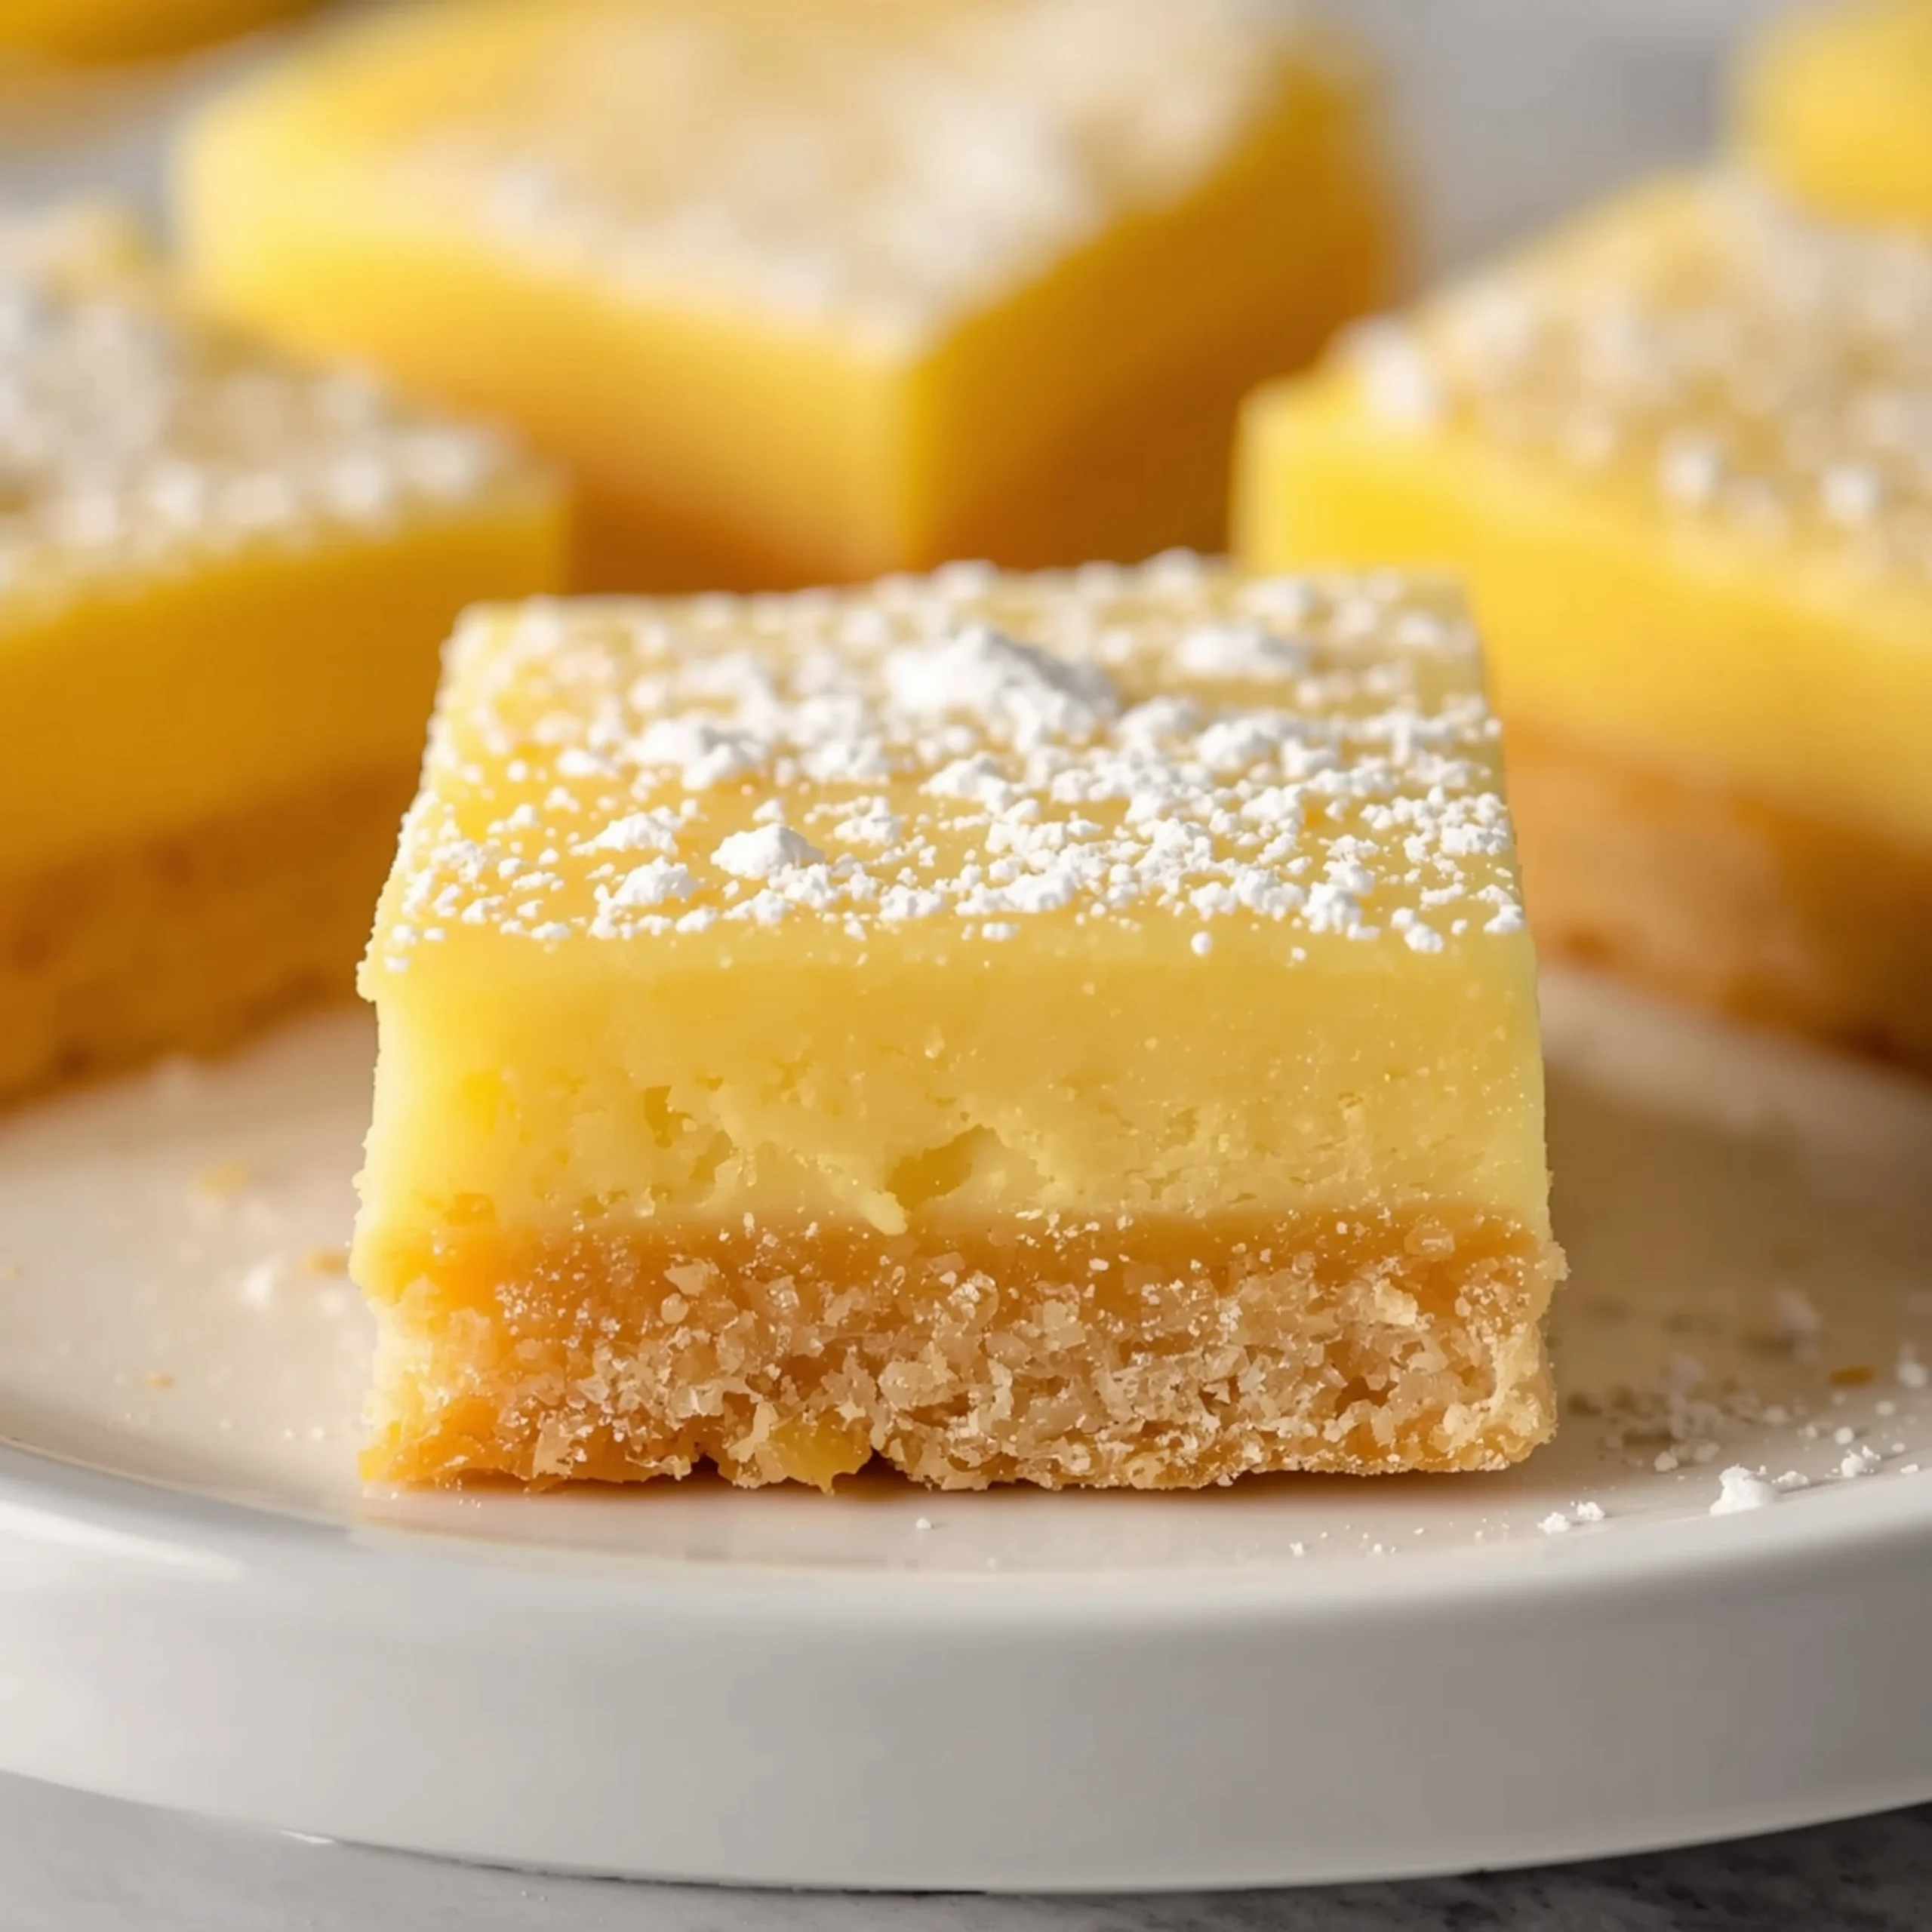
- Slice and Serve: Use the parchment handles to lift the entire block of bars out of the pan. Dust with extra powdered sugar, slice into squares, and serve.
Pro-Tips for Perfect Lemon Bars
- Use Fresh Lemon Juice: The flavor is significantly brighter and more complex than bottled juice. Zesting the lemon before you juice it is the most efficient method.
- Room Temperature Ingredients: For the filling, ensure your cream cheese and eggs are at room temperature. This is the key to a lump-free, silky-smooth texture.
- The “Jiggle” Test: Don’t overbake. You want the very center to wobble slightly when you gently shake the pan. The residual heat will finish cooking it as it cools.
- Clean Slices: For bakery-perfect squares, use a large, sharp knife. Wipe the blade clean with a damp paper towel between each cut.
- Party Planning: These are a perfect make-ahead dessert for gatherings. If you’re planning a party spread, they pair wonderfully with other simple crowd-pleasers. For instance, this festive Grinch Dip Recipe is another easy win for any event.
Flavor Variations & Upgrades
Once you’ve mastered the basic recipe, try these simple tweaks to customize your lemon bars.
- Citrus Swap: Substitute half the lemon juice with fresh lime or orange juice for a different citrus profile.
- Add a Glaze: Whisk 1 cup of powdered sugar with 2-3 tablespoons of lemon juice to create a simple glaze. Drizzle over the completely cooled bars.
- Coconut Crust: Add 1/2 cup of sweetened shredded coconut to the crust mixture for extra chewiness and flavor.
- For the Chocolate Lovers: If you prefer rich, decadent desserts over tangy ones, you have to try these Chocolate Salted Butterscotch Brownies.
These lemon bars are a fantastic dessert to follow a simple, healthy meal. For a weeknight dinner that won’t overshadow your dessert, consider making a straightforward Salmon and Veggie Sheet Pan Dinner.
COMMON MISTAKES TO AVOID
- Mistake: A lumpy filling.
Fix: Ensure your cream cheese is fully softened to room temperature before beating it. Cold cream cheese will not blend smoothly. - Mistake: Messy, gooey slices.
Fix: Do not rush the cooling process. The bars must be chilled for at least 2 hours in the fridge to set completely. This is the secret to clean, perfect squares. - Mistake: A soggy crust.
Fix: Don’t skip the par-baking step for the crust. Baking it alone first creates a moisture barrier that keeps it from absorbing the liquid filling.
FAQ
Q: How do I store these lemon bars?
A: Store them in an airtight container in the refrigerator for up to 5 days. They are best served chilled.
Q: Can I use bottled lemon juice instead of fresh?
A: You can, but the flavor will be much less vibrant. For the best-tasting lemon bars, fresh-squeezed juice is highly recommended.
Q: Can I freeze lemon bars?
A: Yes. Once fully cooled and sliced, place them on a baking sheet to freeze individually. Then, wrap the frozen bars tightly in plastic wrap and store them in a freezer bag for up to 3 months. Thaw in the refrigerator.
| Nutrient | Amount per Serving |
|---|---|
| Calories | 285 kcal |
| Protein | 4g |
| Fat | 14g |
| Net Carbs | 35g |
| Fiber | 1g |
| Sugar | 24g |

The 5-Ingredient Lemon Bar Shortcut (Using Cake Mix)
These cake mix lemon bars deliver that perfect tangy, sweet, and buttery flavor with a fraction of the effort. We're using a simple boxed cake mix to create a tender, chewy crust and a luscious, creamy lemon filling that sets up perfectly every time. It’s the ideal low-effort dessert, much like my famously easy Preacher Cake.
Ingredients
- 1 box (15.25 oz) yellow cake mix
- 1/2 cup unsalted butter, melted
- 1 large egg
- 1 block (8 oz) cream cheese, softened
- 2 large eggs
- 1 cup powdered sugar
- 1/3 cup fresh lemon juice
- 1 tbsp lemon zest
- Powdered sugar, for dusting (optional)
Instructions
- Preheat your oven to 350°F (175°C). Line a 9x13 inch baking pan with parchment paper, leaving some overhang on the sides to act as "handles." This is crucial for easy removal.
- In a medium bowl, combine the entire box of yellow cake mix, the melted butter, and one egg.
- Using a fork or your hands, mix until a soft, crumbly dough forms. Don't overmix.
- Dump the dough into your prepared pan. Firmly and evenly press it into the bottom to form the crust.
- Bake for 15-18 minutes, until the edges are lightly golden. This pre-baking step ensures the crust stays crisp.
- While the crust bakes, place the softened cream cheese in a separate large bowl. Using an electric mixer, beat on medium speed until completely smooth and free of lumps.
- Add the powdered sugar, the remaining two eggs, fresh lemon juice, and lemon zest to the cream cheese.
- Beat on low speed until everything is just combined and the filling is silky smooth. Avoid over-beating, which incorporates too much air.
- Once the crust is out of the oven, immediately pour the lemon filling over the hot crust. Spread it evenly.
- Return the pan to the oven and bake for an additional 20-25 minutes. The bars are done when the center is mostly set but still has a very slight jiggle. The edges should be firm.
- Let the pan cool on a wire rack for at least 1 hour at room temperature.
- Transfer the pan to the refrigerator and chill for at least 2 hours, or until completely firm. This step is non-negotiable for clean slices.
- Use the parchment handles to lift the entire block of bars out of the pan. Dust with extra powdered sugar, slice into squares, and serve.