Homemade No-Bake Protein Bars: The 10-Minute Recipe
Tired of overpriced, chalky protein bars? These homemade no-bake protein bars are chewy, flavorful, and ready in about 10 minutes with zero baking required. If you love efficient, make-ahead breakfasts like our popular Carrot Cake Baked Oatmeal, these bars will become your new go-to snack for busy weeks.
The Core Formula: A ‘Choose Your Own Adventure’ Guide
This recipe is a template, not a strict rule. The key is understanding the role of each component. Master the ratio, and you can create endless variations.
- Dry Base (1.5 – 2 cups): This provides structure and texture.
- Rolled Oats: The classic choice for a chewy, satisfying texture. Quick oats also work.
- Crispy Rice Cereal: Adds a light, airy crunch.
- Almond or Coconut Flour: A good low-carb, grain-free option.
- Protein Powder (1 cup): The functional powerhouse.
- Whey or Casein: Best for a smooth, less gritty texture.
- Plant-Based (Pea, Soy, Hemp): Excellent vegan options. Note: These can be more absorbent, so you may need a splash more liquid.
- Binder (1 cup): This is the “glue” that holds everything together.
- Nut/Seed Butter: Peanut butter, almond butter, cashew butter, or sunflower seed butter for a nut-free option.
- Tahini: Adds a unique, savory depth.
- Liquid Sweetener (1/2 cup): Adds moisture and sweetness.
- Honey or Maple Syrup: Classic choices that bind well.
- Agave Nectar: A vegan alternative with a neutral flavor.
- Date Syrup: Adds rich, caramel-like notes.
- Mix-Ins (1/2 cup): Where you add personality.
- Chocolate: Mini chocolate chips, cacao nibs, or chopped dark chocolate.
- Nuts & Seeds: Chopped walnuts, pecans, almonds, chia seeds, flax seeds, or pumpkin seeds.
- Dried Fruit: Raisins, cranberries, chopped apricots, or dates.
Engineering the Perfect Texture
The final texture depends on the balance between wet and dry ingredients. Use these diagnostics to perfect your batch.
- Problem: The mixture is too dry and crumbly.
- Fix: Add more binder or liquid sweetener, one tablespoon at a time, until the mixture holds together when pressed.
- Problem: The mixture is too wet and sticky.
- Fix: Add more of your dry base (oats are best), one tablespoon at a time, until it becomes a thick, manageable dough.
- Problem: The bars are too soft at room temperature.
- Fix: This often happens with natural nut butters or in warm climates. Add 1-2 tablespoons of melted coconut oil to the wet ingredients. It solidifies when chilled, creating a firmer bar.
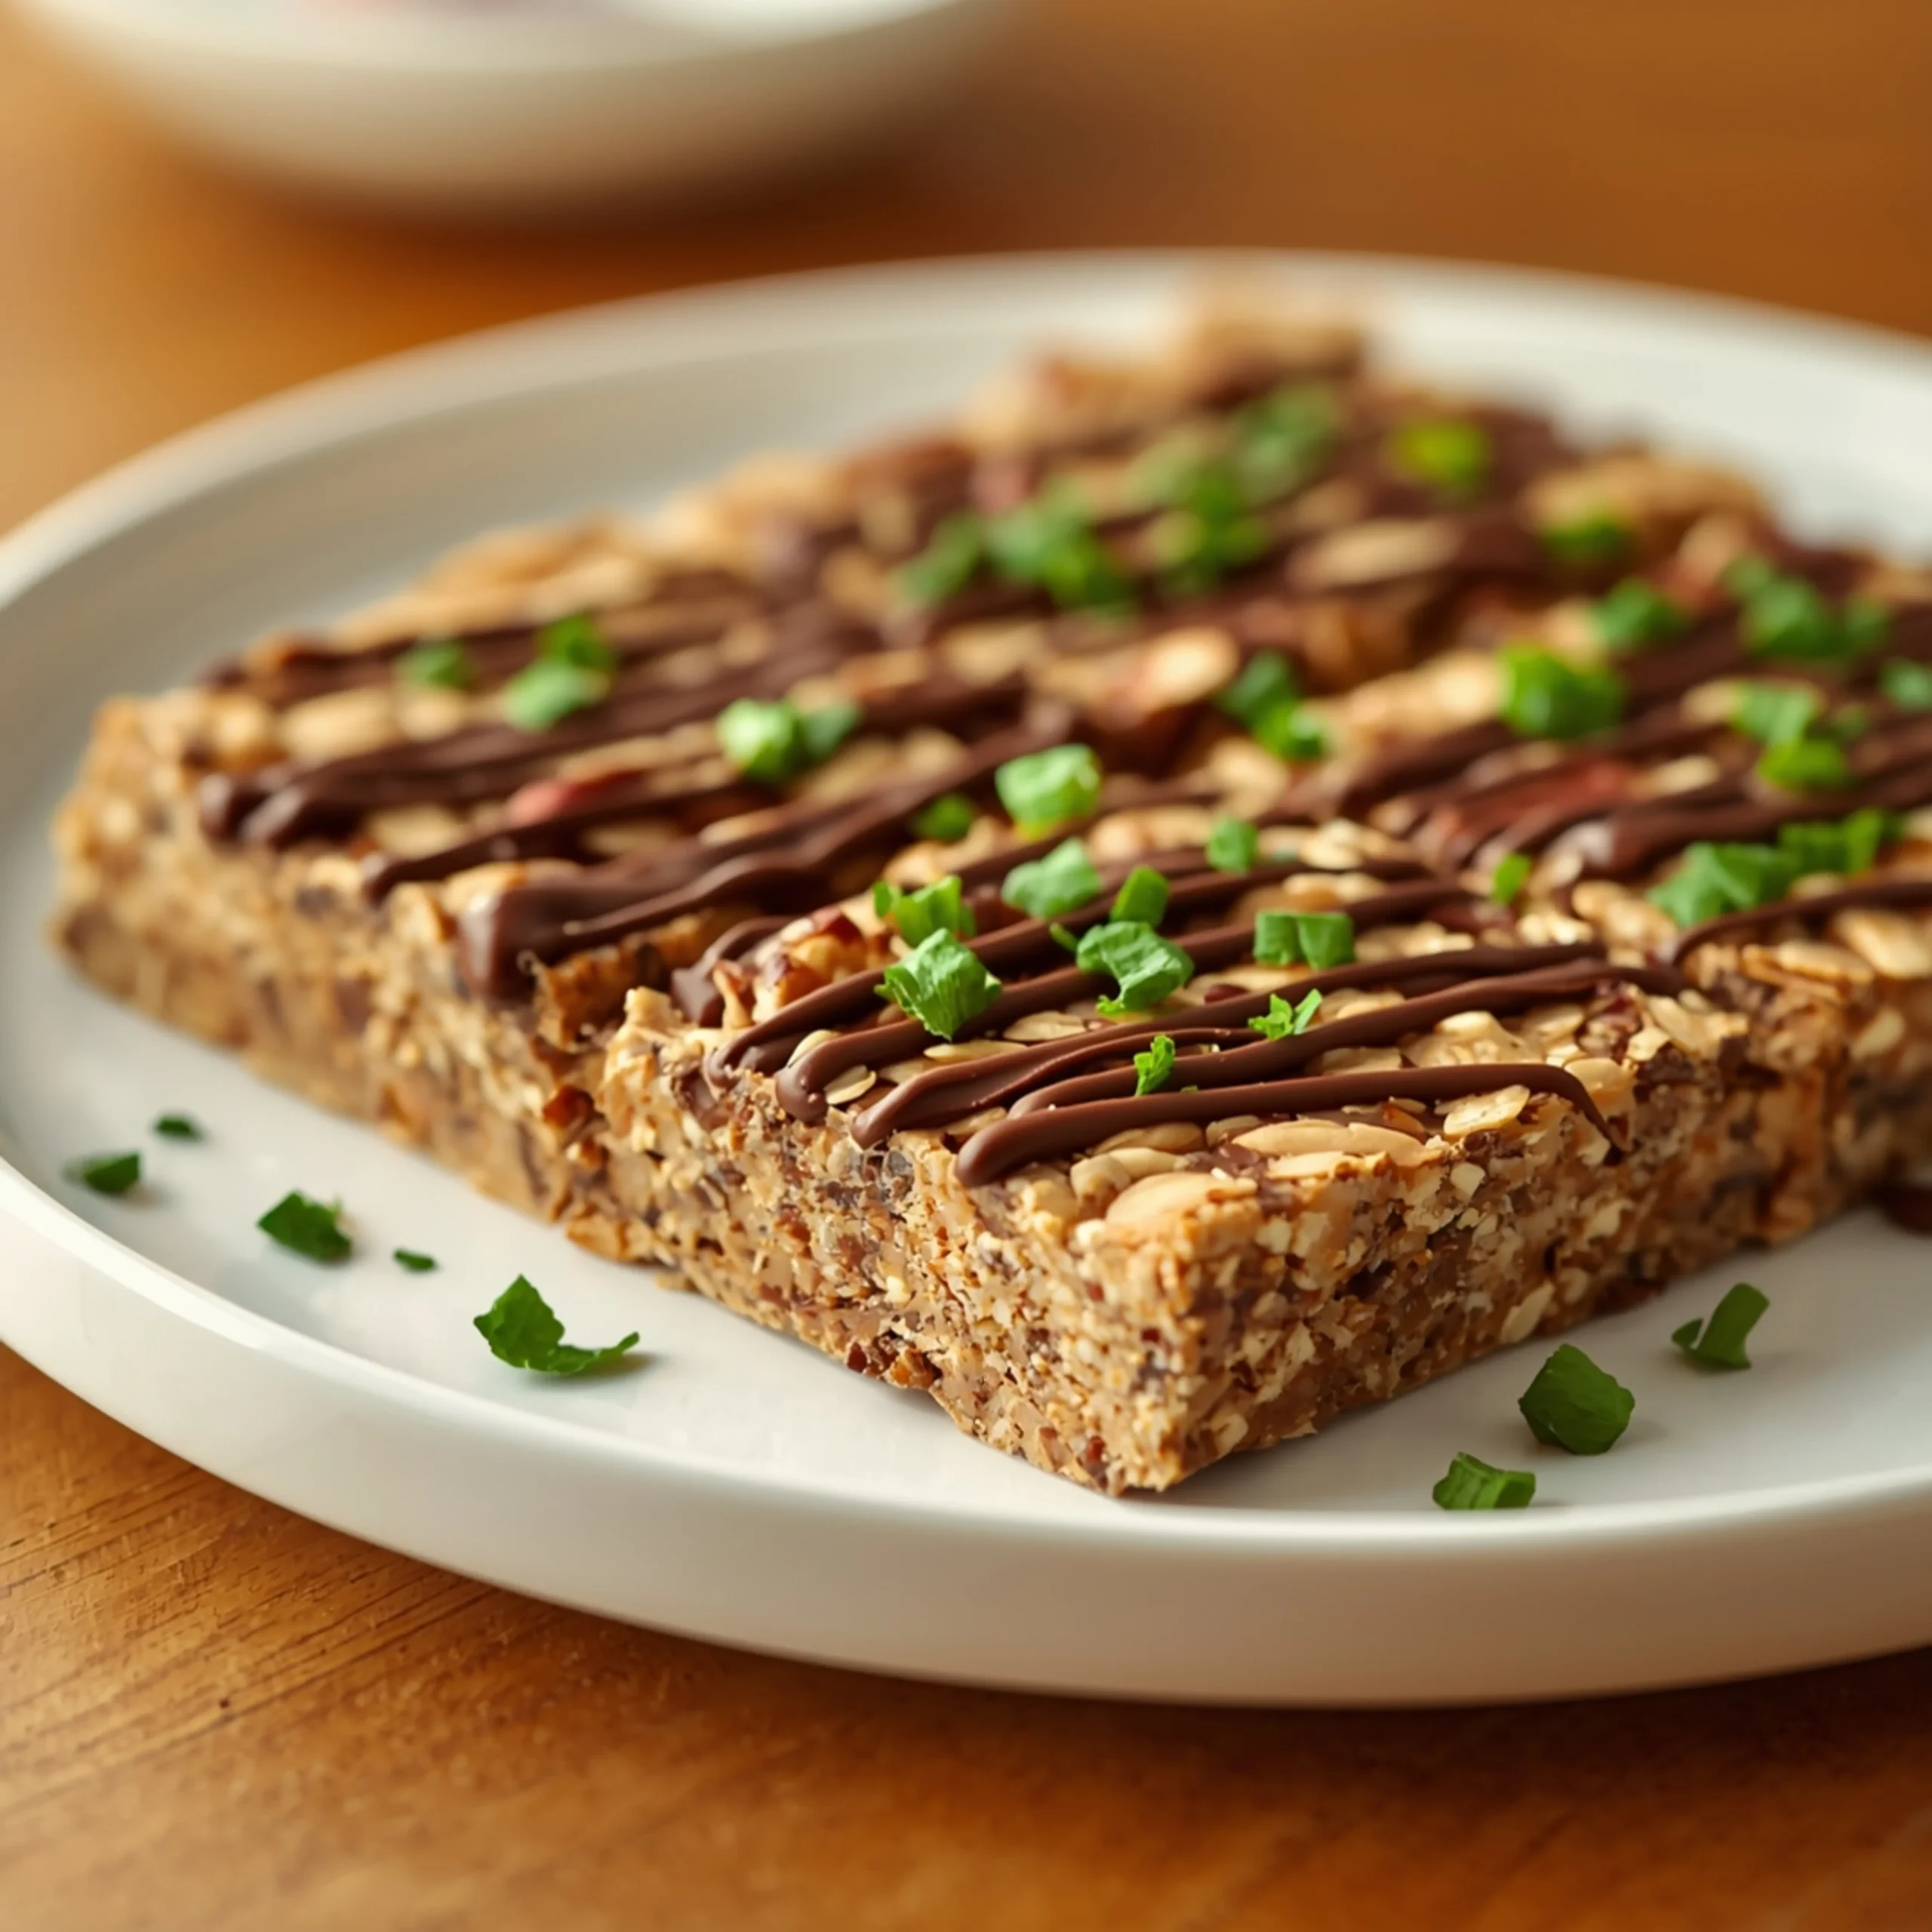
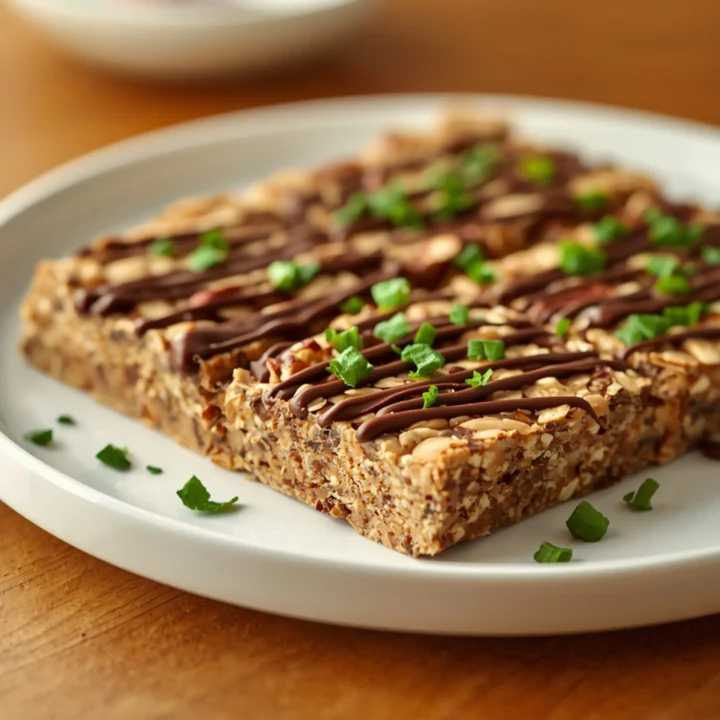
Step-by-Step Instructions (Chocolate Peanut Butter Base)
This classic combination is a reliable starting point.
- Prep Your Pan: Line an 8×8 inch (20×20 cm) baking pan with parchment paper, leaving some overhang on the sides to act as handles for easy removal.
- Combine Dry Ingredients: In a large bowl, whisk together 1.5 cups of rolled oats, 1 cup of vanilla or chocolate protein powder, and a pinch of salt. This ensures the protein powder is evenly distributed.
- Melt Wet Ingredients: In a separate microwave-safe bowl or a small saucepan over low heat, gently warm 1 cup of creamy peanut butter and 1/2 cup of honey or maple syrup. Stir until smooth and easily pourable. Do not overheat.
- Mix Everything: Pour the wet mixture into the bowl with the dry ingredients. Use a sturdy spatula to mix until thoroughly combined. The mixture will be very thick and sticky.
- Add Mix-Ins: Fold in 1/2 cup of mini chocolate chips.
- Press Into Pan: Transfer the mixture to the prepared pan. Place a second piece of parchment paper on top and use your hands or the bottom of a glass to press the mixture down firmly and evenly. This step is crucial for dense, well-formed bars.
- Chill to Set: Remove the top piece of parchment. Refrigerate for at least 30-60 minutes, or until the bars are firm.
- Slice and Store: Use the parchment handles to lift the entire block out of the pan. Place on a cutting board and slice into 12 bars.
Flavor Profile Blueprints
Use the base formula to create these tested variations.
- Almond Joy:
- Dry Base: 1 cup rolled oats, 1/2 cup shredded coconut
- Protein: 1 cup vanilla or chocolate whey protein
- Binder: 1 cup almond butter
- Sweetener: 1/2 cup maple syrup
- Mix-Ins: 1/4 cup chopped almonds, 1/4 cup dark chocolate chunks
- Cookies & Cream:
- Dry Base: 1.5 cups rolled oats
- Protein: 1 cup cookies & cream flavored protein powder
- Binder: 1 cup cashew or almond butter
- Sweetener: 1/2 cup honey
- Mix-Ins: 5-6 crushed chocolate sandwich cookies. For another decadent cookie treat, check out this recipe for an Oreo Cookie Cake.
- Coffee & Chocolate:
- Dry Base: 2 cups quick oats
- Protein: 1 cup chocolate protein powder
- Binder: 1 cup peanut butter
- Sweetener: 1/2 cup maple syrup + 1 tbsp instant espresso powder
- Mix-Ins: 1/2 cup mini chocolate chips. If you love this flavor combination, you might also enjoy these rich chocolate coffee cream cupcakes.
Storage & Shelf Life
Proper storage keeps your bars fresh and ready for a quick energy boost.
- Refrigerator: Store in an airtight container for up to 2 weeks. Place parchment paper between layers to prevent sticking.
- Freezer: Wrap bars individually in plastic wrap or parchment, then place in a freezer-safe bag. They will last for up to 3 months. Let them thaw for 5-10 minutes at room temperature before eating.
- On-the-Go: These bars hold up well for a few hours at room temperature, but are best kept chilled if possible.
COMMON MISTAKES TO AVOID
- Mistake: Not pressing the mixture firmly enough.
- Fix: Use the bottom of a heavy glass or a measuring cup to compact the mixture into the pan as tightly as possible. This prevents crumbly bars.
- Mistake: Overheating the wet ingredients.
- Fix: Warm the nut butter and sweetener just until they are smooth and pourable. Boiling them can alter the texture and make the final bars greasy.
- Mistake: Slicing the bars while they are still warm.
- Fix: Be patient. Chilling is essential for the bars to set. Slicing too early will result in a sticky mess and misshapen bars.
FAQ
Q: Can I use a different protein powder than the one listed?
A: Yes, but be mindful of texture. Plant-based powders are often more absorbent and may require an extra tablespoon of liquid binder. Whey/casein blends tend to create a smoother, less gritty bar.
Q: How can I make these bars nut-free?
A: Easily. Use sunflower seed butter or tahini as your binder. For mix-ins, use seeds (pumpkin, sunflower), shredded coconut, and chocolate chips.
Q: Are these bars gluten-free?
A: They can be. Simply ensure you use certified gluten-free rolled oats and that your protein powder and mix-ins are also certified gluten-free.
NUTRITIONAL SNAPSHOT
Based on the Chocolate Peanut Butter recipe, 1 of 12 bars.
| Nutrient | Amount per Serving |
|---|---|
| Calories | 260 kcal |
| Protein | 15g |
| Fat | 14g |
| Net Carbs | 16g |
| Fiber | 4g |
| Sugar | 9g |
More Recipe Ideas
These protein bars are perfect for a quick breakfast or snack. For other easy meal ideas, consider prepping a batch of this hearty Cauliflower Sausage Kale Soup for a week of savory lunches and dinners.
Homemade No-Bake Protein Bars: The 10-Minute Recipe
Tired of overpriced, chalky protein bars? These homemade no-bake protein bars are chewy, flavorful, and ready in about 10 minutes with zero baking required.
Ingredients
- 1.5 cups rolled oats
- 1 cup vanilla or chocolate protein powder
- 1 pinch salt
- 1 cup creamy peanut butter
- 1/2 cup honey or maple syrup
- 1/2 cup mini chocolate chips
Instructions
- Line an 8x8 inch (20x20 cm) baking pan with parchment paper, leaving some overhang on the sides to act as handles for easy removal.
- In a large bowl, whisk together 1.5 cups of rolled oats, 1 cup of vanilla or chocolate protein powder, and a pinch of salt. This ensures the protein powder is evenly distributed.
- In a separate microwave-safe bowl or a small saucepan over low heat, gently warm 1 cup of creamy peanut butter and 1/2 cup of honey or maple syrup. Stir until smooth and easily pourable. Do not overheat.
- Pour the wet mixture into the bowl with the dry ingredients. Use a sturdy spatula to mix until thoroughly combined. The mixture will be very thick and sticky.
- Fold in 1/2 cup of mini chocolate chips.
- Transfer the mixture to the prepared pan. Place a second piece of parchment paper on top and use your hands or the bottom of a glass to press the mixture down firmly and evenly. This step is crucial for dense, well-formed bars.
- Remove the top piece of parchment. Refrigerate for at least 30-60 minutes, or until the bars are firm.
- Use the parchment handles to lift the entire block out of the pan. Place on a cutting board and slice into 12 bars.